How To Clean A Sponge: 5 Best Sponge Cleaning Methods To Kill Bacteria
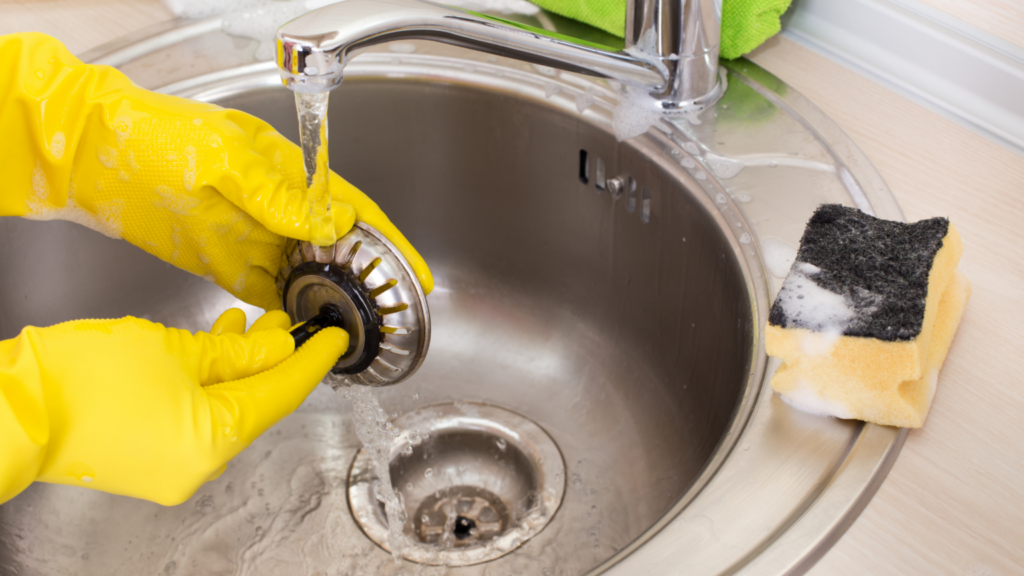
Your kitchen sponge does more dirty work than almost anything else in the house. It wipes raw meat juice off the counter, scrubs last night’s dishes, and then sits damp by the sink waiting to do it all again. That warm, wet, food-covered setting is exactly what bacteria love, which is why a used sponge often harbors more bacteria than your toilet seat.
The good news is that keeping it clean takes a minute or two, and the methods are simple enough to fold into your normal routine.
In this blog, you’ll learn how to clean a kitchen sponge using five proven methods, which ones truly kill bacteria, how often to replace your sponge, and a handful of everyday kitchen cleaning tips that keep your whole space more hygienic.
Why Your Kitchen Sponge Needs Regular Cleaning
A sponge is the perfect home for microbes. It stays moist, traps food particles, and packs a huge surface area into a small shape. A 2017 study published in Scientific Reports found that used kitchen sponges can contain billions of bacteria per cubic centimeter, ranking them among the most contaminated items in the average home.
Some of those bacteria are harmless. Others, like E. coli and Salmonella, can travel from your sponge to your dishes, counters, and hands, which raises the risk of foodborne illness. Cleaning your sponge on a regular basis is one of the easiest ways to protect your home from germs and viruses and keep your kitchen safe, not just looking tidy.
How to Sanitize a Sponge: 5 Methods That Work
Here are five popular ways to clean a sponge. Three of them sanitize by killing the vast majority of bacteria. The other two freshen and de-grime, and work best alongside a heat-based method.
1. Microwave It (Most Effective)
Microwaving is the single most effective method, backed by research from the U.S. Department of Agriculture. In their testing, microwaving a wet sponge killed 99.99999% of bacteria, along with nearly all yeast and mold.
Soak the sponge until it is fully saturated, place it on a microwave-safe dish, and microwave on high for 1 to 2 minutes. Never microwave a dry sponge, because it can catch fire, and skip any sponge with metal or a steel scrubbing pad. Let it cool for several minutes before you touch it, since it comes out extremely hot.
2. Run It Through the Dishwasher
Your dishwasher pulls double duty here. The USDA found that a full cycle with a heated drying phase killed 99.9998% of bacteria on a sponge, which is almost as good as the microwave. The mix of hot water, detergent, and a long dry cycle is what does the work.
Place the sponge on the top rack and run the hottest, longest cycle you have. While you are at it, it helps to know how to clean your dishwasher properly, since a grimy machine cannot sanitize anything.
3. Boil It
No microwave-safe dish or dishwasher on hand? Boiling works too. High heat kills bacteria reliably, and several test kitchens rate it on par with microwaving.
Bring a pot of water to a rolling boil, drop the sponge in, and let it boil for about 5 minutes. Lift it out with tongs and let it cool before wringing it out. This is a smart option for sponges that might scorch in a high-powered microwave.
4. Soak It in Vinegar for Controlling Odor
Vinegar is a useful, non-toxic option, but it pays to be realistic about what it does. Distilled white vinegar has some antimicrobial activity, yet it is not a registered disinfectant and does not kill everything that heat does.
To freshen a smelly sponge, soak it in plain white vinegar for about 5 minutes, then rinse it well. It will knock back odor and some bacteria, but for true sanitizing, follow it with one of the heat methods above.
5. Scrub With Baking Soda to Lift Grime
Baking soda is a deodorizer and a gentle abrasive, not a germ killer. Cleaning experts are clear that it is not a germicide, so it will not sanitize your sponge on its own.
Where it shines is lifting stuck-on food and cutting odor. Make a paste of baking soda and water, scrub it into the sponge, then rinse. Use it to clean the sponge up, and follow with the microwave or a boil to disinfect it.
These are some ways to clean your kitchen sponge.

How Often Should You Replace a Kitchen Sponge?
Cleaning helps, but it does not make a sponge last forever. The same 2017 study found that sponges sanitized at home were not always less contaminated over time, partly because the toughest bacteria can survive and repopulate. That is why the researchers behind it suggested replacing sponges frequently rather than relying on disinfecting alone.
A good rule of thumb: replace your kitchen sponge every 1 to 2 weeks, and sooner if it starts to smell, feels slimy, or has come into contact with raw meat.
Sanitizing every couple of days in between keeps the bacterial load down. If you want a simple system for this and every other chore, our guide on how often to clean everything in your home lays it all out by day, week, and month.
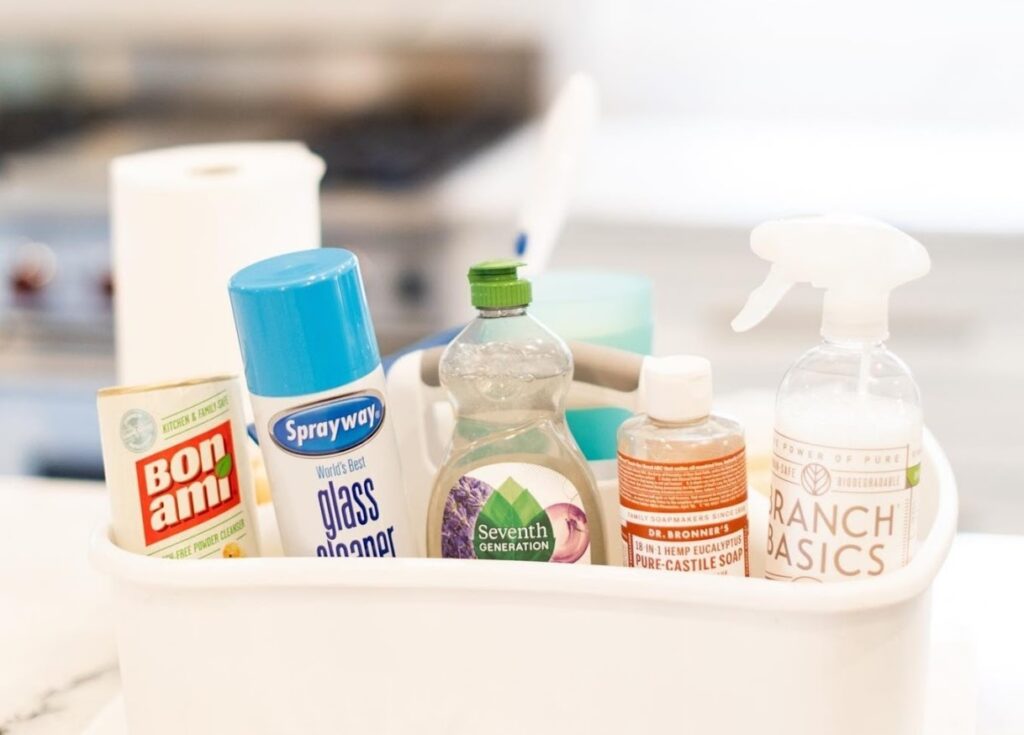
Everyday Kitchen Cleaning Tips for a Cleaner Space
A clean sponge is one piece of a bigger picture. A few small habits keep your whole kitchen more hygienic:
- Wring it out and dry it. Bacteria thrive in moisture, so squeeze your sponge well after each use and let it air dry somewhere open instead of leaving it in a puddle in the sink.
- Keep two sponges going. Use one for dishes and a separate one for wiping counters and spills, so you are not moving raw-food residue around your kitchen.
- Sanitize your other tools too. Cutting boards, dish brushes, and reusable jars need attention as well. The same heat principle applies whenever you sterilize something porous.
- Wipe high-touch spots daily. Faucet handles, fridge doors, and cabinet pulls all collect germs from dirty hands during cooking.
When buildup gets ahead of you, it pays to deep-clean your kitchen from top to bottom rather than just wiping the surfaces you can see.
Frequently Asked Questions
Does boiling a sponge kill bacteria?
Yes. Boiling a sponge for about 5 minutes uses high heat to kill the vast majority of bacteria, which makes it one of the more effective ways to sanitize a sponge. Let it cool before handling, and keep in mind that boiling will not restore a sponge that already smells or is falling apart.
What is the best way to clean a kitchen sponge?
For killing bacteria, the microwave, dishwasher, and boiling water are the top three, since heat does the real disinfecting. Vinegar and baking soda help with odor and grime but do not sanitize on their own.
How long can you keep a kitchen sponge?
Most sponges should be replaced every one to two weeks. Toss it sooner if it smells, turns slimy, or has wiped up raw meat, no matter how recently you cleaned it.
Is a dish brush more hygienic than a sponge?
Often, yes. Peer-reviewed research has found that dish brushes dry out faster than sponges, and bacteria like Salmonella die off as the bristles dry, while a damp sponge stays a comfortable home for germs. If you prefer sponges, sanitizing and replacing them on schedule is what keeps them in check.
Leave the Deep Cleaning to Vella
Sanitizing your sponge and wiping the counters keeps everyday mess in check, but every kitchen eventually needs a deeper reset that reaches the grease, grime, and hidden spots a sponge cannot touch.
That is where we come in. Vella provides professional home and kitchen cleaning services across Austin, Dallas, Fort Worth, and the wider DFW area, using non-toxic products and a detailed, room-by-room approach. Hand off the scrubbing and enjoy a spotless kitchen.