After the last pumpkin has burned down and the kids finally come down from their sugar highs, and then there’s this eerie, spooky time when we just kind of look around and think, what happened here? There are wrappers all over the couch, glitter coming from the front door to somewhere out of sight, and fake cobwebs stuck to the curtain.
In this blog, we’ll break down the biggest post-Halloween messes, why professional cleaning makes all the difference, and how Vella helps Texas homes bounce back fast.
Why Halloween Leaves More Than Just Memories
Halloween is just full of fun, but also too messy in ways we often underestimate. Between sticky candies, candle wax, and costume glitter, things get messy. Rush areas like the entryway and the living room take the biggest hit. Outdoor decorations become covered with dust and cobwebs stuck in the curtains. And before we can even get around to cleaning, those stains and smudges have already set.
Common Post-Halloween Messes We All Face
Post-Halloween messes are real, and they need immediate attention. Here are the most common post-Halloween messes to look out for:
- Candy and Chocolate Stains: Floors, couches, even pillowcases.
- Pumpkin Residue: It can start to mold on your porch and needs to be taken out soon.
- Glitter and Confetti: Too hard to completely remove with a regular vacuum.
- Wax and Makeup Smudges: Candle drips, eyeliner marks, and lipstick smears are too common.
- Outdoor Debris: Fallen leaves, candy wrappers, and trampled décor are the outdoor version of a hangover.
These aren’t quick fixes. They need some real attention, the kind that only professional cleaners can bring. At Vella, we are happy to help you manage this mess. Book an appointment with us, and let’s take care of it.
Why Professional Cleaning Is the Smart Post-Halloween Move
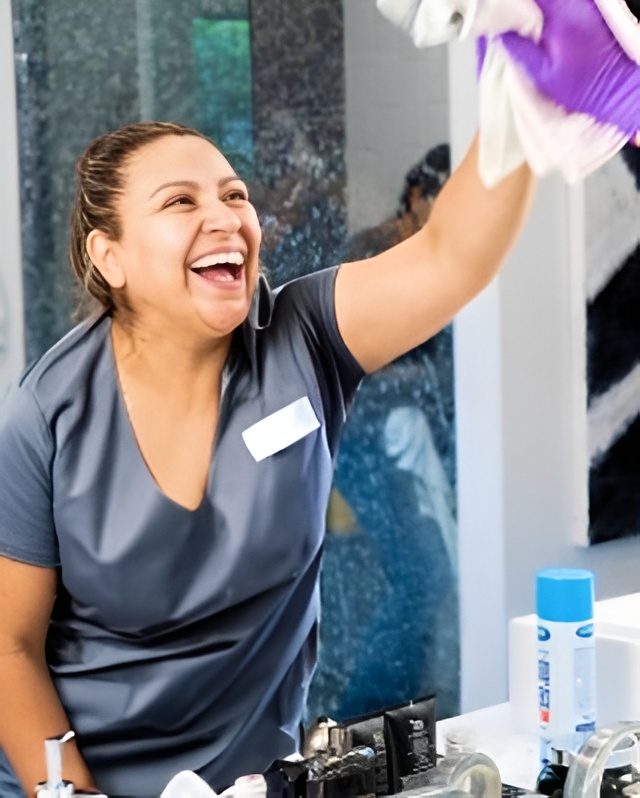
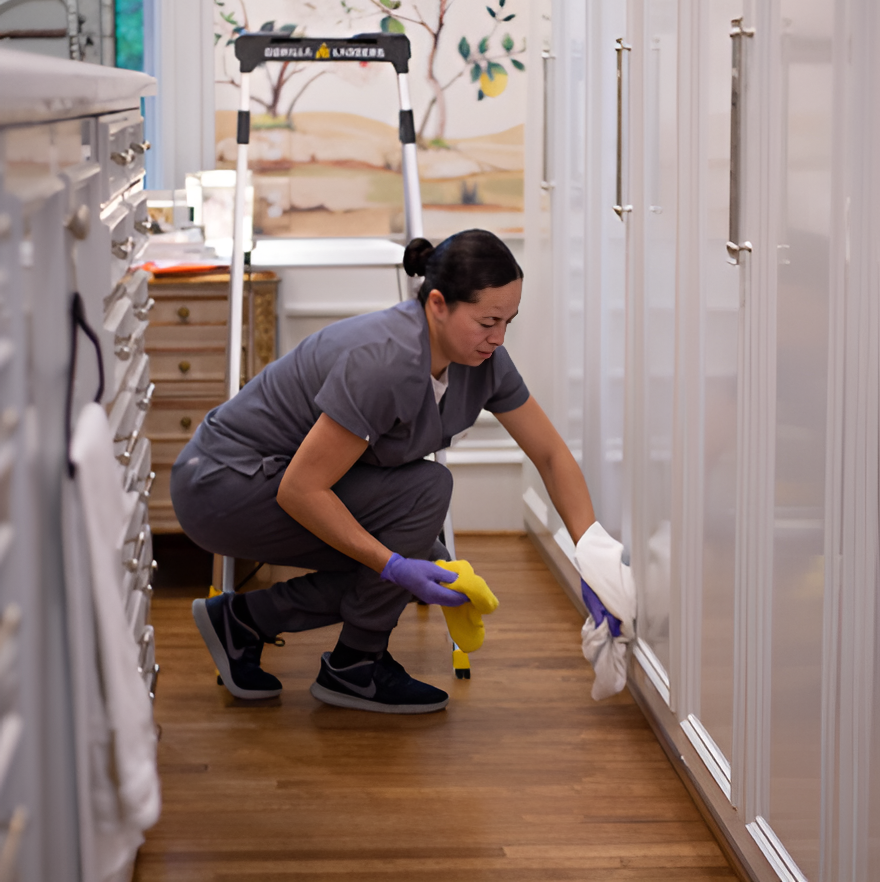
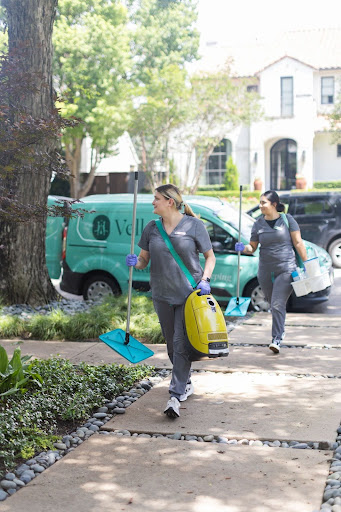
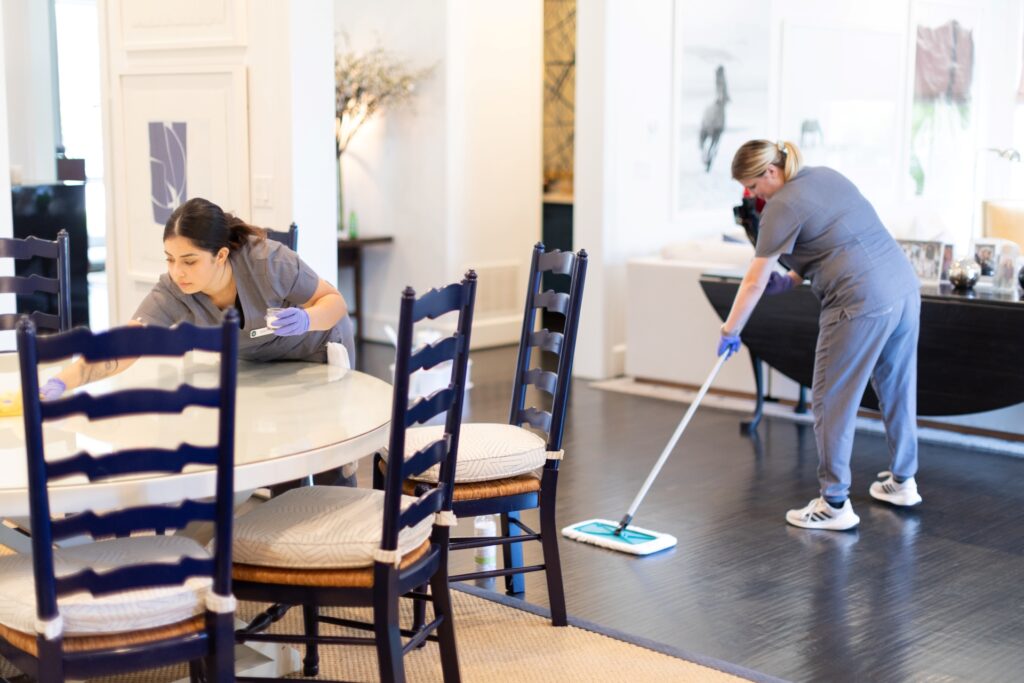
We get the temptation to do it all ourselves. But after Halloween, regular cleaning simply won’t cut it. We offer professional cleaning services across Texas. We vacuum behind furniture, gently remove stains, and get into those tight spaces.
We also use non-toxic products and leave your home sparkling. Our cleaners are soft on surfaces but powerful on sticky candy pieces. It’s the kind of fierce renewal that leaves you breathing a little more lightly afterward. We are also pet-friendly.
And if you’re already looking for house cleaning services around me, don’t fret, we’ve got your back. You may book a session at any time through Vella’s booking page.
Key Areas We Focus On During Post-Halloween Cleaning
When we say “post-Halloween cleaning,” we mean the kind of clean that doesn’t miss a single detail. Here’s how we make it possible:
- Entryways: We sweep, mop, and sanitize. Every candy wrapper goes off.
- Living Areas: From vacuuming glitter to wiping sticky surfaces, this space gets special care.
- Kitchen: We deep clean countertops, sinks, and those candy-handled cabinet doors.
- Bathrooms: We remove makeup smudges, mirror spots, and handprints disappear with gentle, eco-friendly products.
- Outdoor Spaces: Porch, steps, yard. We wash away pumpkin residue and store decorations neatly.
A proper post-Halloween cleaning brings back that fresh-home smell faster than you’d think.
Preventing Future Seasonal Messes
We’ve learned a few tricks to make next year’s cleanup easier:
- Wipe up the spills before they settle down.
- Keep glitter projects and decorations in one area to limit the spread.
- Sort and declutter decorations before storing them.
- Schedule consistent cleanings to prevent buildup over time.
A little effort after each event makes a huge difference later. Trust us, it’s so worth it.
The Final Sweep
We love helping families to recover their homes after Halloween in Texas, which is one of our loved times of the year. From the heart of Dallas to cozy corners in Austin and Fort Worth, we see the relief on people’s faces when the scaring mess finally goes off.
If sticky floors and candy chaos have taken over, now get rid of it. Book Vella’s house cleaning services near you and let’s make your home feel fresh, cozy, and brand new again.