How to clean your microwave- A step-by-step guide

When was the last time you deep-cleaned your microwave? If you can’t remember, it is time to schedule that overdue cleaning session. Don’t freak out just yet! We get it, it can be overwhelming at times. In this blog, we’ll lay out the exact blueprint of how to clean your microwave from the inside out.
Keeping your microwave clean isn’t just about aesthetics. It’s essential for maintaining kitchen hygiene, keeping microbial growth in check, preventing bad odors, and ensuring that your appliance functions effectively in the long run. Let’s walk you through a detailed, step-by-step process to clean your microwave efficiently.

Step 1: Gather Your Cleaning Supplies
If you don’t want to clamber for supplies during your cleaning session, make sure to gather everything you need to make your microwave squeaky clean. Here’s a list of all the necessary tools and cleaning agents needed for effective microwave cleaning:
- Damp cloth: For wiping surfaces.
- White vinegar: A natural deodorizer and grease remover.
- Lemon: Helps cut through grime and leaves a fresh fruity scent.
- Baking soda: Effective for scrubbing tough stains and neutralizing odors.
- Soft-bristle brush or sponge: For gentle scrubbing. We recommend the soft side of Scrub Daddy.
Step 2: Unplug and Prepare the Microwave
From the heating plate to the switches and knob, during a microwave deep cleaning, you come in contact with all parts of your appliance. So, safety first. Always unplug your microwave before cleaning.
Step 3: Clean the Microwave Turntable and Interior
Now, let’s start cleaning.
- Carefully take out the glass turntable and wash it in warm, soapy water. Warm water will save you some scrubbing.
- Dry it thoroughly using a soft cloth to avoid those water spots that are left after air drying.
- Keep the table aside for reassembling later.
Now the interiors:
- Use a damp cloth and remove loose debris from the microwave’s walls and floor. Use a mild cleaner like the ones we use from Branch Basics.
- To remove dried food and spills, use a toothbrush and scrub things off.
- To tackle stubborn food stains inside, sprinkle some water and cleaner on the stain and leave it for a minute. Try not to go too aggressively with the brush to avoid scratching. It should come off pretty easily after a soak.
Step 4: Focus on the Microwave Door

Just like the floor and sides, the inside of the doors also collects spilled food, grease, and stains. The outside of the door gets greased by frequent touching and kitchen smoke. You can use a damp cloth soaked in a mild cleaner.
A tricky area that usually gets missed while cleaning but grows mold is the door’s rubber seal. It is the perfect dark, hot, and humid environment for microbial growth. To clean that, don’t pull out the entire seal at once. It can deform the seal and stop your door from closing properly.
Instead, use a damp cloth soaked in a mild cleaner. Wipe the areas around and under the door seal by lifting the seal with your finger or the back of a spoon. For tougher spots, gently scrub using a soft-bristle brush. After cleaning, ensure the door seals properly.
Step 5: Clean the Microwave Vent
Now, the technical parts. Microwave vents are responsible for maintaining airflow and preventing the machine from overheating. Over time, grease and dust clog these vents, affecting their ventilation capacity.
- First, check your microwave manual to locate the vent and filter.
- Wipe the vent area with a damp cloth – just like how we cleaned the doors.
- Remove the filter and soak it in warm, soapy water.
- Rinse the filter under running water.
- Air dry it thoroughly, and carefully place it back in position.
Step 6: Use Natural Cleaners for Deodorizing
Now that your microwave is deep cleaned, it’s time to give it a lasting freshness.
Over time, microwaves do develop unpleasant odors from various foods. To get rid of them infuse natural deodorizers like vinegar, lemon, or baking soda and freshen things up without leaving chemical residues that can be harmful if leached into food. This is a straightforward process.
Heat a bowl of water with lemon slices or 2 tablespoons of vinegar for 3-5 minutes in the microwave. Let the vapors reach each corner. Let it sit for a few minutes before taking it out and wiping down the interior.
Step 7: Wipe Down the Exterior
The exteriors of microwaves are simple to clean. Treat it like any other machine covering or counter table and wipe it down with a cleaner and water combo. The only thing to take care of while cleaning is the control panel.
Use a soft cloth and a mild cleaner to avoid damaging the surface and rubbing off prints with abrasive cloths or brushes. Also, avoid spraying cleaner directly onto the control panel to prevent moisture from seeping into the buttons.
Step 8: Regular Maintenance and Tips for Keeping Your Microwave Clean
If you want to extend the time between two deep cleaning sessions, make sure to do regular basic cleans. Simple steps like wiping it after each use and using microwave-safe covers can add all the difference. For light use, cleaning once every two weeks is sufficient. If you use your microwave daily, we recommend you clean it weekly.
Why Vella’s Professional Cleaning Services Are a Great Option

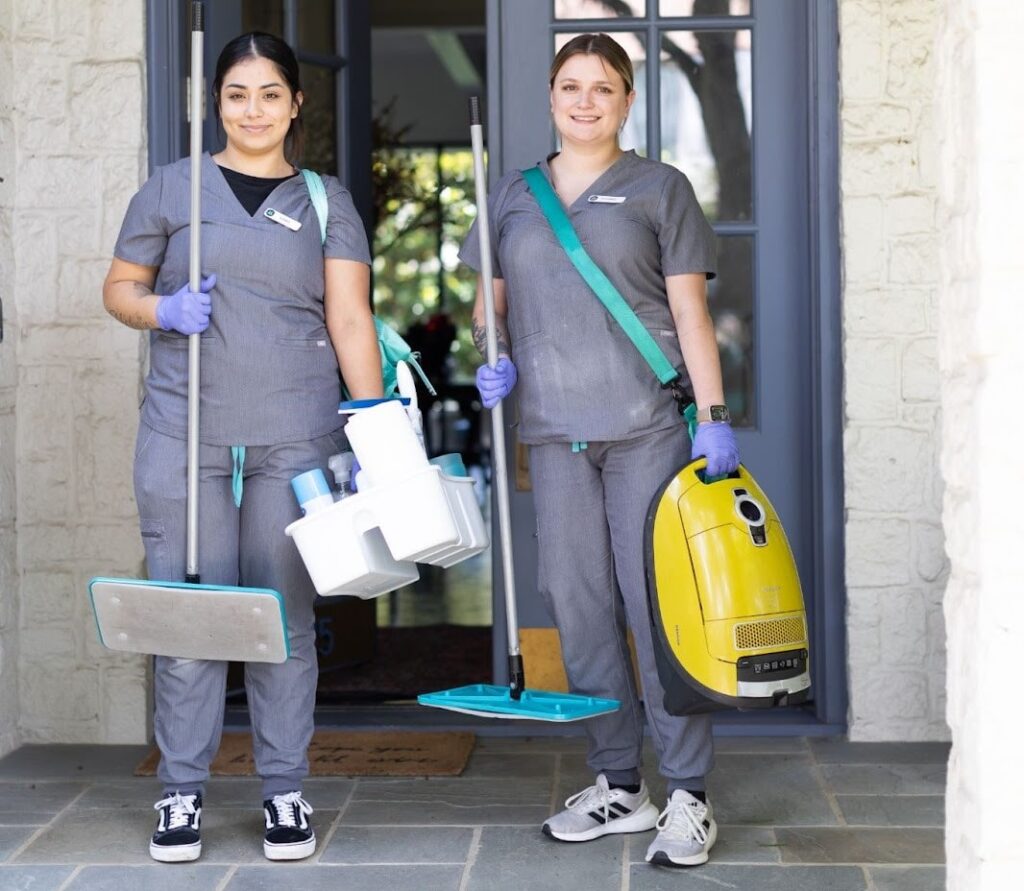
Cleaning your microwave regularly ensures it stays hygienic, odor-free, and in excellent working condition. By following these simple steps, you can maintain a clean microwave with minimal effort. While regular cleaning can be done at home, there are times when professional help is inevitable. If your kitchen and kitchen appliances need a professional deep clean, Vella’s housekeepers are here to help you out. Our team specializes in appliance cleaning, deep cleaning, and much more! We also use safe eco-friendly products to extend the lifespan of your appliance. Book yourself a clean home now!