Spring is a time of renewal and rejuvenation, presenting the perfect opportunity for a comprehensive deep cleaning of our homes. It’s the season to brush away the remnants of winter and welcome a cleaner, more vibrant living space. This comprehensive deep spring cleaning checklist is designed to tackle every corner of your home, ensuring a thorough cleanse that promotes a healthier environment for all. 

From decluttering and organizing to deep cleaning and sanitizing, this guide will help you prepare your home for a fresh start. Along the way, we’ll discuss how to use non-toxic, eco-friendly cleaning solutions for your deep spring cleaning. 

Let’s dive into the ultimate deep cleaning checklist that will transform your spring cleaning into a structured, effective endeavor that will leave your home not only looking clean but also truly embodying a fresh beginning for the season ahead.

What is Spring Cleaning?

A deep spring cleaning is a time-honored tradition that does more than just improve the appearance of your home; it enhances its very essence. It’s an opportunity to declutter, reorganize, and eliminate the accumulated grime of the past months, making your space more functional and pleasant. Spring cleaning not only revitalizes your home but also your spirit, providing a sense of accomplishment and clarity.

When is Spring Cleaning?

Spring cleaning traditionally heralds the arrival of warmer days, typically starting with the first whispers of spring in late March or early April. It’s an opportune moment to open windows, let the fresh air in, and tackle the cleaning tasks that have been accumulating over the colder months. This seasonal ritual is deeply rooted in renewing and revitalizing our living spaces, so it makes sense to align a spring deep cleaning with nature’s rebirth and refresh and declutter our homes from top to bottom.

Preparing for a Spring Deep Cleaning

Before we dive into our deep spring cleaning checklist, let’s get prepared so we can tackle the list as efficiently as possible.

1. Declutter Beforehand: Begin by decluttering each room. Donate or discard items that no longer serve you, creating a clearer space and mind.

2. Make a Plan: List down the areas that need the most attention. Breaking down tasks makes the process less daunting and more manageable.

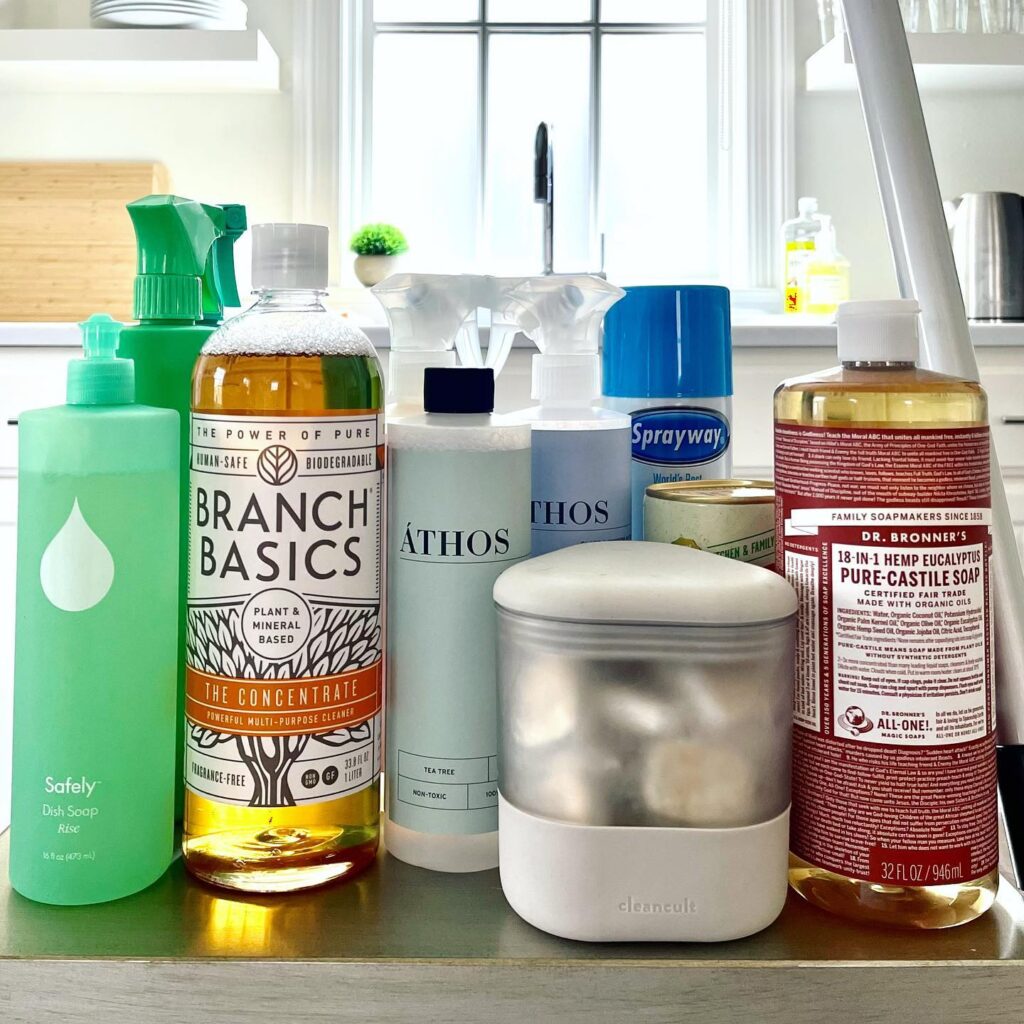
3. Gather Supplies: Ensure you have all the necessary cleaning supplies. Make sure to purchase non-toxic and eco-friendly products like Branch Basics for an all-purpose cleaner, Seventh Generation dish soap, Bon Ami natural cleanser for tough stains, and Dr. Bronner’s Pure Castile Soap for a versatile cleaning solution.

4. One Room at a Time: Address each room individually to manage your workload effectively and see visible progress. This methodical approach can greatly reduce feelings of being overwhelmed and increase your sense of accomplishment as you move through your home.

5. High to Low Cleaning: Start your cleaning from the top of the room with ceiling fans and light fixtures, working your way down to the floors. This strategy ensures that any dislodged dust and debris are captured in the final stages of cleaning, leaving no surface untouched.

6. Maintain a Cleaning Schedule: After your comprehensive spring cleaning, establish a regular cleaning schedule to keep your home consistently clean and tidy. This habit will not only prolong the results of your spring clean but also make subsequent cleans quicker and easier.

General Spring Cleaning Tasks for Every Room

Baseboards: Give them a thorough vacuum with a bristled brush attachment, then wipe down with a damp microfiber cloth and an all-purpose cleaner for that perfect finishing touch.

Dusting: Start from the top down, including in hard-to-reach spots like ceiling fans and window casings. Don’t forget books and shelves during your deep spring cleaning—dust each item and use your vacuum’s tools for tight spaces.

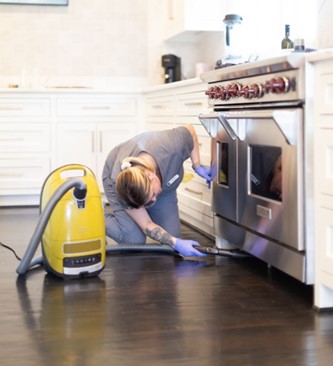
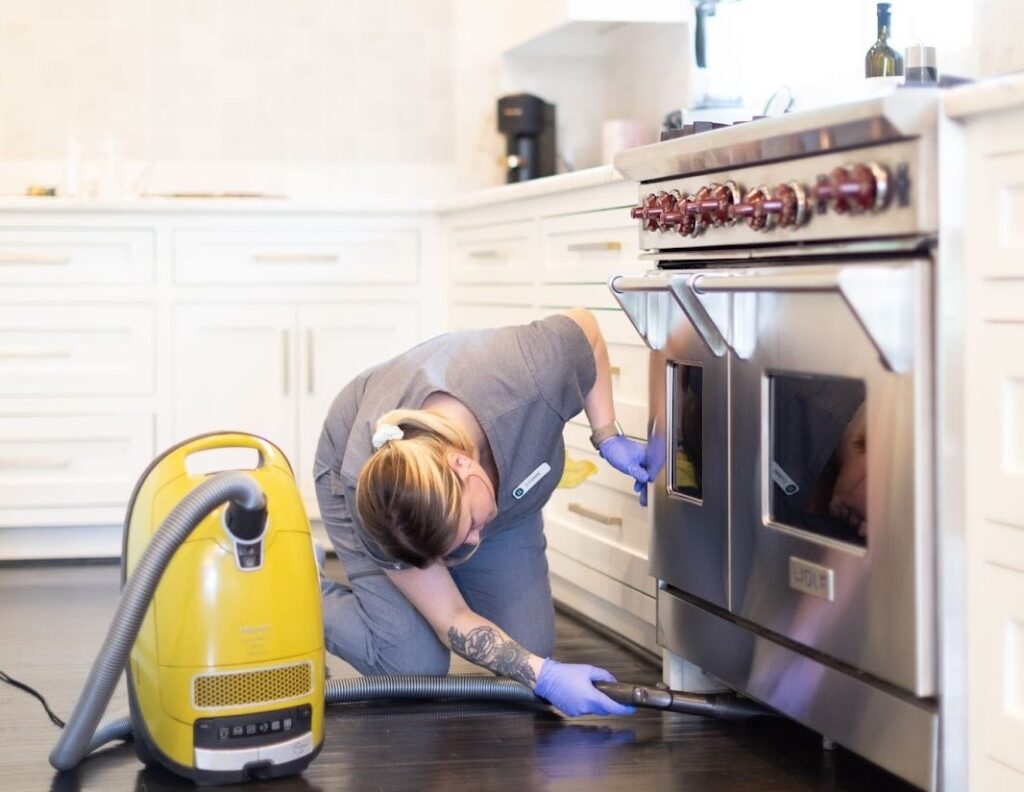
Vacuuming: Clean all floors to remove crumbs and dirt. Deep vacuuming is essential for a spring clean to extract embedded dirt, dust, and allergens from carpets and upholstery. Choosing a high-quality vacuum from trusted brands such as Miele or Sanitaire can dramatically enhance your home’s cleanliness and overall air quality.

Mopping: Follow up vacuuming with mopping to keep your floors pristine. This step during a spring cleaning is crucial for maintaining the overall cleanliness of high-traffic areas. Then follow these tips to avoid any stickiness after mopping.

Walls and Ceilings: Vacuum first, then address any marks with a solvent-free degreaser. Test any cleaning solutions in an inconspicuous area first.

Upholstered Furnishings: Beat cushions outdoors to remove dust. Vacuum under seat cushions and treat any stains according to care labels. For a deep dive into cushion cover cleaning, check out our guide.

Metal Hardware: Polish door and window hardware to restore shine. Choose the appropriate polish based on the level of tarnish.

Wax Wooden Surfaces: Clean with a mild solution, then wax using a cotton rag for a protective shine. Vinyl, linoleum, and stone floors may also benefit from specific waxes or polishes.

Window Screens: Scrub with warm water and mild dish soap, then rinse well.

Deep Cleaning Checklist for Every Room in the House

Kitchen

Unlike the routine tidiness, a comprehensive deep spring cleaning checklist addresses every nook and cranny. The goal is a clean kitchen that’s not just visually pleasing but also a healthy environment for preparing meals.

Dishwashing: Load the dishwasher and meticulously hand-wash any items that require special care.

Countertops and Sinks: Thoroughly cleaning and sanitizing countertops and sinks restores their shine and hygiene.

Appliance Care: Detail exteriors of all kitchen appliances, ensuring they look as good as new.

Fixtures: Polishing fixtures to add that gleaming touch to your kitchen space is a cornerstone of a spring deep cleaning.

Stovetop and Oven: Deep clean the oven and stove to remove any built-up grease and burnt-on residues. Looking to do this the natural way? Check out these natural oven cleaning tips for your spring cleaning.

Microwave, Dishwasher, Refrigerator, and Freezer: Clean inside and out, including drawers and shelves, and discard any outdated food items.

Cabinetry: Degrease doors and backsplash, and clean inside cabinets for a clutter-free kitchen.

High Surfaces: Dusting tops of fridges, cabinets, and microwave/range hoods to eliminate dust accumulation.

Drain Maintenance: A small but crucial spring cleaning detail. Deodorize and degrease kitchen drains and garbage disposal for a fresh-smelling kitchen.

Textile Care: Wash dish rags, clean sponges, and shake out floor mats to remove dirt.

Final Touches: Wipe walls, baseboards, and mop floors for a completely clean kitchen environment.

Living Room

This area, often a haven for relaxation and family gatherings, can unwittingly harbor dirt, grime, and unnoticed stains amidst its cozy furnishings. A thorough deep spring cleaning of the living room not only elevates the aesthetic of this space, but also enhances its welcoming ambiance.

Furniture Care: Dust and polish all furniture surfaces to bring back their shine and remove hidden dirt.

Textile Refresh: Wash slipcovers, blankets, and pillows to renew their freshness and comfort.

Upholstery Deep Clean: No living room spring clean is complete without vacuuming sofas and chairs thoroughly to eliminate dust and allergens trapped in the fabric.

Window Treatment: Dust blinds and curtain rods, and clean window sills. Washing windows during your spring cleaning lets the sunshine in, and either cleaning or vacuuming curtains gives a dust-free glow.

Air Circulation: Clean ceiling fans to ensure they’re ready to circulate fresh air without spreading dust.

Lighting and Electronics: Dust and clean lamp shades and electronics. Here’s a quick spring cleaning tip: use dryer sheets for a static-free finish.

Décor and Accessories: Dust and clean all décor items, including sanitizing remote controls, to ensure every touchpoint is hygienic.

Floor Care: Mop hard floors and vacuuming carpets and rugs. You may want to also shampoo rugs or carpets to remove deep-seated dirt and refresh the entire room.

Bathroom

The bathroom is a critical space for hygiene and self-care in our homes – so it demands meticulous attention on a deep cleaning checklist for a house. It’s prone to harboring harmful bacteria, which requires more than just surface cleaning to protect your household from germs and viruses

Declutter and Discard: Remove expired personal care products, makeup, and other old items ensuring a clutter-free space. 

Cosmetic Tool Care: Clean makeup brushes thoroughly to remove buildup and maintain hygiene.

Vanity and Mirrors: Clean the vanity area for a clutter-free surface and wipe down mirrors for a streak-free shine.

Bathing Areas: Give bathtubs and showers a deep spring cleaning. Consider replacing shower curtain liners for a fresh start. If you have mold in your shower or tub, we have tips to help you get rid of it!

Tile and Grout: Scrub tile grout diligently to remove mold and mildew, restoring the original cleanliness and brightness of your bathroom tiles.

Toilet: Sanitize and detail toilets, ensuring every part is cleaned for maximum hygiene.

Hardware and Fixtures: Clean and polish all bathroom hardware and fixtures, including taps and shower heads, for sparkling results.

Floors and Walls: Sweep and mop floors to remove any dirt and hair, and wipe down walls and baseboards to address any splashes or grime accumulation.

Health Benefits of a Deep Spring Cleaning

A clean home is a healthier home. Reducing dust, allergens, and mold improves air quality, lessening the risk of respiratory issues and allergies. Regular cleaning beyond the big spring deep cleaning also minimizes the presence of harmful bacteria and viruses, safeguarding your family’s health. Furthermore, a tidy environment can significantly enhance mental well-being, reducing stress and anxiety, and promoting a more peaceful state of mind.

Eco-friendly Spring Cleaning: A Sustainable Choice

In our spring cleaning endeavors, it’s vital to choose products that not only clean effectively but also safeguard our health and the planet. Brands like Branch Basics, Seventh Generation, Bon Ami, and Dr. Bronner’s are pioneers in eco-friendly cleaning solutions, offering products free from harsh chemicals and toxins. These choices ensure a safer environment for your family and pets while contributing to the broader environmental conservation efforts.

Embracing Professional Help to Tackle Your Deep Spring Cleaning Checklist

For those who find spring cleaning daunting or simply lack the time, professional help is always an option. Vella offers a seamless solution, where a team of two professional housekeepers will handle your entire deep spring cleaning checklist – and then some – ensuring your home is spotlessly clean, organized, and rejuvenated. Opting for professional cleaning services allows you to enjoy the benefits of a clean home without the stress and effort involved in doing it yourself.

Deep spring cleaning is more than a chore; it’s a ritual that breathes new life into your home and well-being. By using eco-friendly products and following basic spring cleaning and organization tips, you can transform your living space into a sanctuary of health, happiness, and harmony. And remember, if the task seems too daunting, professional services like Vella are just a click away, ready to bring the rejuvenating spirit of spring right into your home.

Mold, especially black mold in shower areas, is a common household concern. It poses potential health risks and can degrade the quality of your home.


Knowing this can feel a little overwhelming. But getting rid of mold in shower spaces doesn’t have to be a daunting process. 

Using the right methods and products, you can transform your bathroom from a mold-prone area to a clean, refreshing space. Whether you’re just figuring out how to get rid of mold in the shower or simply want to learn preventive measures, you’re in the right place.

In this article, we’re going to teach you about the valuable ways you can identify, manage, and prevent mold in the shower. You’ll discover:

  • Effective, non-toxic methods for cleaning mold in the shower.
  • Bleach vs vinegar: which is better for mold removal?
  • How to proactively prevent mold growth

Keep reading and equip yourself with the knowledge to maintain a healthy bathroom environment.

Is it Safe to Shower with Mold?

The short answer is be cautious. An occasional encounter might not be immediately harmful. But regular exposure in a confined space, like your shower, can be detrimental.

Black mold in the shower can be especially dangerous. Often referred to scientifically as Stachybotrys chartarum, black mold is notorious for the health issues it can cause. Symptoms ranging from allergic reactions, respiratory problems, to more severe conditions can be triggered by prolonged exposure.

Cleaning mold in your shower is as important to hygiene as it is to aesthetics. Addressing the issue promptly can save you from potential health hazards while restoring your shower to pristine condition.

What Really Kills Mold in the Shower?

Mold is a fungus that flourishes in moist, warm conditions. This makes showers an ideal and fertile environment. 

At its core, mold requires organic material to live, ample moisture, and a favorable temperature to spread. To get rid of mold in the shower, we need to target these areas.

If you’re looking for a non-toxic cleanser to clean mold in your shower, we recommend Bon Ami. Apart from removing stubborn scuff marks, it’s a product we trust because it works wonders with moldy spots on grout. Bon Ami has been a companion in households searching for how to remove mold from showers since 1886.

Is Bleach or Vinegar Better to Kill Mold in the Shower?

When faced with the task of cleaning mold in the shower, homeowners often find themselves choosing between bleach and vinegar. Both are popular choices, but how do they stack up against each other in terms of effectiveness?

Bleach is a powerful oxidizing agent that can decolorize mold, which makes your surfaces look clean. However, it might not penetrate porous surfaces, such as grout, deeply enough to eradicate mold at its roots. Additionally, bleach comes with strong fumes and poses potential health and environmental risks.

Meanwhile, vinegar is a natural acid that can be a cheap effective treatment for many types of mold. It doesn’t have the same strong, overpowering smell either. And unlike bleach, vinegar is eco-friendly

While both bleach and vinegar have their merits, we at Vella Clean champion the use of natural, non-toxic solutions like vinegar. It aligns with our philosophy of prioritizing the well-being of both the environment and homeowners like you.

What is the Easiest Way to Remove Mold from a Shower?

Mold can be stubborn to get rid of. But with the right approach, removing mold from the shower can be a simple task. 

The key lies in combining the correct tools, products, and methods:

  • Start with non-toxic solutions: Vinegar, as discussed, can be a potent mold-killer. Spraying undiluted white vinegar on the affected areas and letting it sit for an hour can be effective. Following this, scrub away the mold with a bristle brush and rinse with water.
  • Specialized cleaning brushes: Brushes with stiff bristles can be particularly effective for scrubbing away mold, especially from grout lines and tight corners.
  • Non-toxic mold removers: Products like Bon Ami are excellent choices. They are gentle on surfaces but tough on mold.
  • Professional help: For persistent mold issues, it’s wise to seek professional help. At Vella Clean, our deep clean services not only ensure a mold-free shower but also provide preventive measures to keep mold at bay.

The right balance of DIY methods and professional services can guarantee you a refreshing, mold-free shower experience.

3 Critical Tips for Preventing Black Mold in Showers

While dealing with shower mold is essential as soon you identify it, preventing its occurrence is even better. Here are three key tips for keeping black mold in showers at bay:

1. Regular Inspection

Be proactive. Make it a habit to periodically check corners, nooks, and hidden areas in your shower. Early detection is crucial to thwarting a potential mold outbreak.

2. Ensure Proper Ventilation

The moist environment of a bathroom is a mold magnet. By ensuring adequate ventilation, either by running an exhaust fan or opening a window after showers, you can greatly reduce humidity and discourage mold growth.

3. Reduce Your Shower’s Humidity

It’s vital to let your bathroom dry out thoroughly after each use. Consider tools like dehumidifiers to maintain optimal moisture levels and get rid of mold in the shower effectively.

Alongside mold prevention, make sure to also prioritize protecting your home from germs and viruses for a comprehensively healthy environment.

How to Clean Mold in Your Shower: Use Professional Help

In this guide, we’ve delved into the challenges posed by shower mold. We’ve also highlighted the significance of early intervention and effective preventive measures, especially when it comes to black mold in showers.

If there’s one thing we hope you take away from this article, it’s this: mold isn’t merely an unsightly blemish. It’s a genuine health concern requiring your attention.

If your own battle with mold ever feels too overwhelming, remember there are professional services, like Vella, just a call away. We’re founded on the principles of providing superior housekeeping while championing the ethical treatment of employees.

If you value both top-tier housekeeping with the use of nontoxic and natural products, Vella Clean can help. Book us to get rid of mold in your shower today.