These days, we tend to stare at screens all day. Digital devices are everywhere to be found. But most people forget that these devices also need periodic cleaning. Cleaning them? If not cleaned properly, these screens start accumulating dust, bacteria, and fingerprints very quickly. And before you know it, they become a host for germs to spread. 

But worry not, it’s not hard to fix. You just need the right steps. And we are here to help you with that. Let’s get into it through this blog. 

Why Clean Electronics Regularly?

Dirty screens don’t just look bad; they become clusters and breeding grounds for bacteria. The objects that we touch the most carry the most amount of pathogens and eventually dirt and grease buildup on them, making it harder to see, further stressing our eyes day after day. 

On top of all this, if you use the wrong cleaners, you scratch the surface or risk water damage. We say cleaning delicate things is best left to professionals. All of this can very well be prevented. With regular cleaning and wiping, and special antibacterial cleaners. Regular care prevents scratches and other damage. 

The Do’s and Don’ts of Cleaning Screens

A Vella Cleaning Professional is cleaning a mirror panel with the help of SprayWay Glass cleaner.

If you do decide to keep your devices clean, here are some protips for you to do it right, the Vella Way.

Do:

  • Grab a microfiber cloth.
  • Spray the cloth, and not the device, otherwise you risk water damage.
  • Wipe in circles with minimal pressure to make sure you are not pushing so hard that you make abrasions on the device.

Don’t:

  • Do not use paper towels to clean electronics; they have microscopic dust particles and are likely to cause scratches.
  • Do not use scratch removers or other harsh chemicals; they can leech inside devices.
  • Avoid pressing too hard on the screens to avoid physical harm.

By following these simple dos and don’ts, you can keep your devices clean. 

Step-by-Step: Streak-Free Cleaning for Different Devices

Let’s see how to clean each of your devices with care and attention: 

Phones & Tablets

Avoid cleaning phones when they are plugged in; shut them down completely before starting to clean. Lightly dampen a microfiber cloth and then slowly rub in circular motions. Go slow around buttons.

Laptops & Keyboards

Ideally, one should blow compressed air to clean the keyboards. And then a damp microfiber cloth for the display. Wait for all liquids to dry out before switching the laptop on. 

TVs & Monitors

These are big, delicate screens that need special care. Be sure to use a soft cloth for this. Avoid any harsh chemical cleaners, and definitely don’t spray them directly on the screens.

Smart Home Devices & Remotes

Gentle, circular wipes work best. And don’t forget remotes, voice assistants, or smart displays; they collect just as much grime.

As you notice, individual devices require care and attention, too. Regular cleaning will also ensure the best performance and long life. 

Natural & Eco-Friendly Cleaning Options

You don’t need toxic sprays. To undertake cleaning endeavors yourself. You can either use cleaners like Sprayway, or for a quick home remedy: 

  • A weak mix of vinegar + distilled water.
  • Plant-based sprays made for electronics are safer.
  • Microfiber cloths can be washed and reused.

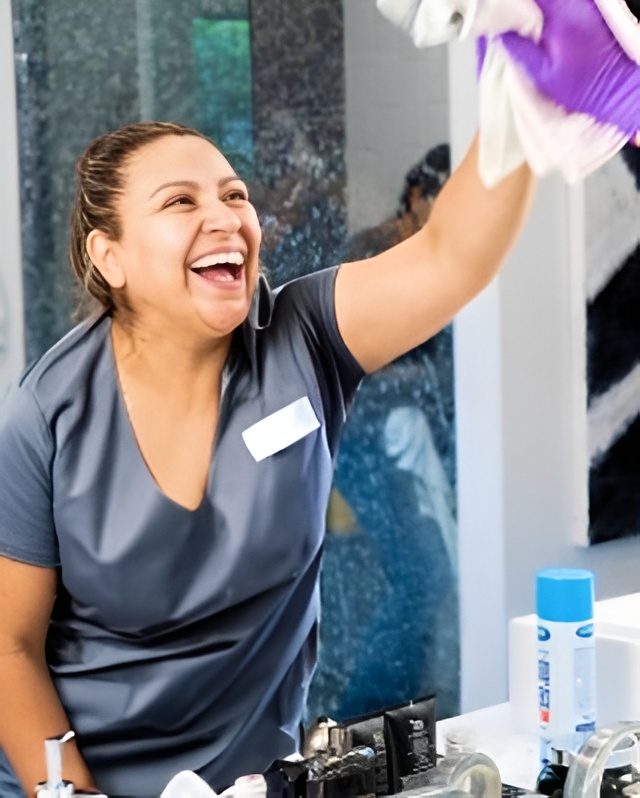
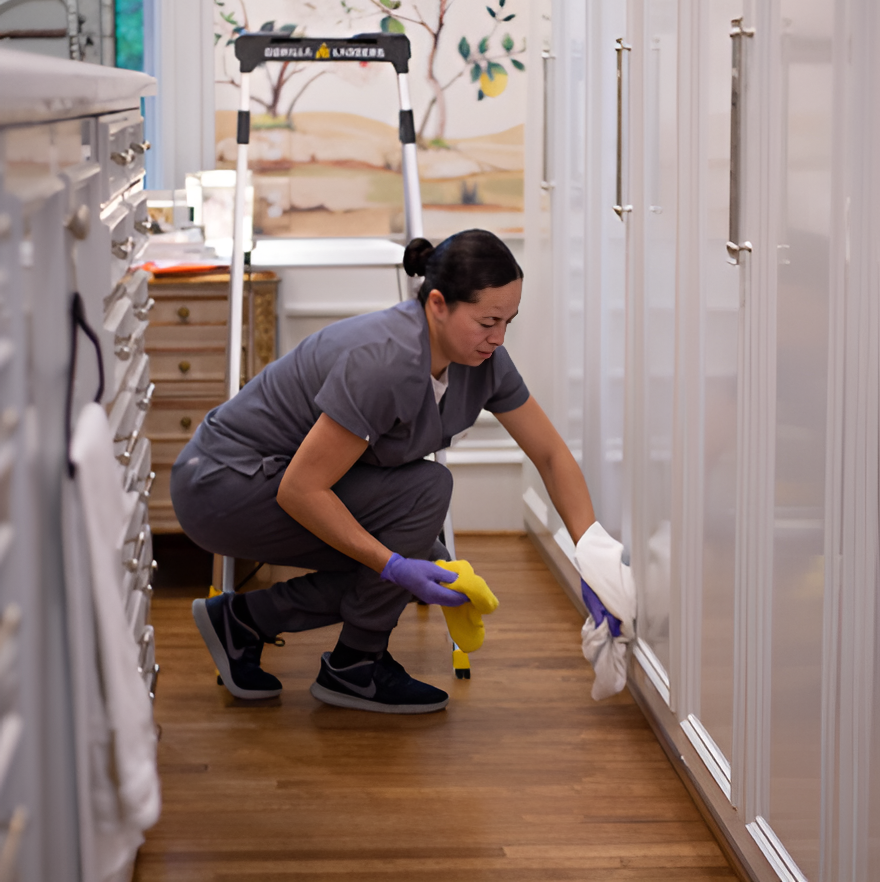
At Vella, we only use eco-friendly cleaning products to ensure a safe cleaning environment. We offer our home cleaning services across Texas, including Austin and Dallas

A Vella Cleaning Professional cleans tough-to-reach areas that would otherwise have been missed in regular cleaning.

Quick FAQs

Q: How often should I clean my electronics?
Weekly for phones. Every two weeks for TVs or laptops.

Q: What’s the safest cloth?
A microfiber cloth is ideal for cleaning screens and other digital devices.

Q: Do cleaning pros handle electronics?
Yes. The right cleaning services include electronics in their routine.

Vella: Keeping Your Homes Clean

Clean electronics don’t just look better. They are safer to use and they last longer. Try these safe tips at home, and don’t forget, when it’s time for a deeper clean, Vella is here.

Searching for house cleaning near me usually means you want a trusted team that knows how to respect your home and your things.

Ready for streak-free screens and a spotless home? Check the various Vella’s services. 

A good day starts with a great cup of coffee, and for that, you need a properly cleaned coffee maker. Over time, coffee oil residue builds up, leading to mold growth and affecting both the durability of your machine and the taste of your brew. Regular cleaning is essential to keep your coffee tasting fresh and your machine running smoothly.

Here’s a proper guide discussing some of the best ways to clean various kinds of coffee makers.

The Best Way to Clean a Drip Coffee Maker

Drip coffee makers are known to be one of the most popular coffee brewing devices used in households. Due to their regular usage, they also require regular intensive cleaning. You can easily clean these drip coffee makers using the following steps :

Step-by-Step Cleaning with Vinegar and Water

  1. Clear the Machine: Remove the leftover coffee grounds and discard the filter.
  2. Cleaning Solution: Prepare a cleaning solution by mixing white vinegar and water in an equal ratio (1:1).
  3. Clean Cycle: Allow the solution to enter the water reservoir and initiate the brewing cycle.
  4. Pause Midway: Allow the cleaner to sit in the machine for about 30 minutes to dissolve some of the buildup.
  5. Complete the Cycle: Once the reservoir is empty, go ahead and restart the brewing cycle.
  6. Rinse with Water: Then, run two full cycles of clean water to remove any residue. 

Alternative Cleaning Solutions

  • Baking Soda: Add 1/4 cup of baking soda to warm water and start the machine.
  • Lemon Juice: You can also add lemon juice instead of vinegar for a refreshing citrus aroma.

How to Clean a Keurig or Single-Serve Coffee Maker

The Keurig is a famous single-use coffee maker that needs to be deep cleaned (descaled) regularly to remove hard water minerals. Descaling is important to keep the equipment in good shape.

Descaling and Removing Mineral Buildup

  1. Clear the Reservoir: Remove any leftover water and K-Cups.
  2. Use a Descaling Solution: Make a descaling solution by combining vinegar and water and put it in the tank.
  3. Clean the Pod Holder and Needle: A paperclip or Keurig needle cleaning tool can be used to unclog coffee grounds.
  4. Rinse Thoroughly: Run a few cycles with plain water.

How To Clean a French Press

We love French presses for their rich, full-bodied coffee, but they require special care to prevent buildup. But why do coffee grounds and oils stick to the glass and filter? 

Coffee grounds and oils stick to the glass and metal filter because they’re sticky. These residues can go rancid over time if left to accumulate and can ruin your brew.

Various Ways to Clean:

  • Rinse Right Away: Swirl warm water in the carafe to loosen any remnants.
  • Baking Soda: Take a little baking soda on the sponge and scrub the inner surface to cut through the grease.
  • Vinegar Deep Clean: Fill the carafe with warm water and add a splash of vinegar. Let it sit for 15 minutes before scrubbing.
  • Clean the Filter: When you remove the plunger, apply detergent and wash the filter screen separately.

Ensure that everything is dry before reassembling.

Espresso Machine Cleaning 101

Espresso machines require regular maintenance to keep the brew rich and smooth. Here is how to keep it clean and secure: 

Cleaning the Portafilter, Steam Wand, and Water Tank

  • Wipe the Steam Wand: After use, immediately wipe the steam wand using a damp cloth.
  • Flush the Group Head: Pass water through the portafilter. Make sure to do this daily.
  • Descale Monthly: To avoid limescale buildup, use a descaler regularly.
  • Backflush Weekly: Use a cleaning tablet once a week to prevent the buildup of coffee oils.
  • Soak Small Parts: In addition, remove and soak components such as the basket of the portafilter.

Common Espresso Machine Cleaning Mistakes

  • Using soap instead of a proper descaler leaves unwanted residue.
  • Neglecting to wipe the steam wand allows milk buildup.
  • Ignoring the group head gasket causes stale coffee oil accumulation.

Avoid these mistakes and keep your device clean and safe. Still not confident about cleaning your coffee machine? 

Worry not, Vella is here to help you out. If you live in Texas, you can avail of Vella’s services. We offer services across various parts of Texas including Austin, Dallas, Plano, Dallas, and Fort Worth

Why Cleaning Your Coffee Maker Is Essential

A dirty coffee maker not only affects flavor but can pose health risks. Here’s why regular cleaning is crucial:

  • Removes Mold and Bacteria: Moist environments encourage mold growth.
  • Maintains Flavor: Old coffee oils can make your brew taste bitter.
  • Extends Machine Longevity: Routine maintenance prevents clogs and breakdowns.

Natural vs. Chemical Cleaners: What’s Best?

When it comes to giving your coffee maker a nice bath, you can either choose the natural way with vinegar, baking soda, and lemon juice or go for the chemical descaling solutions that you can easily find in stores. Every possible choice has its own pros and cons.

Pros and Cons of Natural Cleaners

Vinegar: It works great for mineral deposits, but leaves a smell behind.

Baking Soda: This is a mild abrasive that is great for dealing with smells but not so effective on heavy deposits.

When to use store-bought descaling solutions

  • If you have extremely hard water and significant mineral deposits.
  • When your coffee maker manufacturer recommends a specific descaler.
  • If you want a quick, odor-free solution.

For eco-friendly options, consider Bon Ami and Branch Basics, which provide non-toxic and biodegradable cleaning products.

A box containing non-toxic cleaning products used by Vella for coffee maker maintenance.

Daily, Weekly & Monthly Coffee Maker Maintenance

Keeping up with a simple cleaning routine will extend the life of your coffee maker:

Quick Daily Rinse vs. Deep Clean

Daily: Remove leftover grounds, rinse the parts and wipe down the surfaces daily.

Weekly: Deep clean removable parts every week.

Monthly: Descale and check for any damage once a month.

Every 3-6 months: Change filters and inspect for any rust or damage.

If you are not satisfied with regular cleaning you can always keep professional help. Vella offers deep cleaning services all across Texas including areas like Dallas and Plano. Book your appointment to ensure that your appliances and home get a thorough clean once a month. 

A Clean Coffee Maker Starts with a Clean Kitchen

Your kitchen is key to the quality and taste of your coffee. Dust, grease, and food particles on the countertops of your kitchen or around your coffee maker can lead to unwanted odors and flavors in your brew. Deep cleaning your kitchen on a regular basis is vital to maintaining overall health and well-being. 

If the coffee mugs, filters, and other accessories aren’t cleaned properly they can accumulate residue that ruins the taste and makes your coffee less enjoyable.

Keeping Counters, Mugs and Accessories Spotless

  • Wipe Down Surfaces Daily: Use a gentle kitchen cleaner to remove spills and stains.
  • Wash Mugs and Carafes Immediately: Prevent coffee oil buildup.
  • Store Coffee Grounds Properly: Keep them in airtight containers away from moisture.
  • Clean Coffee Accessories Regularly: Reusable filters, stirring spoons, and milk frothers should be washed thoroughly to prevent mold growth.

For a sparkling clean kitchen, book a deep cleaning with Vella to maintain the perfect environment for brewing fresh coffee! Our professional team ensures every corner of your kitchen is spotless, from countertops to appliances, so you can enjoy your coffee without any worries. Let Vella take care of the deep cleaning while you savor every sip of your perfectly brewed cup!