Most of us ask the same question when the house starts feeling out of control. What makes a cleaning service truly the “best house cleaners near me”? It comes up during busy weeks, last-minute plans, or those moments when the place needs attention fast. Over time, we learned that the answer is simple. Trust, steady results, and cleaners who show up with real care make the biggest difference.
So here is our full guide. If you want to know what separates dependable cleaners from the rest, this is for you.
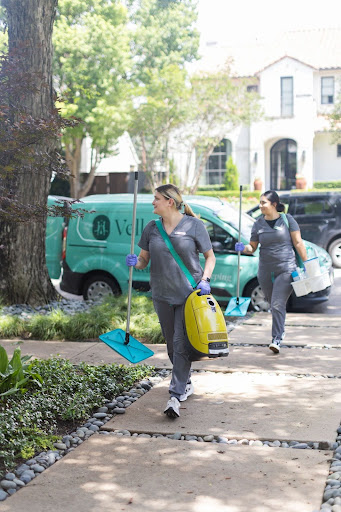
1. Professionally Trained, Background-Checked Cleaners
Every great cleaning experience begins with the people who walk through your door. We work with cleaners who are trained to clear standards that cover home layouts, delicate materials, and high-touch surfaces. A marble countertop needs a different approach than a stainless steel range. A hardwood floor behaves differently from a tile floor. Training matters because it protects your home and gives you predictable results.
Background checks also give peace of mind. When we talk about the best house cleaners near me, trust should never feel optional. It should be built in from the moment you book.
2. Eco-Friendly, Non-Toxic Products That Keep Homes Safe
A question we hear often is simple. Are eco-friendly cleaning services worth it? Based on experience, we believe they are. Safe, plant-based products help reduce chemical buildup inside homes, and the EPA Safer Choice list gives a clear look at approved ingredients.
Many families also prefer non-toxic cleaners because they avoid harsh residues that stay behind long after the job is done. Simple eco-cleaning habits can help maintain that balance at home.
At Vella, we ensure to use only non-toxic, eco-friendly cleaning products. Thereby, safeguarding your health in every clean.
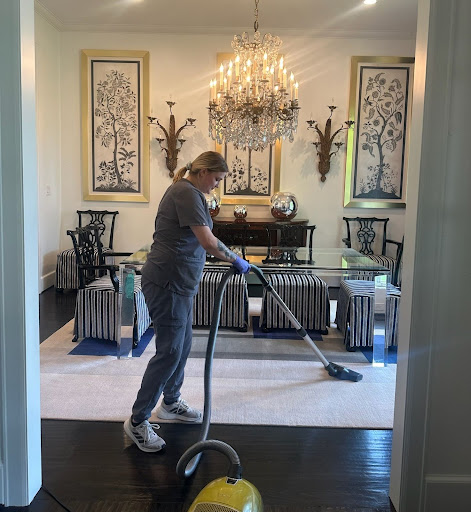
3. Detailed Cleaning Checklists That Deliver Consistent Results
Reliable teams stand out because they follow structure. We use clear checklists for Basic Cleaning, Deep Cleaning, and Move Out Cleaning. They keep the small things from slipping through, like dusty ceiling fans, forgotten blinds, sticky fridge handles, or baseboards that quietly collect dirt.
When someone searches for the “best house cleaners near me” in Texas, most people want one thing. They want consistency, no matter which cleaner arrives. Checklists make that possible. They guide the process and keep everything predictable.
4. Transparent, Upfront Pricing With No Hidden Fees
Transparency sets strong cleaning teams apart. Clear pricing means you know exactly what you are paying for. Many budget cleaners offer vague quotes that change at the last minute. Hourly pricing avoids confusion. It helps you book the exact duration you need and control your budget.
When people look up ‘professional cleaning services’ or ‘home cleaning services in Austin’, pricing is one of the biggest concerns. A reliable service answers that concern with clarity instead of surprises.
5. Flexible Scheduling Designed Around Real Life
Life in Texas moves fast with work, school, and last-minute guests all happening at once. That is why flexible booking matters so much. We offer online booking that takes less than two minutes. Same-week appointments are often available, and recurring cleanings help keep the home steady.
A common question we hear is simple. How do I book Vella’s home cleaning service? The answer should never feel complicated. A smooth, mobile-friendly booking system saves time, and automated reminders with easy rescheduling keep everything on track.
6. Reliable Communication From Start to Finish
Good communication keeps a cleaning visit steady. Quick confirmations, arrival updates, and a spot to leave notes help avoid confusion. Homes have their own needs, whether it is a pet, a room to skip, or a surface that needs gentler care.
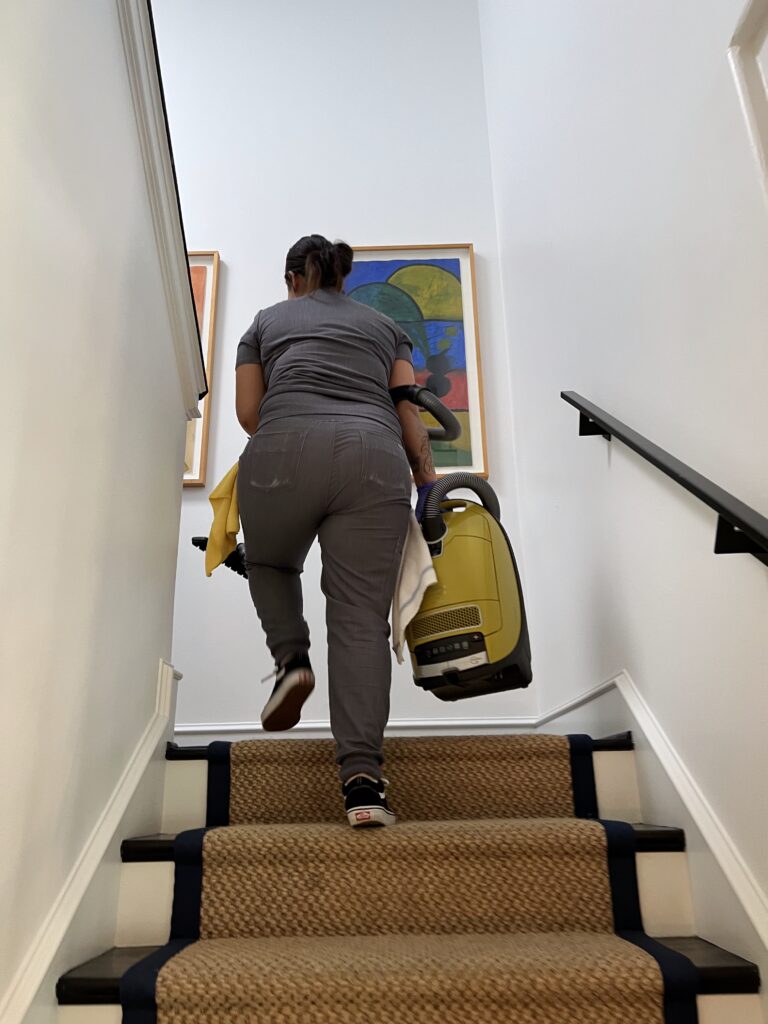
With Vella, you can tell us your preferences, choose a cleaning service from our options, and add-on services as you wish. It is easy, quick, and effective. This way, you need not compromise on quality. We ensure proper and adequate communication with you to ensure there is no gap for any miscommunication. We also carry our own cleaning products and equipment. We have you covered from start to finish.
7. Serving Key Texas Regions With Steady Quality
Consistency across Texas is one of the reasons people return to us. We serve:
- Austin
- Fort Worth
- Frisco
- Plano
- Southlake
- Lakewood
- Lake Highlands
- Preston Hollow
- Addison
- Highland Park
- University Park
- Uptown
- Downtown
- Kessler Park
We cover all the top residential areas in Texas, ensuring clean homes through our dedicated services.
FAQs About Professional Cleaning Services in Texas
- What makes a house cleaner the best?
Skill, training, trust, and steady results. The best cleaners never guess. They follow structure and stay detail-focused.
- How often should I schedule residential cleaning services?
Most homes benefit from biweekly cleaning. High-traffic homes may prefer weekly visits.
- What should I expect during my first cleaning?
A structured checklist, clear communication, and a walkthrough of priority areas.
Still have any questions? Vella’s got the answers.
Why Vella Is the Best Choice for Your Home
Across all seven standards, our focus stays the same. We deliver steady results, reliable care, and a level of trust that makes your home feel easier to maintain. If you are done searching for the best house cleaners near me and want a service that actually follows through, Vella is ready.
You can schedule your next cleaning through our quick booking page.