Summer barbecue parties are wonderful until cleanup time rolls around. From grease residue, sticky sauces, and carbonized pieces of food that stick to your grill surfaces, it’s like cleaning will never stop. But letting the build-up happen isn’t only destroying your next barbecue; it’s also shortening the life of your outdoor kitchen and fire pit.
In this blog, we’ll walk you through the process of cleaning grill gates, fire pits, and outdoor kitchens in detail. Plus, we will share tips on maintaining year-round cleanliness so that your BBQ space is always ready when you are.
Why Post-BBQ Cleanup Matters More Than You Think
Your post-grill maintenance can break or make your equipment. Keep in mind, a thorough cleaning does much more than simply keep things clean. Grease build-up is not only unattractive; it can lead to flare-ups, rust, and even affect the flavor of your food.
And worst of all, grease buildup poses a serious fire hazard, with most grills being burnt or worn down by residual oil and grease. On top of that, food residue attracts unwanted pests like rodents, ants, and flies, especially in warmer months, and turns your grill or counter space into an open buffet.
Over time, seasonal grime, from wet Texas heat to rainy autumn days, can become sticky and harden on metal and stone surfaces, leading to corrosion and mold that shortens the life of your grill or fire pit. Although it may seem like a nuisance to clean up after each use, prevention of buildup, saving time in the long term, and preserving your investment for years to come is well worth the effort.
Clean Grill Grates Like a Pro: Step-by-Step
Grill grates are where your burger and heat meet, and clean grates are a must for flavor and safety. A dirty grate means flare-ups, uneven cooking, and the taste from the last supper will remain.
Dirty grill grates tend to flare, cook unevenly, and impart an unwanted taste from last week’s barbecue. Properly cleaning your grill grates before you use them makes a difference every time you light the flame. Here’s how to clean grill grates like a pro:
1. Let the grates cool, then remove for easier handling.
Always let the grill grates cool before cleaning them, and never try to clean them while they are hot. Once they are cool, remove them from the grill and place them on a flat surface.
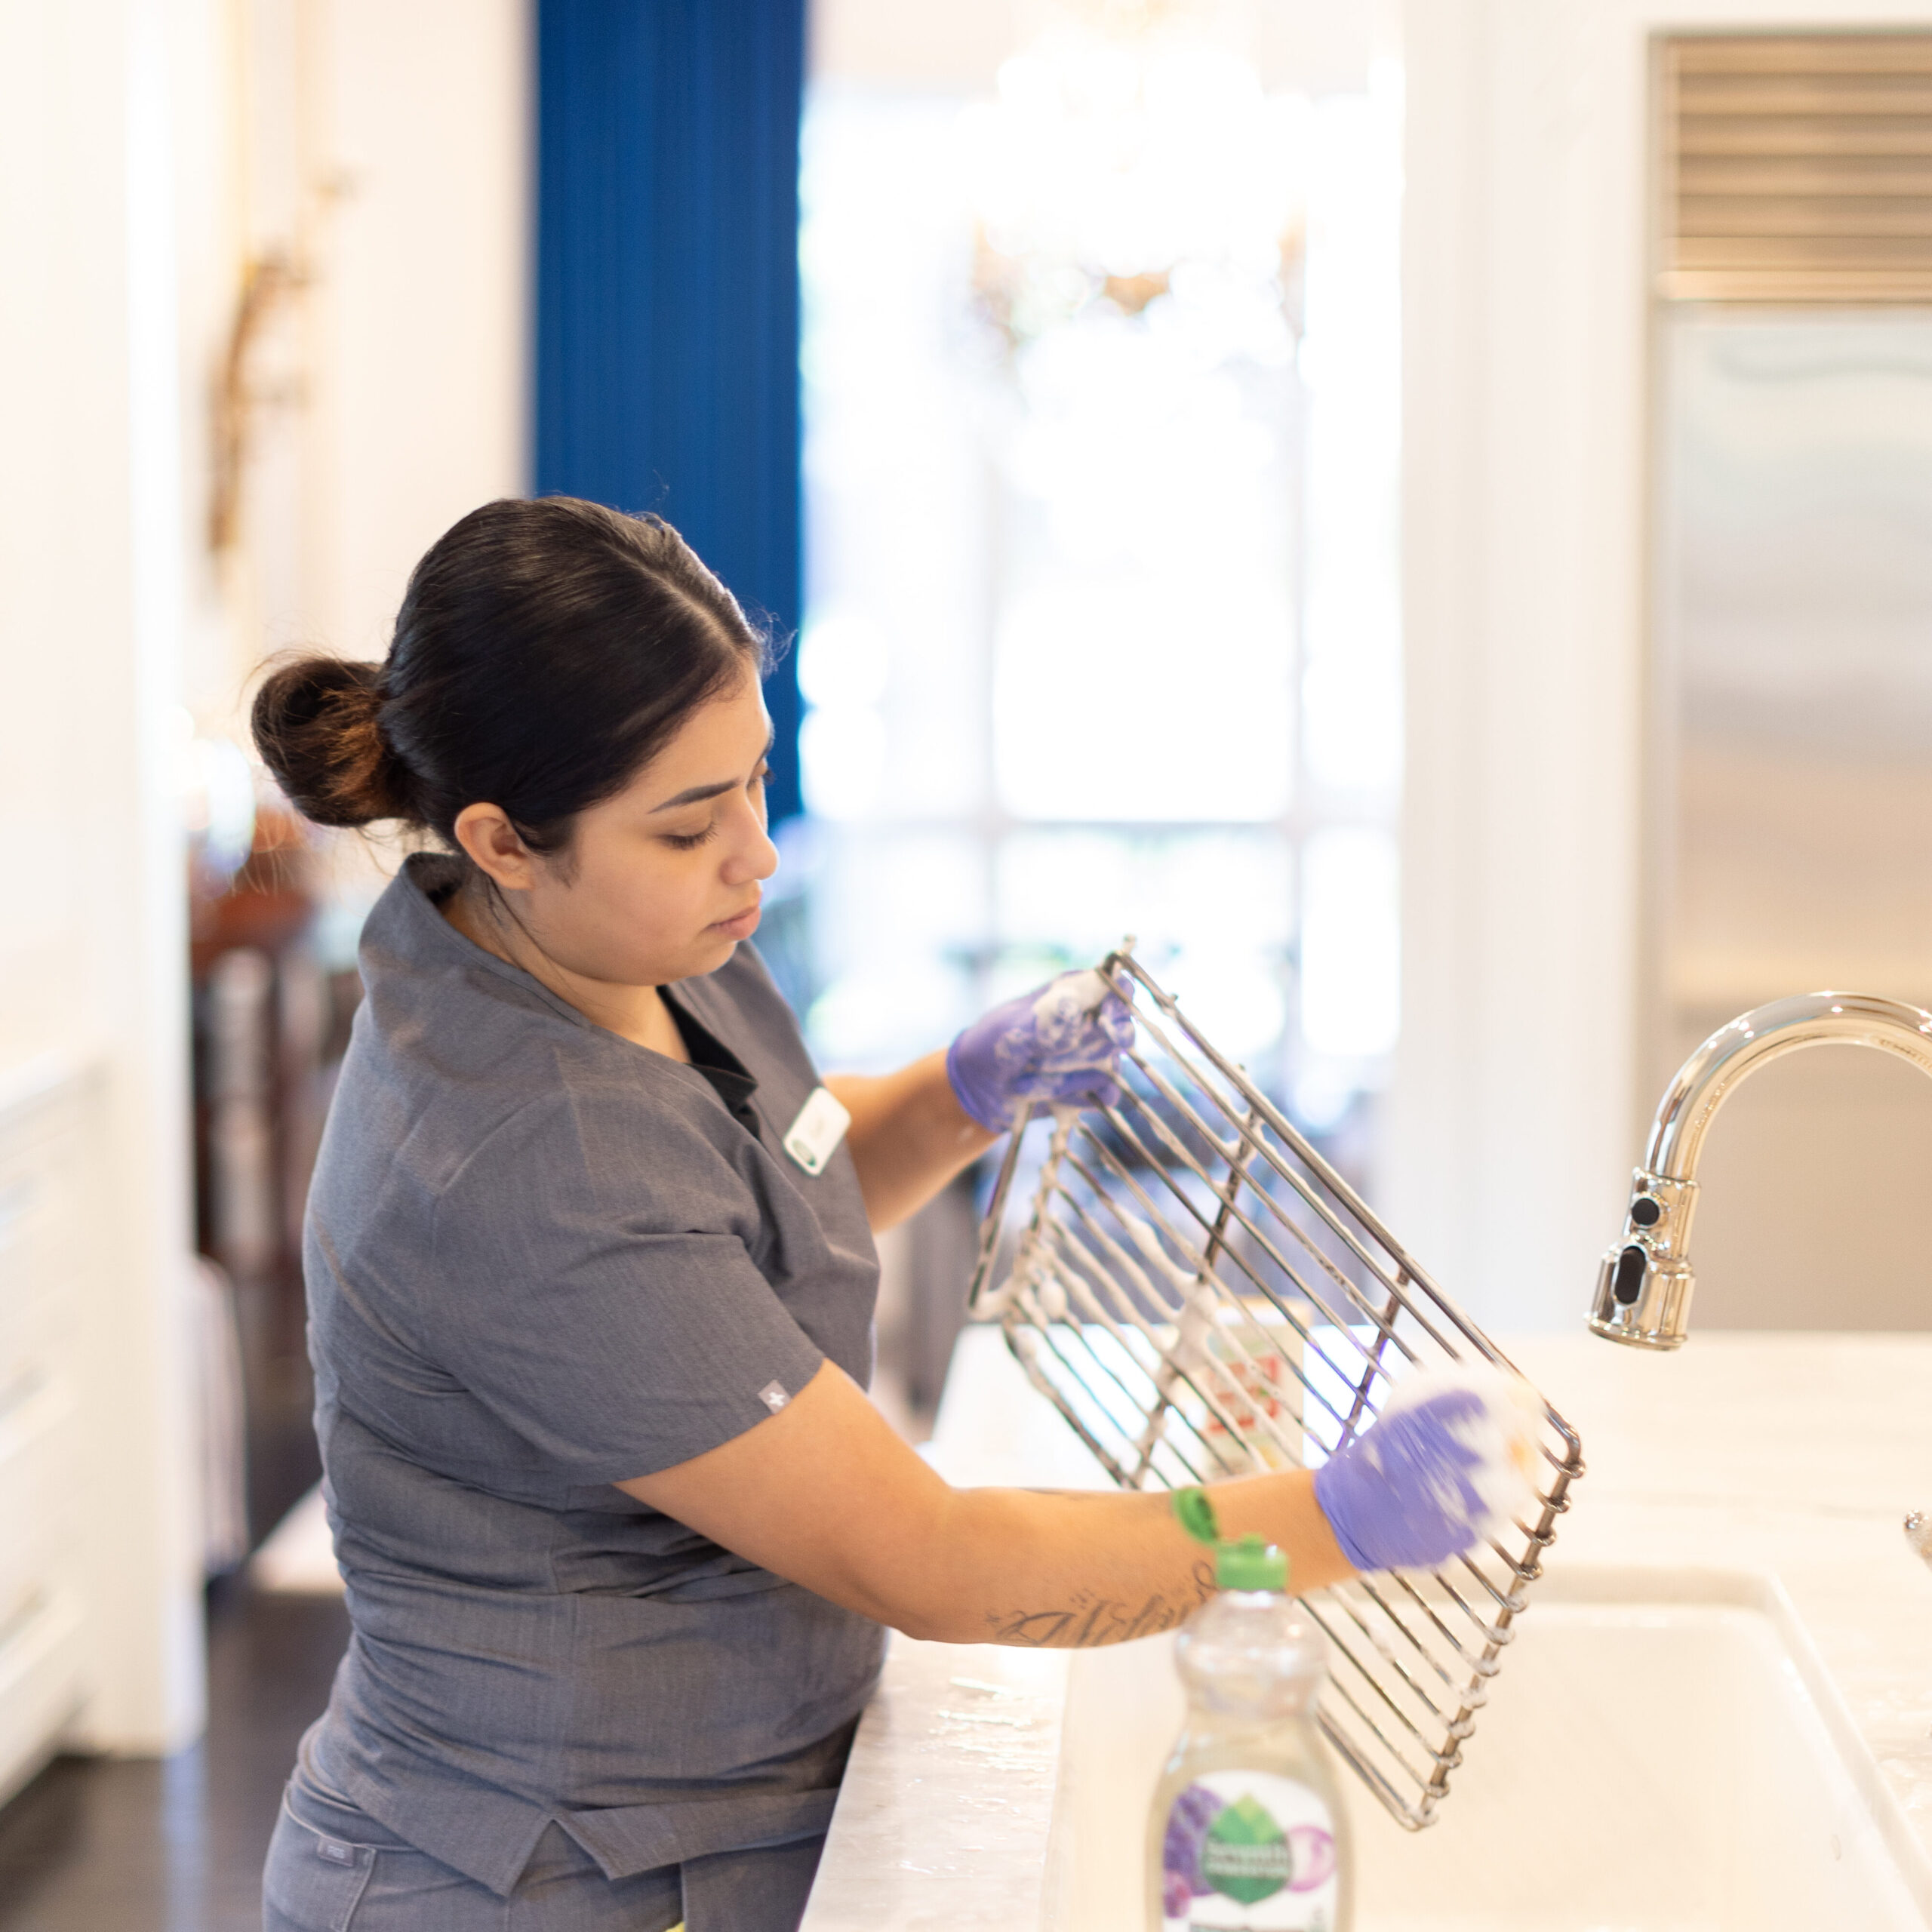
2. Soak in warm water and dish soap to loosen debris.
Fill it with hot water plus a squirt of Seventh Generation Dish Soap. Let everything soak for 15-30 minutes to loosen the grease and carbon deposits.
3. Use a non-wire grill brush or a pumice stone.
Wire brushing can be dangerous because bristles may crack off and enter food, thus disrupting both the health and safety of your family. Therefore, scrub the grates with a non-wire grill brush, a nylon-bristled brush, or a pumice stone.
4. Rinse well and dry them so that they won’t rust.
After the grates have been cleaned, rinse them with fresh water. Dry the grates with a towel, as rust is likely to form when wet.
5. Optional: A thin layer of cooking oil to keep the grill grates seasoned.
Give a thin layer of oil to clean, dry grill grates to assist in keeping the grates seasoned and guarded until grilling time returns.
We always suggest that our clients go through this after every use, or schedule a seasonal deep clean with us if it’s been a while. We offer our services across Texas, including Austin and Dallas.
How to Clean BBQ Grill Interiors Without Chemicals
Grill interiors are often overlooked, but that’s where the grease and carbon residue lurk. The good news is, you can do sustainable cleaning without using abrasive chemicals.
First, turn off and eliminate any fuel sources like gas or propane; safety should always come first. After the grill has been turned off safely, remove the grease trays and drain the drip pans, which collect a whole lot more gunk than we know. After this step, wash it thoroughly with a suitable cleaner, or at the very least, soap and water.
Using a plastic scraper or wooden spatula, gently scrape dry grime away from the burners and inner walls. For an effective homemade degreaser spray, an equal part of vinegar and water solution can be sprayed inside the oven, then left there for a few minutes, say ten, for the mixture to loosen the grime before being wiped away with a cloth.
Lastly, ensure all the parts are properly dry to avoid reassembly, as moisture leads to rusting and negates all your efforts.
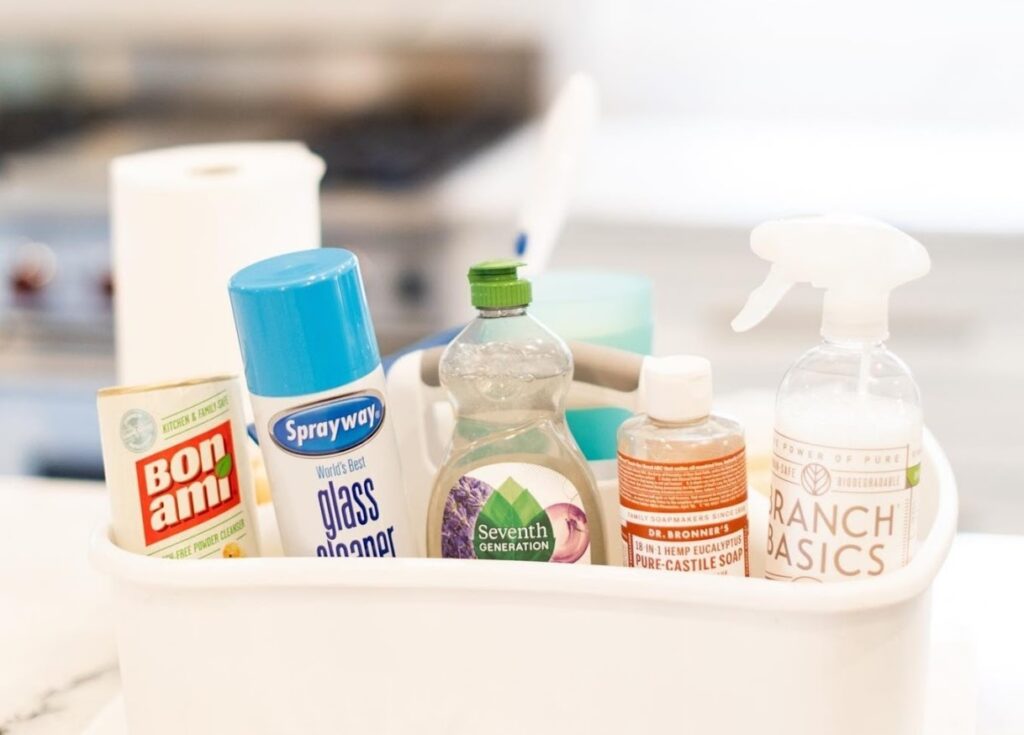
For a stronger interior clean, we employ Branch Basics, our favorite non-toxic cleaner that is great at breaking down greasy residue without the strong fumes.
Degreasing Outdoor Kitchen Counters and Prep Zones
Grilling is not just about the flame; it’s about the preparation, too. Your patio counters are worthy of as much love as your grill, particularly if you’re chopping veggies or preparing meat. Or serving platters.
First of all, check what kind of surface you are working on. That is, if it is stainless steel, stone, tile, or composite, all require a different approach. Most usually, anything mild will do, like a gentle degreasing agent or a mild vinegar and baking soda combination. Sprinkle baking soda on the very dirty spots, then spray with vinegar, let it sit until fizzing starts, then wipe off.
For more stubborn messes, there are products such as Bon Ami that give a good, hard but soft clean. Always use microfiber cloths to prevent scratching and to leave surfaces completely lint-free.
The toughest jobs with raw meats, fresh fruits, and veggies should be followed up with the sanitizing action of a food-safe sanitizer or hot soapy water to get rid of any lingering bacteria.
Finally, to shine the counters back up and get them grill-ready, buff dry after any cleaning.
Restoring Fire Pits After Cooking or Roasting
S’mores and late-night fires are great until you’re left with a messy fire pit the next morning. To keep your fire pit in good shape, start by waiting until the ash is completely cool before cleaning. This usually means leaving it overnight to be safe.
After cooling, scoop out ash and remaining coals with a metal shovel or small scoop and put them in a metal bucket to prevent fire hazards.
For metal fire pits, soapy warm water and a hard brush are often all it takes to wash off residue and soot. If your fire pit is made of stone, steer clear of the pressure washer and use a soft scrub and wash with a baking soda paste instead.
After being washed, spend a minute or two examining the pit for cracks, rust, or burn marks. Catching them early on can avoid making small issues into large ones later, and have it prepared for your next warm outdoor evening.
Year-Round Cleaning Maintenance Tips for Outdoor Cooking Areas
Being on top of the little things will keep the big mess from forming later. Through small upkeep, one will greatly increase the longevity of his or her grill, fire pit, and prep station. Regularly makes cleanup faster. Here’s what we suggest between deep cleans:
Clean grill grates after each use.
Even a brief scrub does much to make your grill available the next time.
Use grill mats or foil to minimize direct residue.
They keep the grates clean and make cleanup quicker. Dispose of the residue after a couple of uses to remove odor.
Clear ash and drip pan every week during barbecue season
Don’t let them fill up, or they’ll overflow at the worst moment.
Cover fire pits and grills when not being used.
A good cover prevents rust, dirt, and insect nests. Trust us because it’s worth it.
Schedule seasonal deep cleans (Spring & Fall)
These intense cleans give your outdoor area a fresh start, almost like a clean slate.
Consistent Care Means Safer, Tastier BBQ
It’s about food safety, equipment durability, and having a nicer overall experience! Whether you’re having a backyard party or lounging with an evening of toasted marshmallows, maintaining your outdoor kitchen and fire pit makes every experience simpler.
Need help getting your space back into order? At Vella, our expert cleaners take care of the unpleasant work so you can concentrate on the things you enjoy: good food and fine company.
We’re there when you want a thorough clean, a reboot, or simply a bit of assistance in catching up with dirt. Book your session today. And don’t forget, maintaining your outdoor kitchen at its best is a year-round process, and the best part is, you don’t have to do it alone.