How to Sterilize Your Mason Jars
Mason jars are undeniably a must-have in every kitchen, thanks to their versatile range of uses. They can be used for food preservation, dry storage, and beverages. They are perfect for canning homemade jams, pickles, and sauces while also keeping pantry staples like grains and coffee fresh.
The proper way to clean the jars helps ensure they are in top shape for years. Right cleaning removes residue and proper sterilization helps to kill bacteria and mold. Read on to learn about various sterilization techniques, such as boiling, oven heating, dishwasher cycles, and more.
Step-by-Step Guide to Water Bath Sterilization
Step 1: Wash Jars Thoroughly
Begin by washing all surfaces of the jars using hot, soapy water and a sponge. Ensure they are thoroughly rinsed with warm water.
Step 2: Prepare a Large Pot
Fill a large pot with water and place a metal rack at the bottom to prevent the jars from coming into contact with the pot’s surface.
Step 3: Submerge the jars
Carefully place the jars into the pot, ensuring they are completely submerged by at least one inch of water.
Step 4: Boiling Process
Bring the water to a rolling boil.
Step 5: Duration of Boiling
Boil the jars for 10 to 15 minutes. Note that the boiling time may need to be adjusted for higher altitudes.
Step 6: Remove Carefully
Use jar tongs to carefully lift the jars out of the pot and place them on a clean towel to dry.
For further help, see USDA Home Canning Guidelines.
Common Mistakes to Avoid
- Skipping the washing step: Dirt and grease will get in the way of sterilization.
- Not boiling long enough: Jars need to sit, submerged, in boiling water for at least 10 minutes, or longer.
- Poor treatment of jars after sterilization: Touching the insides or rims of the jars just after the sterilization process can reintroduce bacteria. Use sterilized tongs instead.
- Filling jars when they’re wet: Moisture encourages mold. Air-dry jars completely and leave them to dry before using.
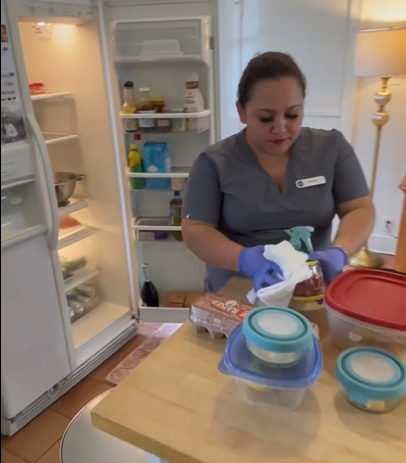
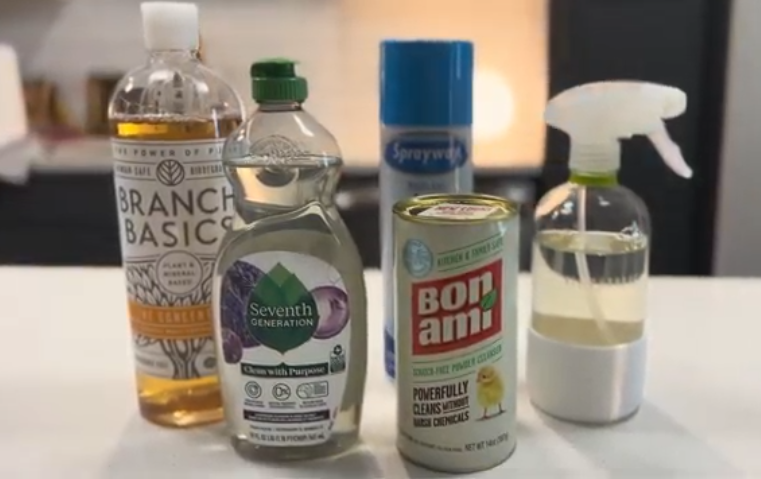
Deep cleaning your kitchen is not an easy task. You need to know the right cleaning methods and have eco-friendly solutions to ensure your family is safe. At Vella, we only use non-toxic products like Bon Ami to clean the homes.
There are various ways to clean a mason jar. Let’s look at how we can sterilize the jars using a microwave.
How to Sterilize Glass Jars in the Oven (Safe or Not?)
Oven sterilization involves placing clean jars on a baking sheet in a preheated oven at approximately 275°F to kill bacteria using dry heat. This method effectively sanitizes jars for canning purposes.
How to Use the Oven: A Step-by-Step Guide
Step 1: First, preheat the oven by setting it to 275°F (135°C).
Step 2: Then place jars on a baking sheet. Spread them out evenly to let heat circulate.
Step 3: Heat for 20 minutes. This ensures complete sterilization.
Step 4: Switch off the oven and allow jars to cool slowly to avoid cracking.
Safety Warnings
- Exceeding the 275°F limit is unsafe. Such temperatures can weaken glass, making jars susceptible to breaking.
- Sudden temperature shifts should be avoided. Putting hot jars on cold surfaces can lead to cracking.
For comprehensive guidance on safe canning practices, refer to the National Center for Home Food Preservation.
If you think you are too overwhelmed to deep clean your kitchen, let Vella help you. We help deep clean your home with eco-friendly solutions to bring back that shine and peace. If you are in Dallas, book us today.
How to Prepare Mason Jars for Storage (Beyond Just Cleaning)
Sterilizing jars for storage requires more effort than just simply cleaning them. They need to be protected from contamination until used.
Cleaning vs. Sterilizing
- Cleaning involves removing dirt, dust, or any residue.
- Sterilizing is getting rid of bacteria, mildew, and other germs.
Preparing Jars for Storage
- For dry storage: Ensure that the jars are completely dry to avoid the growth of mold.
- For liquid storage: Use airtight lids to avoid contamination.
Properly Storing Sterilized Jars
- Store them in a clean and dry place. Mold can appear if stored in areas that are too moist.
- Store them with lids on. This stops dust and bacteria from entering the jar.
- Avoid stacking. Stacking jars increases the chances of them breaking.
Sterilization Tips for Canning Jars Using a Dishwasher
Dishwashers can be used to sterilize jars, provided the conditions are correct. Although it is not as comprehensive as boiling, it is ideal for pre-cleaning the jars before canning.
Best Dishwasher Settings
- Use the water cycle with the highest temperature. Sanitation mode or high heat setting is perfect.
- Do not use detergent. Soap residue can pose a risk to food safety.
- Turn on the heated dried cycle. This stops moisture from building up inside jars.
Additional Steps
- Inspect for food or grease before use.
- If more sanitation is needed, follow up with boiling water.
To ensure that your mason jars are clean, add them to your seasonal kitchen cleaning checklist. In this way, it is never forgotten.
Alternatives: Steam & Microwave
These methods are recommended for those who do not have sufficient time. They work well with small batches but are not suitable for large-scale canning.
Using the microwave for quick sterilization
- Rinse the jars properly: Make sure to rinse the jars. Ensure that there is no leftover food.
- Add Water: Take each jar and pour approximately one inch of water.
- Microwave for 2 minutes: This kills any bacteria with the steam.
- Air Dry: Place the jars upside down on a clean towel to get rid of excess moisture.
Steam Sterilization Pros and Cons
- Pros: It is appropriate for a small quantity of jars, as it can be done quickly and efficiently.
- Cons: This method may not eliminate all bacteria, and it is less practical for large-scale canning projects due to its limited capacity.
Is it necessary to sterilize the lids and bands?
Jar lids and rings need deep cleaning, however, they are hard to sanitize. Overheating the rubber seal can impact its integrity.
How to Clean the Lids
- Hot soapy water is a great start.
- If necessary they can be boiled for 1-2 minutes.
- Be sure to let them dry before using.
Best Practices for Reusing vs. Replacing Lids
For Canning: Avoid reusing lids to ensure a proper vacuum seal. Reusing old lids increases the risk of food spoilage.
For Dry Storage: Ensure that the lids of your mason jars are not bent, rusted, or damaged. As long as they are not damaged, they are fit to be reused for dry storage.

Keeping Your Kitchen Spotless: The Final Step
Kitchen hygiene involves an array of services regarding cleaning. Trying to maintain a perfectly clean kitchen can be challenging if proper deep cleaning does not take place. Regular deep cleaning helps prevent cross-contamination and keeps food preparation areas hygienic.
Want a spotless kitchen? Book a deep cleaning with Vella Cleaning Service.