A clean kitchen is the heart of a happy home. It makes cooking easier, keeps your space healthy, and even helps your appliances last longer. Let’s explore how deep cleaning your kitchen can make a big difference and learn simple tips to get started. 

The Hidden Challenges of Kitchen Cleaning

Your kitchen isn’t just where meals are made—it’s also where dirt, grease, and bacteria hide. From light fixtures to behind appliances, these less obvious spots can become breeding grounds for allergens and odors if left unattended.

Regularly tackling these overlooked areas with the right cleaning techniques keeps your kitchen fresh and healthy. However, deep cleaning an entire kitchen in one go can be overwhelming without a clear plan. That’s where a zone-based approach can make all the difference.

Strategic Approach to Deep Cleaning

Breaking your kitchen into zones simplifies the deep-cleaning process. Here’s how to tackle different surfaces and areas effectively:

Granite: For everyday spills on your kitchen granite, use a soft, dry sponge. This will wipe away any stains or dust. For a deep clean, use a non-acidic cleaner like Seventh Generation Dish Soap. It’ll help prolong the life of your granite seal and will keep your countertops looking beautiful for years.

Tiles: It’s crucial to clean tile countertops every day to avoid mold and other bacterial growth. Avoid soap-based cleaners, which can leave residue; use a non-corrosive cleaner and rinse thoroughly.

Stainless Steel: Make appliances shine with a paste of baking soda and water. Gently rub the paste onto surfaces, then rinse and wipe dry.
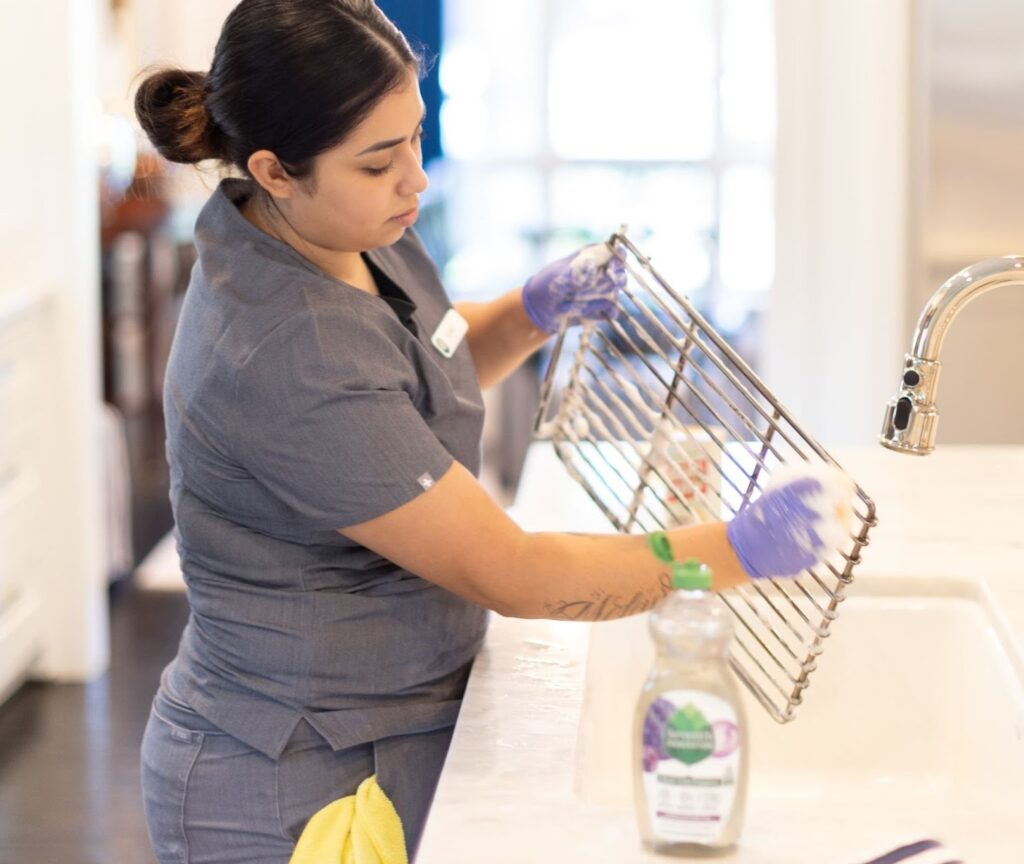
"Professional cleaner scrubbing a kitchen rack over the sink, demonstrating effective techniques for cleaning your kitchen with eco-friendly products."

Step-by-Step Guide to Deep Cleaning Your Kitchen

Here’s a simple checklist to make your kitchen sparkle:

Supplies You’ll Need

  1. All-purpose cleaner
  2. Degreaser
  3. Dish soap
  4. Baking soda
  5. White vinegar
  6. Microfiber cloths
  7. Scrubbing brushes and sponges
  8. Broom, mop, and dustpan
  9. Garbage bags

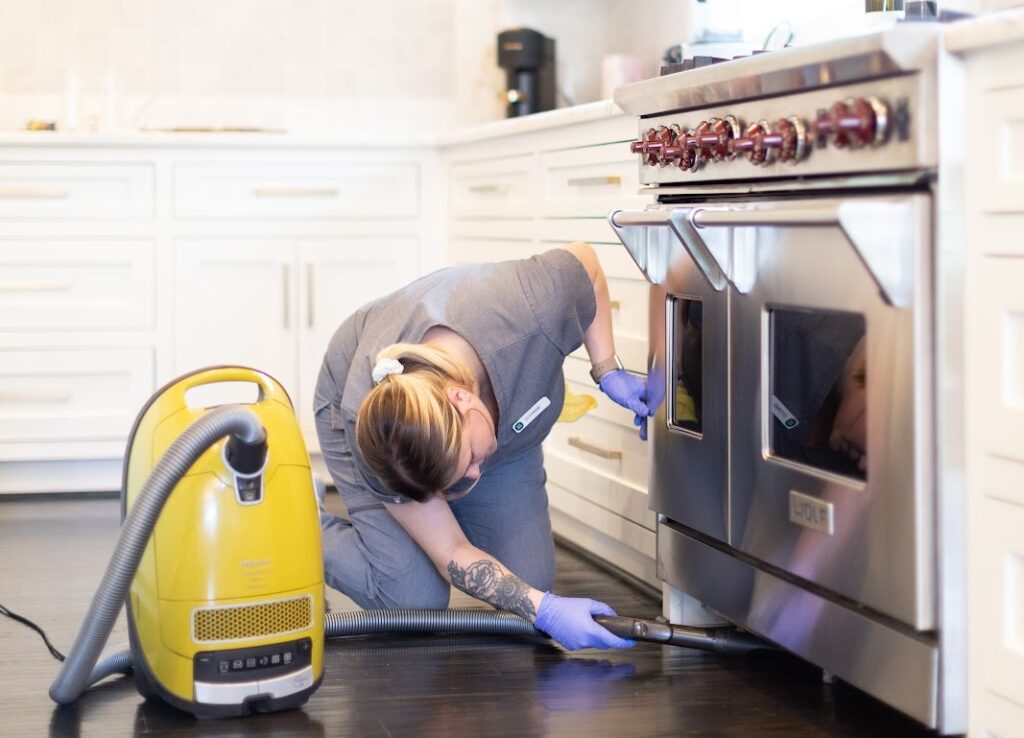
As for specialized tools, all you need is a non-scratch scrubber, a steam cleaner (optional), and a vacuum cleaner like Miele for hard-to-reach areas. Before you get into deep cleaning, clear countertops and floors to create an open workspace. Lay down protective sheets or old towels to avoid drips or spills that damage surfaces.

Now that you are equipped with all the essential ingredients, here is the technique to follow:

  •  Systematic Removal of Items

Start with the pantry and fridge. Discard expired items and group similar items together.

Remove small appliances, utensils, and other items from countertops and drawers.

  • Organizing While You Clean

To organize your stuff, separate items into keep, donate, and discard piles. You can also use bins or containers to temporarily store items removed from the kitchen. 

Even when you follow all the right steps to clean your kitchen, when you start cleaning, you will inevitably encounter tough-to-clean spots, stubborn stains, and grease. This is how you can deal with them:

  • Stovetop and Oven Cleaning

To clean the stovetop, start by removing the burners and grates and soak them in warm soapy water. For oven cleaning, apply a baking soda paste or a commercial degreaser inside the oven. Let the substance sit for 20-30 minutes before you scrub it.

  • Cabinet and drawer interiors

To clean cabinets, take a damp cloth and a mild cleaner, and wipe down the interiors of cabinets and drawers. For corners, use a vacuum with a crevice tool. For stubborn grease, use a mix of vinegar and warm water and gently scrub them off.

"Cleaner using a microfiber mop to clean a kitchen hood, showcasing tips for efficiently cleaning your kitchen."
  • Refrigerator and Freezer

Start by unplugging your refrigerator. Remove the shelves and drawers to soak them in warm soapy water. Wipe down the interior with a solution of baking soda and water to eliminate odors. Wait for everything to air-dry before re-plugging it.

  • Sinks and Faucets

To add shine to your sink and faucets, scrub with baking soda focusing on the drain and around the faucet. Use a toothbrush to clean around tight spaces and a vinegar solution to remove water stains. 

After scrubbing and wiping down every nook and corner of your kitchen, it is now time to do the final touches. 

  • Wipe down small appliances before placing them back.
  • Add a vase of flowers or light a scented candle for a welcoming touch.

Decoding Grease and Grime: Advanced Removal Techniques 

Have persistent grease spots in your kitchen? Worry not! You can get them off with a few specialized grease removal techniques. Here are a few: 

  • Specialized Tools for Persistent Grease

Tougher stains? Some advanced cleaning tools—steam cleaners, degreasing agents, and non-scratch scrubbers—are here to help you. 

  • Chemical-Free Degreasing

Eco-friendly alternatives like baking soda and citrus-based cleaners are there to tackle stubborn grease. If that doesn’t help, consider a chemical-free degreaser like Bon Ami.

  • Preventative Measures for Grease Build-Up

Regular maintenance is a must to maintain the cleanliness of your kitchen. Use splatter screens and wipe down surfaces regularly to prevent buildup.

Eco-Conscious Cleaning: Sustainable Practices for Your Kitchen 

Cleaning doesn’t always mean using harsh chemicals. Take a look at some eco-friendly products and tips for sustainable cleaning of your kitchen: 

  • Adopting Zero-Waste Cleaning Solutions

Zero-waste cleaning strategies—using reusable cleaning cloths and biodegradable cleaning agents—can save both your wallet and the planet.

  • Multi-Use Cleaning Products

Choose products that serve multiple purposes. For instance, a neutral disinfectant cleaner can be used to clean many surfaces and materials without causing damage. It is more economical than getting different products for different surfaces. 

  • Leveraging Natural Ingredients for Effective Cleaning

Common household ingredients such as vinegar and lemon mixed with baking soda work wonderfully in stain removal. They also work on many surfaces.

Maintaining the Deep Clean: Long-Term Strategies

 Maintaining a clean kitchen requires a consistent daily cleaning routine alongside periodic deep cleaning. Simple habits like wiping down surfaces and tidying up immediately after use can significantly extend the time between deep cleaning sessions. Additionally, using innovative tools like robotic mops and air purifiers can make daily maintenance easier and save time.

When to Call the Experts?
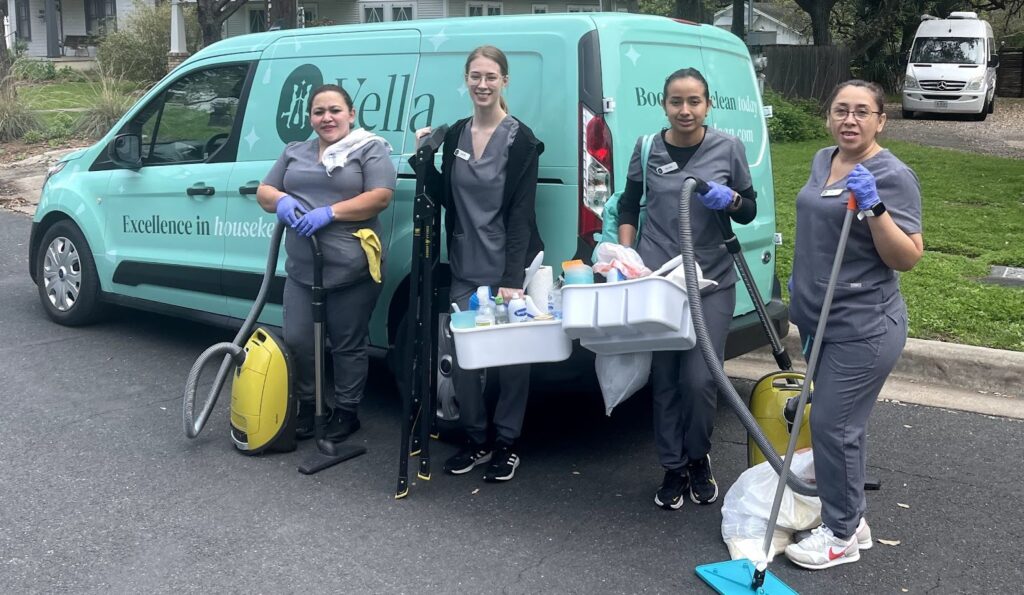
"Team of professional cleaners standing in front of a van with cleaning supplies, ready to help with cleaning your kitchen and home."

When grime is too stubborn to clean, or there’s persistent odor or discoloration, it is a sign that you need professional help. Professional service is a worthwhile investment to maintain a hygienic and efficient kitchen. 

Why Choose Vella?

If you’re ready to take the hassle out of kitchen cleaning, Vella Cleaning Services is here to help. Our professional housekeepers use eco-friendly products, advanced tools, and proven techniques to deliver spotless results every time.

Special Offer: Take our cleaning quiz today and enjoy 20% off your first session!

Cleaning your sink and garbage disposal might not seem like the most exciting household chore, but it’s surprisingly rewarding. A sparkling, spotless sink and a fresh-smelling garbage disposal can completely transform the look and feel of your kitchen.  

While you’re unlikely to uncover hidden treasure during the process, you’ll be amazed at how much a little care and attention can improve your space. With just a few simple steps, you can clean up your sink area and keep it looking and smelling its best. By the end of this blog, you’ll have discovered all the requirements to maintain your garbage disposal functioning smoothly and smelling fresh. 

The Secret of Fresh-Smelling Sink: Start with Pantry Organization

Before we go into waste disposal, let’s take a step back and look at the value of an orderly pantry. Why? Because a well – organized kitchen cupboard is more than just a decorative piece; it’s a great tool for reducing waste and managing your kitchen more efficiently.

When everything is neatly arranged and easy to find, you’re less likely to throw out perfectly good items or dump random leftovers down the drain.

So, next time you are tempted to flush questionable leftovers, take a moment to think. Keeping unwanted debris out of the disposal is the first step towards preventing clogs and buildup. Consider this tiny effort the start of a trip – a hero’s great treasure hunt, where each choice contributes to the large goal of keeping a clean, efficient kitchen.

Pro Tip: A quick pantry check can lead to unexpected finds, like those forgotten lemons hiding in the back. Use them to naturally freshen your sink, creating a pleasant scent while minimizing odors. You can also toss a lemon rind into your garbage disposal, turn on the water and let it run for a few seconds for a natural air freshener.

A cleaning professional scrubbing a metal rack over a sink with gloves emphasizing the importance to clean your sink.

Step 01: Send in the Sink Odor Cleaner!

The greatest remedy for sink odors is a natural drain cleaner. Here are some quick and simple ways to keep your kitchen fresher and cleaner while also fighting against unpleasant odors:

  1. Prepare your ingredients: The best combination for natural cleaning is vinegar and baking soda. They’re like your kitchen’s Batman and Robin.
  2. Sprinkle the baking soda: Fill the sink drain with a large amount of baking soda.
  3. Add the vinegar: Cover the baking soda with one cup of white vinegar. See it bubble up like a potion but without the eerie side effects. The frizzing effect aids in removing any dirt.
  4.  Rinse with hot water: To remove residue and bid undesirable scents farewell, flush the drain with boiling water once the fizz has subsided.

Pro Tip: Repeat this procedure every few weeks to prevent sink odors and preserve the spotless, new – like appearance. This method is a hassle free approach to have a sparkling drain that smells as wonderful as it looks without having to hire  a plumber.

A professional cleaner using a vacuum to clean under a kitchen stove in a modern kitchen; remember to clean your sink thoroughly for a spotless kitchen.

Step 02: Arm yourself with Citrus

Natural cleansing properties can be found in abundance in citrus fruits. They are acidic, fragrant, and-best of all- no special preparation to do their job. They are an easy solution to keep your sink odor free and clean.

  1. Slice a lemon or orange: Both oranges and lemons are excellent citrus fruits, so use whatever you have on hand. To make the fruit easier to utilize, cut it into quarters or smaller wedges. Citrus’s inherent acidity is excellent at dissolving residue and leaving a pleasant, revitalizing aroma.
  2. Toss a couple of slices down the drain: Run cold water and activate the disposal. Citrus acids help clean the blades and leave your sink smelling fresh.

Caution: Only use fresh citrus. That moldy “mystery fruit” in the back of the fridge won’t do the trick—save that for compost instead.

A cleaning professional using a  tool to wipe a kitchen hood, highlighting the need to clean your kitchen hood effectively.

Step 03: Dig Deeper for tough Grime

It could be time to have a close look at your garbage disposal if a strange stink persists in your kitchen despite your best attempts. Grease, residue and food particles can accumulate in disposal over time, producing unpleasant smells that may not be completely removed by standard cleaning techniques.

Get your hands dirty and investigate; a thorough examination  and focused cleaning of disposal can reveal the source of the odor. You can quickly eliminate the smell and bring back the freshness of your kitchen with a little care!

  1. Turn off the power: The basic guideline of waste disposal management is safety first. Ensuring the garbage disposal is powered off  is crucial for safety to prevent accidental activation while cleaning. This can be done by unplugging the unit, switching off the breaker, or just ensuring the switch is powered off (and being really, really careful!).
  2. Use a brush: Using an old toothbrush or a specialized garbage disposal cleaning brush to scrub beneath the rubber flaps (the splash guard) is effective. Food particles and grease often get stuck there, contributing to odors. A solution of baking soda and water is safe and works well to clean and deodorize.
  3. Rinse and Repeat: Flushing the disposal with hot water after scrubbing removes loosened grime and ensures the drain is clear. Repeating this process as needed is common practice for a thorough clean.

The result? A spotless, fresh-smelling disposal that gives you a satisfying sense of accomplishment.

Step 04: The weekly Rinse Ritual

Preventing accumulation at your disposal is a continuous chore. Consider it like maintaining a legendary sword: it requires regular cleaning. A weekly rinse can help keep things in good shape.

  1. Ice cubes and Salt: Once a week, toss a handful of ice cubes and a tablespoon of coarse salt into the disposal. Turn on cold water and run the disposal. The ice helps knock loose debris, and the salt scrubs away buildup.

Alternative Additives

  • For a deeper clean, consider adding a few drops of dish soap with the ice and salt to cut through grease more effectively.
  • White vinegar can be frozen into ice cubes and used for this process to add a natural disinfecting property.
  1. The citrus Followup: Toss a few citrus peels, like lemon, lime, or orange, into the disposal. Add a drop of citrus essential oil for extra freshness, then run the disposal with cold water. For a deeper clean, pair the peels with a teaspoon of baking soda or freeze citrus juice into ice cubes to use in your weekly routine. Finish by flushing with hot water to leave your kitchen smelling bright and clean!

Pro Tip : After cleaning, keep odors at bay by sprinkling a small amount of baking soda into the disposal once a week. Let it sit for a few minutes before running cold water and the disposal. Baking soda neutralizes lingering smells and freshens up the space.

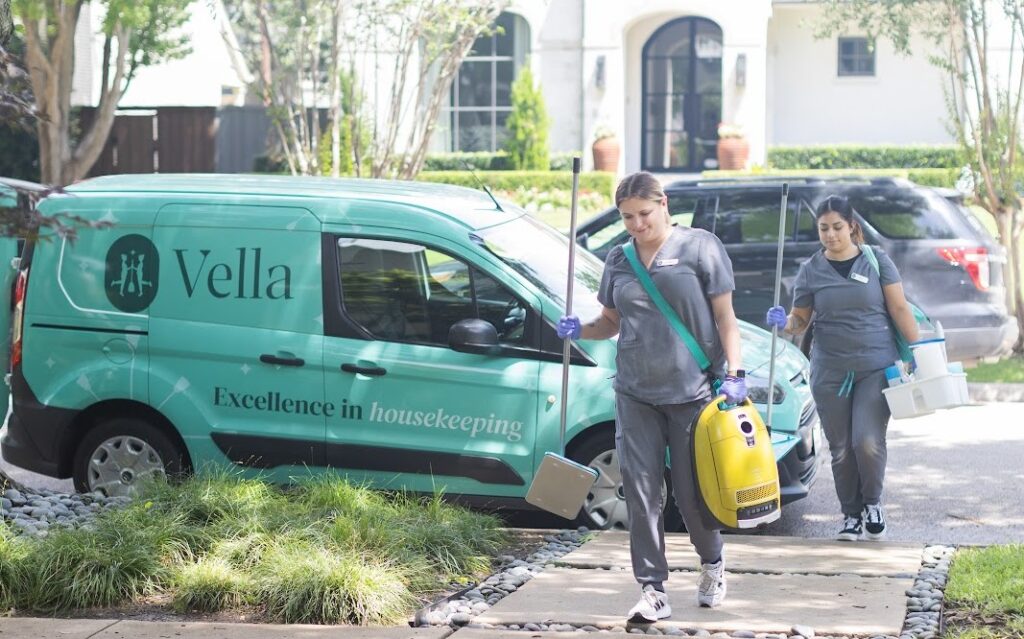
Two housekeeping professionals carrying cleaning tools and supplies, ready to deliver excellence in housekeeping services.

Final Touch: How Vella Helps Keep it Clean

Now that you have learned the abilities required to operate your sink and garbage disposal like a seasoned pro, there’s only one question; who will be there to support you when life gets busy?

That’s when Vella steps in. Our skilled housekeepers do more than just clean kitchen cabinets and remove odors from the sink; we provide high-quality professional care to every room in your home, ensuring that each space shines with special attention to detail.


So, whether you want a gleaming sink or a garbage disposal that emits the fresh aroma of citrus (rather than…well anything else), Vella has the knowledge to make it happen.

With Vella by your side, you can have a house that feels as amazing as it looks, without all of the work.