Picture this: you open your fridge after a long day of work and it is nothing short of a crime scene. Spilled leftover food, expired condiments, and an unmistakable smell has taken over. If your refrigerator could talk, it would probably beg for rescue. Fret not! In this guide, we will tell you how to clean your fridge step-by-step taking this daunting chore and making it manageable, maybe even satisfying.

A professional cleaner washing a refrigerator rack, showcasing how to clean your fridge effectively for a spotless and hygienic kitchen.
Effortlessly clean your fridge with professional care and precision.

STEP 01: Gather Your Tools

Any work requires the right set of tools and cleaning your refrigerator is no exception. Cleaning grime, stains, and persistent odors can be quite daunting without the right materials. So start with these must-haves:

  • Gentle yet effective sponge (We love the soft side of the Sponge Daddy).
  • Microfiber cloth
  • Mild dish soap
  • An unscented and nontoxic all-purpose cleaner like our favorite, Branch Basics. 
  • A large sink or bucket of warm water.
  • A scrubbing brush or scrubbing side of your sponge for those stubborn, baked-on stains.
  • A trash bag to discard expired or unwanted food items.
  • Paper towels or a dry microfiber cloth.

By ensuring all your supplies are within arm’s reach, you’ll avoid unnecessary interruptions, making the cleaning process smoother.

STEP 02: Empty The Fridge 

Clear out your fridge entirely. Every bottle, jar, and container, no matter how insignificant they seem, needs to be evaluated.

  • Start Fresh: Take everything out, shelf by shelf, to ensure no item gets overlooked. This allows you to assess the condition of each product.
  • Sort with care: As you remove items, divide them into two categories –  keep and toss. Expired sauces, moldy leftovers, and suspiciously sticky jars go into the “toss” piles.  Salvageable items should be in the “keep” category for reorganizing later. 


While this step can be time-consuming, it is crucial for a thorough cleaning. Remember, you need a clean slate to start with.

A professional cleaning team ready with supplies and equipment, perfect for tasks like clean your fridge, ensuring a spotless and fresh result.

STEP 03: Scrub Scrub Scrub

Time to use that elbow grease. Scrub down every inch of your fridge’s interior. Remember to unplug your fridge before this step.

  • Take out shelves and drawers: First suspects for sticky spills, crumbs, and hardened stains, all of which can hide in these areas. Pull them out and wash them separately in your sink or bucket using warm, soapy water.
  • Attack the interior: Spray a cleaning solution across the fridge interior. Make sure whatever you use is unscented and nontoxic – you do not want any of those fragrances or chemicals mixing in with your food!
  • Focus on stubborn stains: Hardened gunk or dried spills can be tackled with baking soda. Sprinkle it directly on the stain, let it sit for 5 to 10 minutes, and scrub gently with a brush. A scrubber sponge can be helpful here too – just be careful not to use it on stainless steel or glass.
  • Clean door seals and gaskets: Their rubber linings collect grime easily. Wipe them clean with a damp microfiber cloth.
  • Wipe down the exterior: Once you are done cleaning the interior, wipe down the exterior with a damp cloth. If your fridge is stainless steel, sprinkle some Bon Ami on the soft side of a damp sponge and gently scrub in circular motions. Wipe down with a wet microfiber cloth in the direction of the grain for a shiny finish.

By this point, your fridge should look quite different from when you started. Make sure to take your sweet time with this process. A fridge deep clean is not something you can get around to every day,so when you can carve out time for one, do it thoroughly and carefully. After all, it’s where you store what you need to feed your family!


STEP 04: Defreezing the freezer

Often overlooked, the freezer is the last area of the fridge to be cleaned. Though not as prone to spills as the main compartment, frost can build up, affecting the lifespan of your equipment. Here is how to go about cleaning your freezer:

  • Defrost if necessary: If there’s a notable frost buildup, switch off the freezer and open the door to defrost. Put towels beneath to catch melting ice and prevent a watery mess.
  • Remove shelves & repeat: Follow the same process used for the fridge in the freezer.
  • Wipe and Sanitize: Clean the interior using a gentle all-purpose cleaner like Branch Basics. Be sure to wipe down every surface, including the walls, shelves, and corners.

Giving your freezer the same attention as that of your fridge ensures that every part of your appliance is spotless and ready to use. 

STEP 05: Reorganise Like a Pro

Now that we have deep-cleaned every nook and cranny of our refrigerator, it is time to put everything back in its rightful position. Here is how to go about reorganizing your condiments, produce, dairy, and meat.

  • Group similar items: Store dairy, beverages, condiments, and snacks together to make finding things easier.
  • Clear storage bins: With transparent bins, you can view what is inside directly. This often reduces food wastage because they won’t be “out of sight, out of mind” anymore.
  • Maximize your space: Adjustable shelves allow for greater flexibility. Shift them to accommodate taller items, like juice bottles or meal prep containers.

The secret to keeping a clean refrigerator is in the making of an organization system that works for you and sticking to it.

The Final Reveal: Secrets To Long-Term – Term Maintenance

Congratulations, you now have a clean and odor-free fridge. But the journey doesn’t end here –  maintenance is key to ensuring your hard work isn’t undone. Here are some tips:

  • Clean spills at the moment they occur. This helps prevent stubborn stains.
  • Check for expired items weekly and throw them out. This helps maintain a clutter-free space.

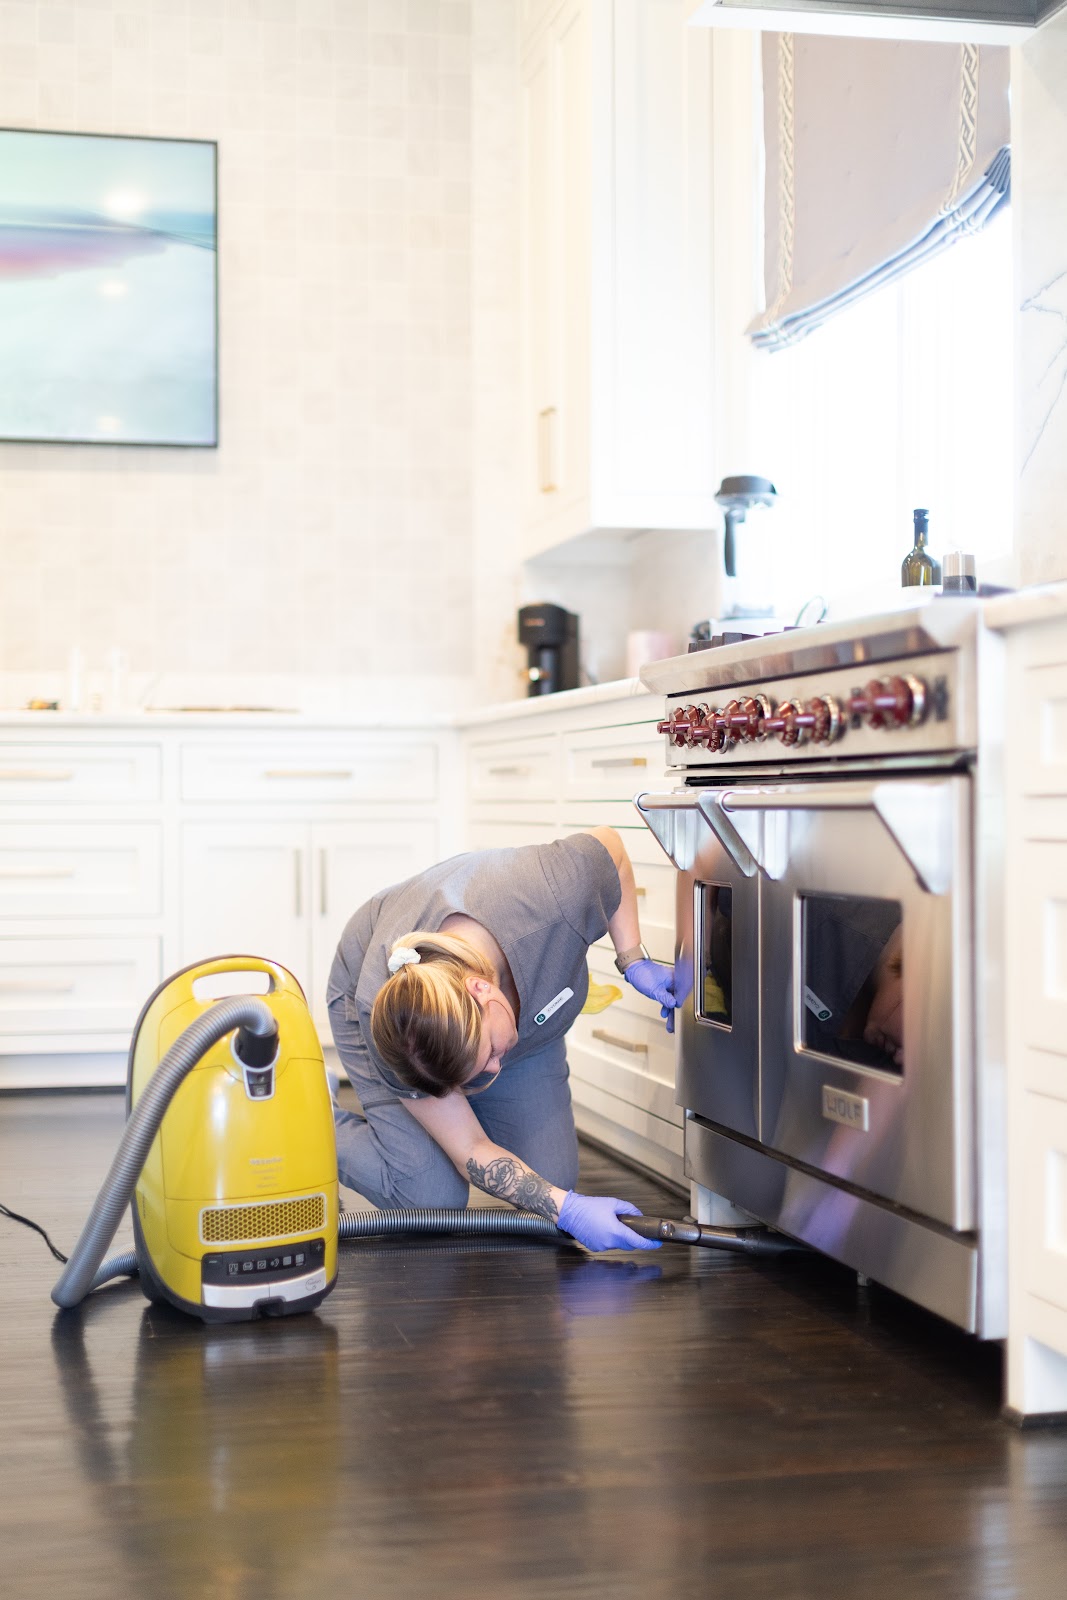
The best way to maintain a clean fridge is consistency and vigilance. With these habits in place, you’ll never face another fridge crime scene again. And if you ever fall behind in your regular cleaning routine and have no energy to get it, don’t worry! Vella’s skilled housekeepers are here to clean and reorganize your fridge and kitchen. Book a session with us today!

Why Choose Vella?

At Vella, we know just how much time and effort goes into maintaining a clean house. From refrigerator deep cleaning tips to full-house household care, our housekeepers take pride in delivering top-notch service based on your specific needs. Our professional housekeepers are well-versed in the individual requirements of different houses and take the time to understand your needs. 

We only use eco-friendly non-toxic products and are ready to tackle all your cleaning needs. If you’re ready to take your cleaning game up another notch, explore our customizable services today.


A clean kitchen is an aesthetic pleasure, but that’s not all. From food preparation to entertaining, your kitchen is the center of all activity in the home, but it is also a prime target for grime, grease, and bacteria. This makes regular deep cleaning an essential routine to keep your family healthy.

But deep cleaning your kitchen isn’t always easy, is it? 

How often do you really need to deep clean your kitchen? Which products are safe to use and which are not? Do we need any specialized equipment? Well, we are here to answer all your cleaning-related questions.  Remember, breaking down your kitchen deep clean into feasible tasks makes it easier. 

A professional cleaner wearing gloves carefully scrubs a metal rack over the sink, demonstrating how to deep clean your kitchen for a spotless result.

Why Deep Cleaning Matters?

Your kitchen is the most used room in the house. Extensive use every day leads to crumbs, grease, and grime hiding everywhere. Regular cleaning is a given, but deep cleaning your kitchen means all of those hard-to-reach spots – the ones under appliances, the ones behind cabinets, the ones inside the oven – get taken care of.

The best way to deal with these hidden spots is to incorporate them into your seasonal cleaning schedules. Cleaning for different seasons requires custom checklists to fit the unique seasonal needs of your family.

Seasonal Kitchen Deep Cleaning Checklist 

Spring: The Time to Start New 

A new beginning means every system gets to start fresh, and the kitchen is no exception. So if your kitchen needs a fresh coat of everything, spring is the time to do it. 

Clean Kitchen Checklist:

  1. Empty all the cabinets and drawers. 
  2. Throw out expired food and unnecessary utensils.  
  3. Scrub inside and outside all of your cabinets and drawers.
  4. Clean your appliances inside and out – the fridge, oven, and microwave. If you have a coffeemaker, you’ll want to clean that too.
  5. Don’t forget the freezer if you have one. 
  6. Finish off with cleaning the tiles, walls, grout, and backsplash, etc.  

Tips for Deep Cleaning:

  1. Tackle stubborn stains on tiles using mild dish soap.  
  2. Remove shelves from the fridge and freezer for easier and more effective cleaning.  

Spring cleaning puts you in the prime position to roll out the fresh produce, enjoy outdoor dining and take full advantage of the pleasant weather. This spring make sure to get ahead with your seasonal cleaning routine so you don’t miss out on the spring fun!

Summer Cleaning To Tide Over The Warm Months

The warmer months usually come along with more cooking as the family comes together for the summer break. This time also probably involves some good old-fashioned outdoor grilling. So our summer kitchen cleaning targets grease and grime removal. If you work around the year, maybe summer is the time for you to take that well-deserved break. And if you are going on that much-deserved vacation, do future you a favor and deep clean your kitchen and fridge. Nothing beats the relief of coming home to a clean home. 

  1. Lighting fixtures and fans: Clean the accumulated dust and grease. Wipe them with only dry clothes. 
  2. Stove and cooking tops: This is the time to deep clean your stovetop and your range hood. 
  3. Filters and ducts: Filters have housed loads of grease through the summer. Take used filters out and replace them.
  4. Trash can: Empty, wash, and deodorize your trash cans so they don’t smell. 

Fall: Pre-Holiday Prep

A cleaner standing on a step stool dusts intricate decor, highlighting the attention to detail needed when you deep clean your kitchen and adjacent spaces.

Fall is the time to prepare for the holiday season. Use these months to have your kitchen prepared for the heavier cooking and baking that comes with the Thanksgiving and Christmas seasons. 

Here’s what you should work on these months:

  1. Polish silverware and clean up your baking supplies. 
  2. Deep guide kitchen cleaning of the oven and all those holiday roasts will thank you later. 
  3. Dust and clean the tops of cabinets and high shelves.

The Best Way to Deep Clean Your Kitchen During Fall

Purge and organize: Group utensils, baking supplies, and items that you use frequently. They will be easily available during the heavy season.

Winter: Clean-up Following the Holiday Season 

Holiday entertaining can leave your kitchen requiring more than a little TLC following the merriment. And so, winter’s clean kitchen checklist focuses on recovering. And these include: 

  1. Deep clean your sink and garbage disposal, making sure to remove every last food particle. 
  2. Wipe down pantry shelves and replace liners, if required apply antibacterial sprays to all surfaces for disinfection.

Pro Tip: Incorporate essential oils into your cleaning routine for a cozy winter aroma.  

Best Practices for a Year-Round Deep Clean  

While seasonal cleanups are essential, to keep your kitchen pristine certain areas need regular attention :  

  1. Daily Reset: Clean your kitchen on the go. Keep containers and spice boxes right back where they came from after use, Wipe down countertops after every use. Load the dishwasher every night.
  2. Weekly Tasks: Every weekend, sweep floors, and empty trash bins.
  3. Monthly Chores: Once a month, wipe everything inside the fridge and throw out expired products. Get heavy-duty on those areas that are hard to reach – behind cabinets, and light fixtures.
  4. Quarterly Cleanup: At least thrice a month, scrub your appliances from head to toe. Take out their filters and replace them. Grease any stuck parts to ensure smooth functioning. 


With this kitchen cleaning schedule, nothing slips through the cracks. And since everything is maintained pristinely, deep cleaning becomes an easier task.

Tools and Products That Make Cleaning Easier

The right products and tools might just make your life that much easier. For Vella housekeepers, quality cleaning products translate to eco-friendly, non-abrasive, and sustainable-sourced. Some of our must-have tools: 

  1. Microfiber cloths for wiping surfaces.
  2. A multi-purpose degreaser like Bon Ami.
  3. A long-handled scrub brush for tough-to-reach areas.
  4. A multi-functional vacuum cleaner like Miele to get all the dust and debris out. 
A smiling professional cleaner poses with a dog in a tidy living room, showing the comprehensive care involved when you deep clean your kitchen

Ready to Revolutionize Your Kitchen?

Breaking down kitchen deep cleaning tasks into pieces helps make it less overwhelming to tackle, and doing it seasonally makes it more accessible. No time to DIY a kitchen deep clean even without a checklist? That’s alright! We at Vella are always ready to help you live your best life. 
Whether it is a holiday deep clean or a season refresh, our professional housekeeper will make your kitchen to ready welcome all seasons of life. Book your first session with Vella today! With a good plan and a bit of elbow grease, your kitchen will be ready for anything that comes your way regardless of season!