Are your floors sticky even after cleaning? Do you feel like how much you scrub and mop, your floors will forever be unclean? Don’t worry, we are here to help you. We will walk you through why your floors are sticky even after mopping and how to get rid of them, once and for all. 

Understanding Sticky Floors: Causes and Myths

First thing first, you need to know what makes your floors sticky. Some common reasons include:

Excessive use of cleaning products: This leaves residue on your floors creating a sticky later.

Rinsing improperly: Not rinsing your mops in between two rounds of mops can also lead to sticky residue.

Dirty Mop Water: Using dirty water spreads grime instead of removing it. Always mop with clean water for effective results.

No pre-cleaning: Not sweeping away dirt and debris from the floor before mopping leads to them getting spread over the floor while mopping. 

Use of hot water to clean stains: Hot water can affect the dye in carpets and leave residue on the floor. Use lukewarm or cold water instead of hot water to get rid of these stains.
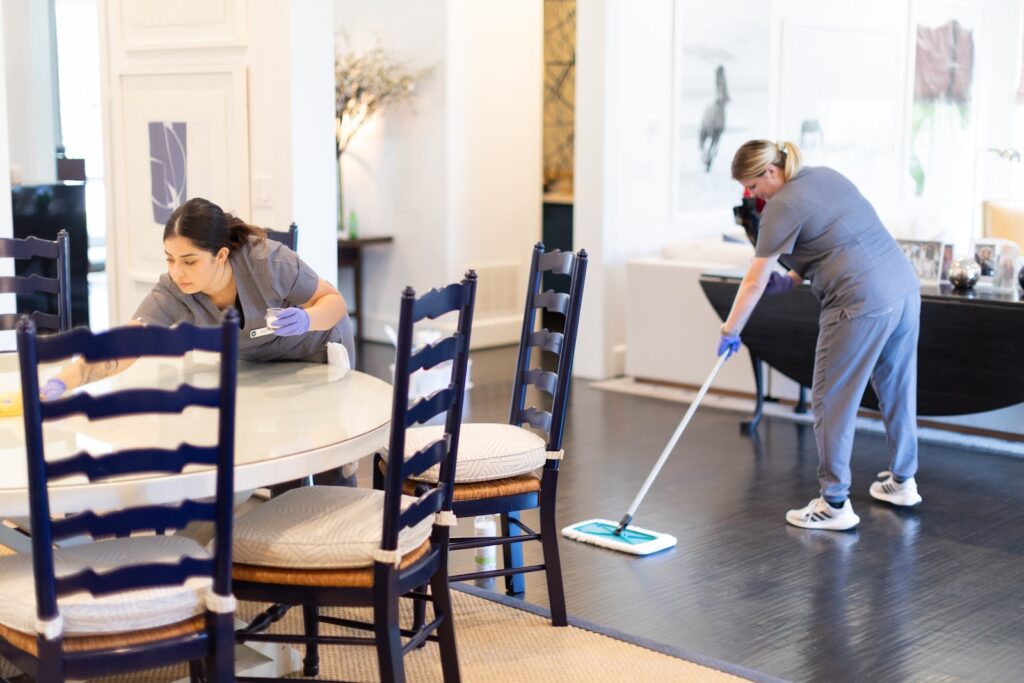
vella experts mopping floor

The Role of Cleaning Solutions in Floor Stickiness

Cleaning solutions matter a lot when it comes to fighting sticky floors. Various products interact differently with your floor’s material, so remember to make informed decisions. Chemical cleaners may work well, but overusing them can leave sticky residues. Try to use eco-friendly products without harsh chemicals. If you are using heavy chemical products, dilute them as per the instructions on the label.

Your go-to DIY cleaning solution is a perfect mixture of baking soda, liquid dishwashing soap, white vinegar, and a small quantity of warm water. When it comes to clean floors, the fewer the products, the better the results. So go easy on cleaning supplies. What you need instead is proper cleaning techniques.

The Importance of Proper Mopping Technique

Proper mopping techniques are essential for achieving clean, streak-free floors. Follow these steps to ensure your floors shine without any tacky aftermath:

Sweep or Vacuum Before Mopping: Always start by removing dust and debris from the floor. Skipping this step can lead to dirt mixing with the mop water, making the floor sticky instead of clean.

Rinse the Floor Thoroughly: After mopping with a cleaning solution, go over the floor with a mop dipped in plain water. This removes any leftover cleaner, preventing stickiness and ensuring a streak-free finish.

Wring the Mop Properly: Avoid over-wetting your floors by thoroughly wringing out your mop before each pass. Excess water can leave streaks and damage your flooring, especially if it is wood.

Drying the floor: Use microfiber cloths to dry the wet floor. Air drying is another way if your place is properly ventilated. It helps in quick drying. 

Floor-Specific Cleaning Tips
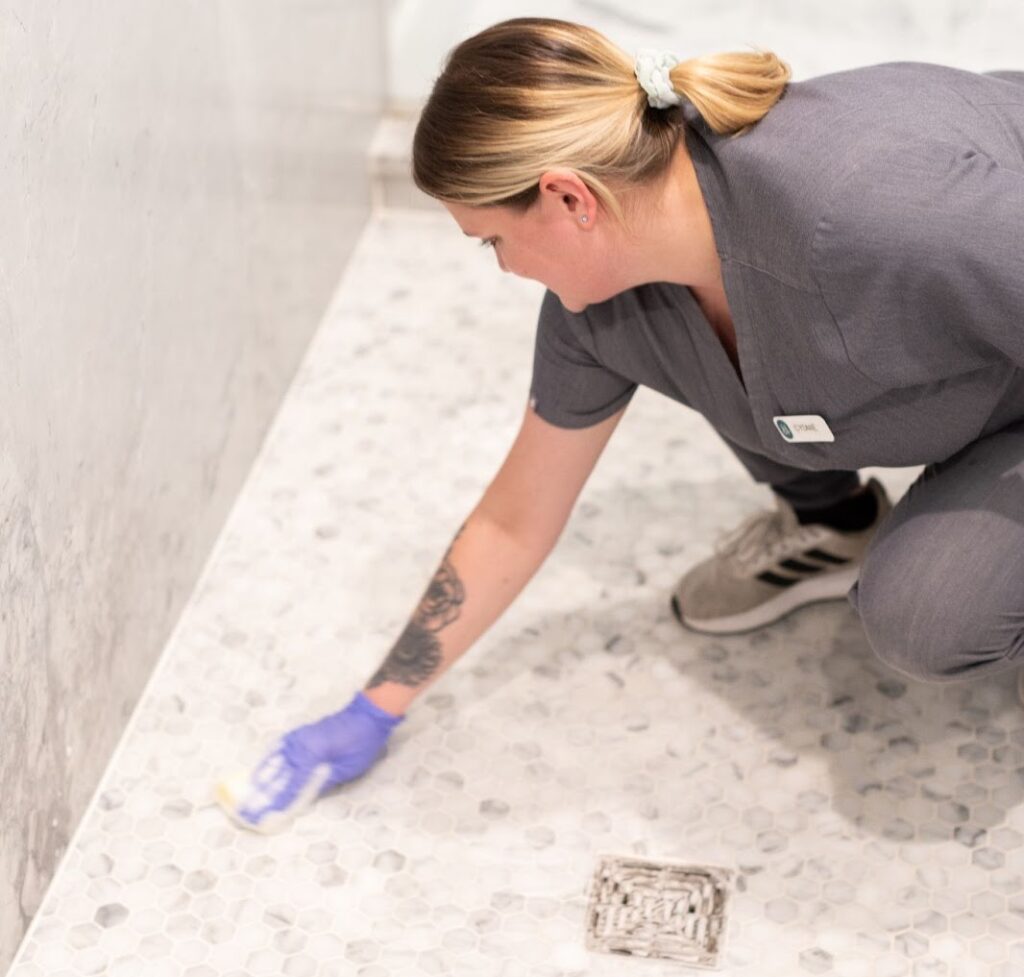
floor cleaning by vella experts

Different types of floor materials need different care. Here are some dos and don’ts: 

Hardwood Floors: Water residue damages wood. So make sure to dry the floor after mopping. Also, keep your hardwood away from harsh chemicals as they damage the finish. Non-toxic products from Branch Basics are a better alternative. 

Tiles and Grout: To remove sticky residue from the grout, apply a paste of baking soda and water, and gently scrub with a toothbrush. Tiles generally hold onto cleaning products. So rinse thoroughly and dry immediately to avoid watermarks.

Laminate: Laminate is a moisture-sensitive floor type. So use minimal water, like a slightly damp cloth to make it shine. Spray a laminate-safe cleaner like Sprayway cleaner onto a microfiber pad. 

Vinyl: Vinyl floors require regular sweeping to prevent dirt and grit from embedding in the surface. Clean them with warm water and a mild soap solution using a soft mop. Avoid abrasive scrubbers or harsh chemicals to maintain their smooth, shiny finish.

Natural stones: Natural stones  – Marble, Granite, and Slate – demand gentle care with pH-neutral cleaners, as acidic solutions like vinegar can etch the surface. Use a soft cloth or mop to avoid scratching. Periodically seal the stone to protect it from stains and moisture damage.

Concrete: For sealed concrete, use a neutral pH cleaner and a damp mop. Avoid acidic or abrasive cleaners that can strip the sealant. Unsealed concrete may require periodic resealing to maintain durability.

When to Seek Professional Cleaning Help

Still got sticky floors? Then it’s time for you to call the experts. You probably have some buildup that requires expert knowledge and professional tools. In other words, you need help from Vella’s professional housekeepers.

We handle all types of flooring — hardwood, tile, or laminate — using eco-friendly, non-toxic products. Let our experts bring back the shine to your floors while you relax. Schedule a session with us today

When was the last time you deep-cleaned your microwave? If you can’t remember, it is time to schedule that overdue cleaning session. Don’t freak out just yet! We get it, it can be overwhelming at times. In this blog, we’ll lay out the exact blueprint of how to clean your microwave from the inside out. 

Keeping your microwave clean isn’t just about aesthetics. It’s essential for maintaining kitchen hygiene, keeping microbial growth in check, preventing bad odors, and ensuring that your appliance functions effectively in the long run. Let’s walk you through a detailed, step-by-step process to clean your microwave efficiently. 

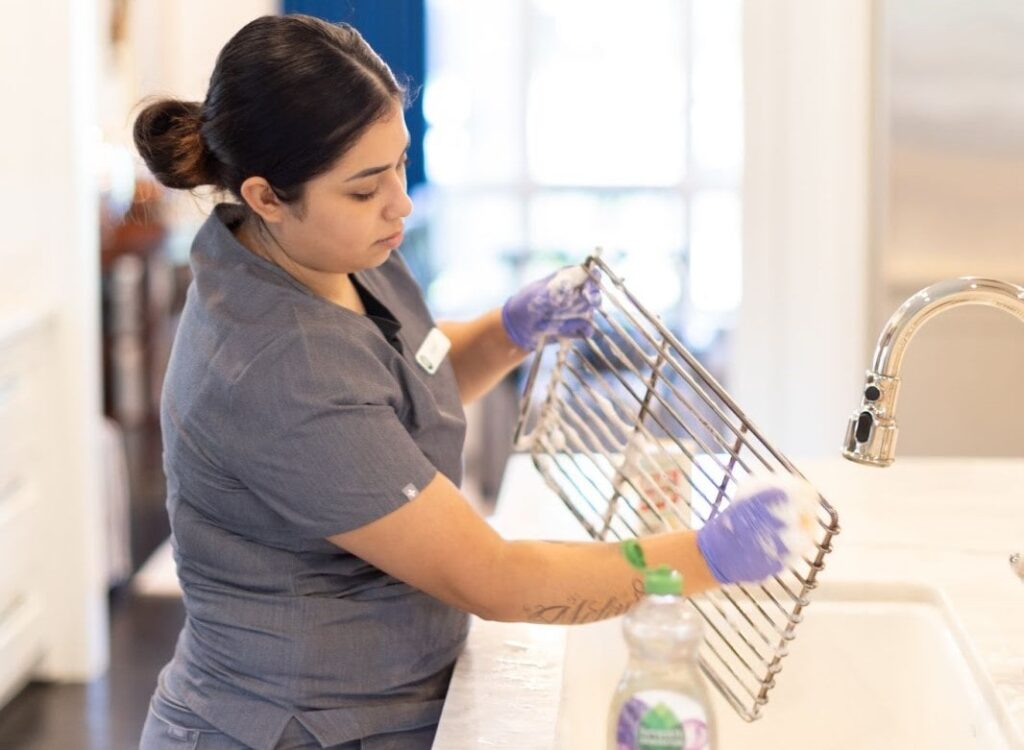
A cleaner washing a microwave rack with soapy water, showcasing the process to clean your microwave accessories thoroughly.

Step 1: Gather Your Cleaning Supplies

If you don’t want to clamber for supplies during your cleaning session, make sure to gather everything you need to make your microwave squeaky clean. Here’s a list of all the necessary tools and cleaning agents needed for effective microwave cleaning: 

  • Damp cloth: For wiping surfaces.
  • White vinegar: A natural deodorizer and grease remover.
  • Lemon: Helps cut through grime and leaves a fresh fruity scent.
  • Baking soda: Effective for scrubbing tough stains and neutralizing odors. 
  • Soft-bristle brush or sponge: For gentle scrubbing. We recommend the soft side of Scrub Daddy.

Step 2: Unplug and Prepare the Microwave

From the heating plate to the switches and knob, during a microwave deep cleaning, you come in contact with all parts of your appliance. So, safety first. Always unplug your microwave before cleaning. 

Step 3: Clean the Microwave Turntable and Interior

Now, let’s start cleaning. 

  • Carefully take out the glass turntable and wash it in warm, soapy water. Warm water will save you some scrubbing. 
  • Dry it thoroughly using a soft cloth to avoid those water spots that are left after air drying. 
  • Keep the table aside for reassembling later. 

Now the interiors: 

  • Use a damp cloth and remove loose debris from the microwave’s walls and floor. Use a mild cleaner like the ones we use from Branch Basics.
  • To remove dried food and spills, use a toothbrush and scrub things off. 
  • To tackle stubborn food stains inside, sprinkle some water and cleaner on the stain and leave it for a minute. Try not to go too aggressively with the brush to avoid scratching. It should come off pretty easily after a soak. 

Step 4: Focus on the Microwave Door

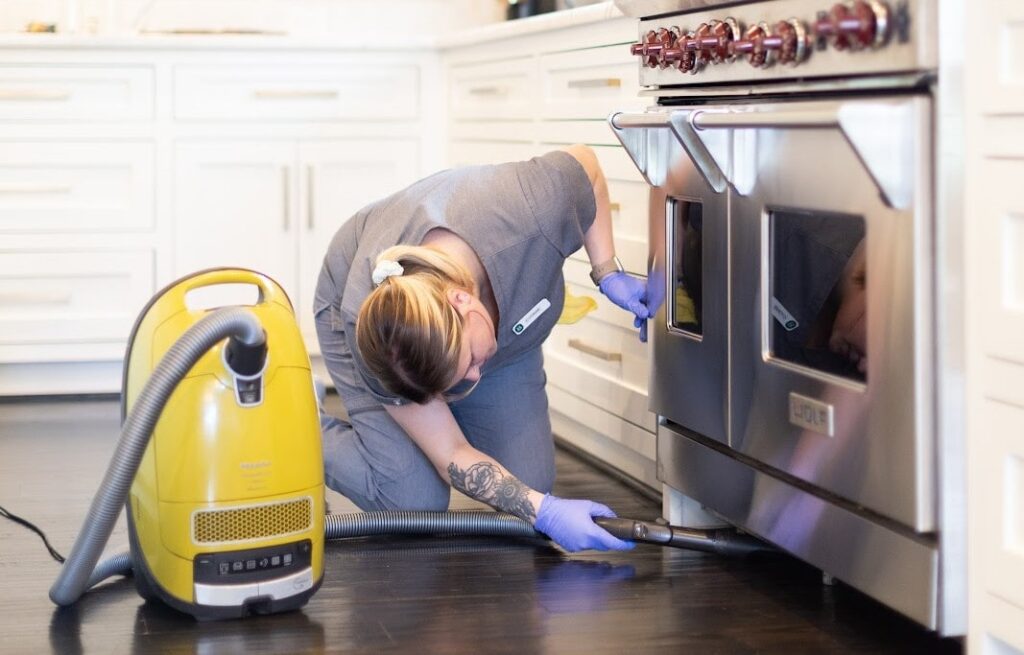
A professional cleaner vacuuming under a microwave, demonstrating how to clean your microwave effectively and maintain a tidy kitchen

Just like the floor and sides, the inside of the doors also collects spilled food, grease, and stains. The outside of the door gets greased by frequent touching and kitchen smoke. You can use a damp cloth soaked in a mild cleaner. 

A tricky area that usually gets missed while cleaning but grows mold is the door’s rubber seal. It is the perfect dark, hot, and humid environment for microbial growth. To clean that, don’t pull out the entire seal at once. It can deform the seal and stop your door from closing properly. 

Instead, use a damp cloth soaked in a mild cleaner. Wipe the areas around and under the door seal by lifting the seal with your finger or the back of a spoon. For tougher spots, gently scrub using a soft-bristle brush. After cleaning, ensure the door seals properly.

Step 5: Clean the Microwave Vent

Now, the technical parts. Microwave vents are responsible for maintaining airflow and preventing the machine from overheating. Over time, grease and dust clog these vents, affecting their ventilation capacity. 

  • First, check your microwave manual to locate the vent and filter. 
  • Wipe the vent area with a damp cloth – just like how we cleaned the doors.
  • Remove the filter and soak it in warm, soapy water. 
  • Rinse the filter under running water. 
  • Air dry it thoroughly, and carefully place it back in position. 

Step 6: Use Natural Cleaners for Deodorizing

Now that your microwave is deep cleaned,  it’s time to give it a lasting freshness. 

Over time, microwaves do develop unpleasant odors from various foods. To get rid of them infuse natural deodorizers like vinegar, lemon, or baking soda and freshen things up without leaving chemical residues that can be harmful if leached into food. This is a straightforward process. 

Heat a bowl of water with lemon slices or 2 tablespoons of vinegar for 3-5 minutes in the microwave. Let the vapors reach each corner. Let it sit for a few minutes before taking it out and wiping down the interior.

Step 7: Wipe Down the Exterior

The exteriors of microwaves are simple to clean. Treat it like any other machine covering or counter table and wipe it down with a cleaner and water combo. The only thing to take care of while cleaning is the control panel. 

Use a soft cloth and a mild cleaner to avoid damaging the surface and rubbing off prints with abrasive cloths or brushes. Also, avoid spraying cleaner directly onto the control panel to prevent moisture from seeping into the buttons.

Step 8: Regular Maintenance and Tips for Keeping Your Microwave Clean

If you want to extend the time between two deep cleaning sessions, make sure to do regular basic cleans. Simple steps like wiping it after each use and using microwave-safe covers can add all the difference. For light use, cleaning once every two weeks is sufficient. If you use your microwave daily, we recommend you clean it weekly.

Why Vella’s Professional Cleaning Services Are a Great Option

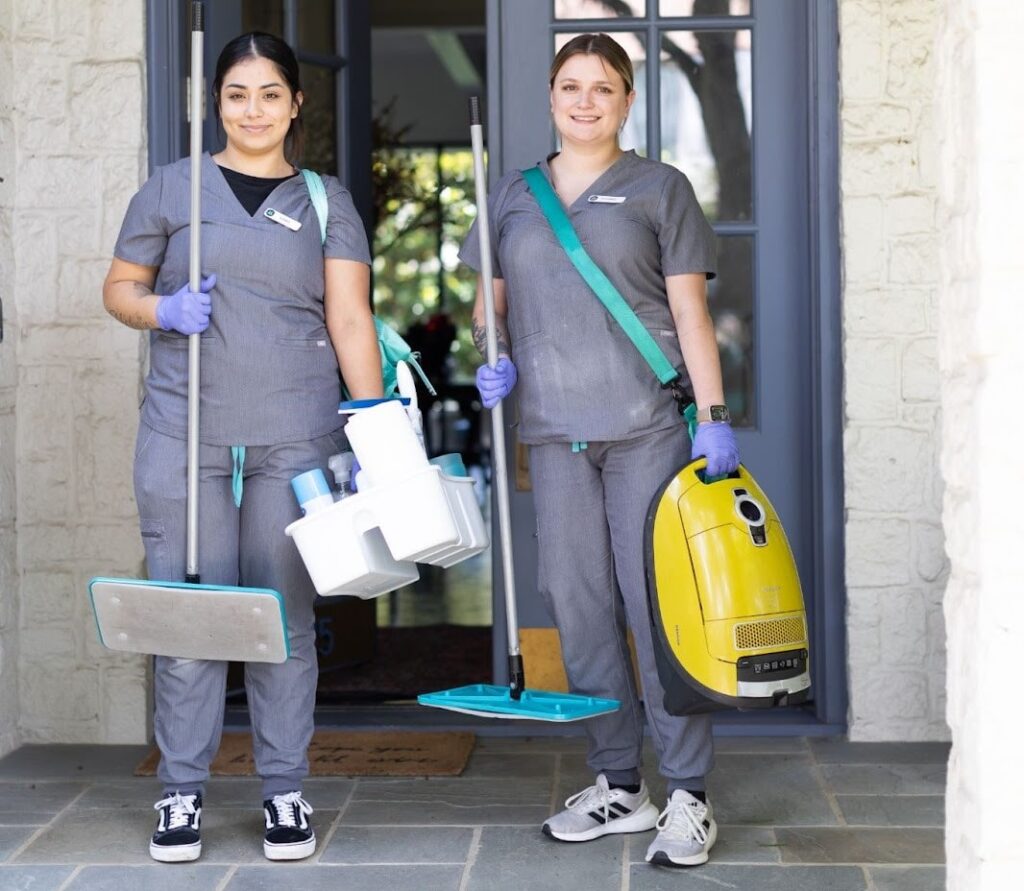
Two cleaners standing with cleaning supplies, prepared to show how to clean your microwave as part of a professional kitchen cleaning routine.

Cleaning your microwave regularly ensures it stays hygienic, odor-free, and in excellent working condition. By following these simple steps, you can maintain a clean microwave with minimal effort. While regular cleaning can be done at home, there are times when professional help is inevitable. If your kitchen and kitchen appliances need a professional deep clean, Vella’s housekeepers are here to help you out. Our team specializes in appliance cleaning, deep cleaning, and much more! We also use safe eco-friendly products to extend the lifespan of your appliance. Book yourself a clean home now!