Your mirror is not just a reflection of your face, but also your cleaning standards and hygiene. Would you like to start your day by having a smudged, water-stained reflection of yourself? It can be frustrating, distracting, and worst of all, it can make the cleanest of the bathrooms look dirty. 

Whether you’re battling stubborn toothpaste stains or smudges from daily water splatter, mirrors are bound to get dirty easily and very quickly. In this blog, we’ll be discussing various methods and techniques to maintain the daily shine of your mirror and avoid getting it smudged. Let’s dive right into it, shall we?

Why Do Bathroom Mirrors Get Dirty So Quickly?

So why do bathroom mirrors act as a strong magnet for smudges, grime, and water stains? 

Bathroom mirrors are notorious for accumulating smudges, grime, and water stains due to their constant exposure to a humid environment. The moisture from showers and baths creates the ideal breeding ground for mold and mildew. Additionally, using personal care products like toothpaste, shaving cream, and hairspray inevitably leads to splatters and residue on the mirror’s surface. Let’s dive into these factors in a little more detail:

Steam and Moisture Build Up

Bathroom mirrors can be very vulnerable to water stains with all the water vapor and condensation, especially after a hot shower. Over time, the condensation can settle in and mix with dust, making the mirror look streaky and smudgy. 

Daily Use and Personal Products

Your morning routine might just be ruining your mirror without you even knowing. Toothpaste flecks land on your mirror creating a galaxy of their own, soap residue, and not to mention fingerprints from either you adjusting the mirror or curious children wanting to touch their reflection. Add hairspray, deodorant, and other aerosols into the mix to get the perfect recipe for grime buildup. 

Provided how quickly dust and grime can build up on your mirrors, daily cleaning is not just a chore — it’s a necessity. Keeping your mirror clean and fresh just gets you a refreshing start to the day. After all, who would like to enter their day with a hazy, spotted filter?

What You Need to Clean Your Bathroom Mirrors 

Before you giddy up and enter your mirror-cleaning mode, we would need to discuss your inventory to clean up those dirty mirrors. 

Essential Tools and Materials

1. Microfiber Cloth: Microfiber cloths are a game changer in clearing off dust from a variety of places. They are designed with the intent of clearing debris and dirt without smearing it across the surface and causing scratches. Being super absorbent, microfiber cloths absorb dirt and spill easily without causing any damage to glass.

    2. Glass Cleaner: Glass cleaning solutions like Sprayway are designed to clean off the most stubborn gunk without causing scratches and damage. They are formulated to break down the grime and remove it efficiently. 

    3. Cotton Swabs: Reaches hard-to-reach places with a normal microfiber cloth and removes all the gunk.

    Step-by-Step Guide to Cleaning Mirrors

    Keeping your mirrors polished and spotless should not feel like a hassle. With the right approach, this task can even be satisfying. Here’s a step-by-step guide to cleaning mirrors and keeping them sparkly at all times. 

    1. Dusting: Dust that mirror with a microfiber cloth to take off any dust and loose particles. This avoids smearing the dust around and leaving scratches. 

    2. Cleaning Solution: Apply a cleaning solution by spraying it in an even layer across the surface. 

    3. Zig Zag Motion: Wipe down in a zig-zag motion from left to right with each wipe descending slightly lower. Apply gentle yet consistent pressure to clean the mirror thoroughly.

    4. Polish: Once the mirror is clean, use a second microfiber cloth to buff the surface to remove any residue and give it a sparkly finish.

    How to Remove Stubborn Spots and Streaks

    Even after a thorough wipe-off, some stains are simply just way too stubborn to get rid of. Don’t worry, with a few extra steps, those stains will be peeling right off. Let’s discuss some of these key techniques for some of the most common stains.

    Tackling Hard Water Stains

    Hard stains are caused by the mineral deposits found in tap water. To get rid of them, you can do the following:

    1. Vinegar solutions: Spraying equal parts of vinegar diluted in water is a simple and one of the most efficient methods to remove hard water stains. Let the solution sit on the surface for 5-10 minutes and watch the minerals melt away. 

    2. Lemon Juice: If you prefer a fresher scent in your bathroom, swap out the vinegar with lemon juice and it will pretty much do the same with a more pleasant, citrusy smell.
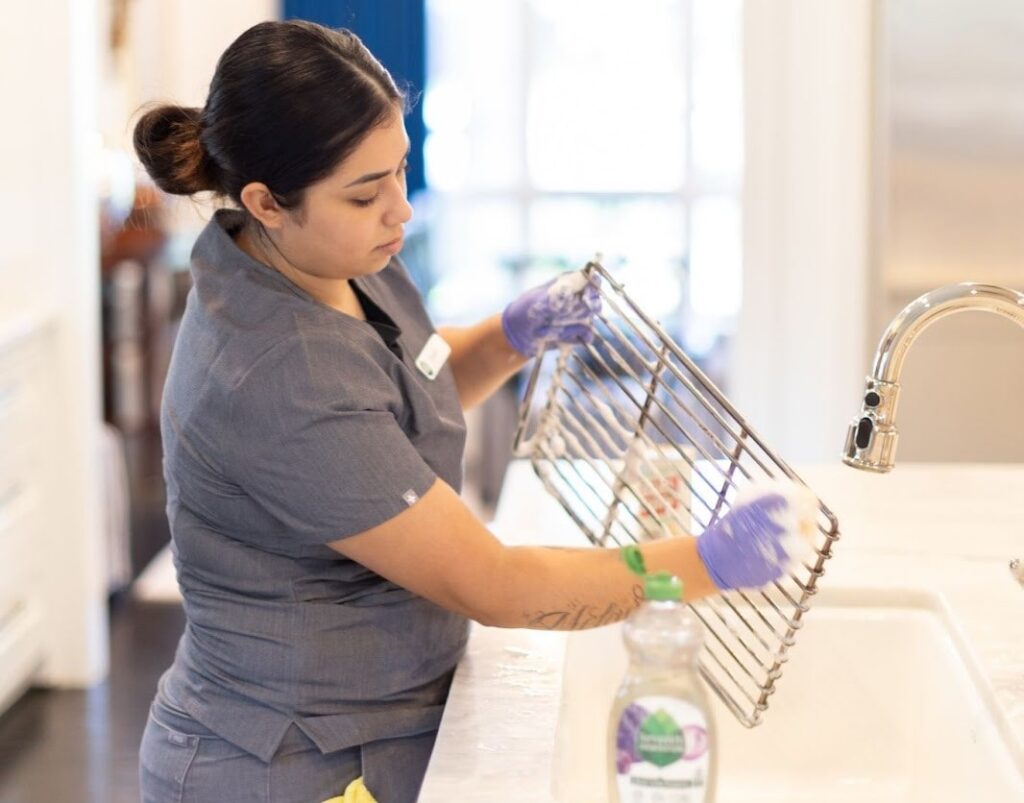
    A professional cleaner scrubbing a metal rack over a sink with soap and gloves.

    Cleaning Toothpaste and Self-Care Product Smudges

    Toothpaste splatters and make-up products leave behind stubborn residue that cannot be cleaned off with just water. Here are some tips to clean them out. 

    1. Dish Soap Mixture: Combine a few drops of mild dish soap like Seventh Generation Dish Soap with warm water and soak a microfiber cloth in the solution. With the soaked cloth gently scrub away the stains in circular motions.

    2. Spot Treatment: To clean hard-to-reach places, dampen a cotton swab and apply it on those spots for a more precise cleaning method.

    Dealing With Sticky Residue

    Adhesive from stickers or tapes can leave behind sticky grime which mixes with dust over time and creates a nasty buildup.

    1. Rubbing Alcohol: Pour out some rubbing alcohol on a cotton pad and work it in circular motions to clean off any sticky residue from adhesives or tapes without causing any damage. 

    2. Vinegar: If rubbing alcohol isn’t available, take a vinegar-soaked cotton pad and press it on the adhesive for 5-10 minutes. Gently rub it in and the grime will come right out.

    Tips to Prevent Future Mirror Smudges

    Cleaning your mirrors after a long time can be satisfying. However, wouldn’t it just be great to not have it smudged or dirty in the first place? With a few measures, you can prevent smudging and grime in any future scenarios. Here are some tips and tricks to help you sort it out.

    Ventilation

    Steam is the most mischievous culprit for foggy, streaky mirrors. After you take a nice, hot shower, condensation can build up on the mirrors, creating the perfect surface for spots and streaks. Here’s how you can battle that:

    1. Exhaust Fans: Install exhaust fans and turn them on while taking hot showers to reduce humidity and steam buildup on your mirrors. 

    2. Open Windows or Doors: If an exhaust fan is not an option, after your shower, open the windows or doors and let the steam escape.

    Proper ventilation does not just help keep your mirrors clean but also avoid mold and mildew growth in your bathroom. 

    Avoiding Excess Product Sprays

    Hairspray, deodorant, or any other aerosols can leave a sticky residue on the surface of your mirrors. Here’s how to keep the products in check and avoid the residue. 

    1. Apply Wisely: Apply any deodorant, and hairspray away from the mirror. You can also use a towel as a shield to protect your mirror from stray particles.

    2. Clean Immediately: Once you’re done with your routine, gently wipe down the mirror with a microfiber cloth and take off any product residue.

    Common Mistakes to Avoid When Cleaning Bathroom Mirrors

    Cleaning your mirrors seems quite straightforward, right? Wrong! There are some mistakes that you might be making without even realizing. Well, we’re here to highlight and rectify those mistakes. 

    Using the Wrong Cloth

    Using the wrong cloth to clean your mirrors can be more damaging than good. An old rag might have an uneven texture and can leave behind scratches on your mirror. Use microfiber cloths or kitchen tissues only. 

    Overusing Cleaning Products

    One might think using more products to clean the mirror is going to be more effective. Well, in this case, less is more. Excess products can drip down the surface create streaks and attract dust. Use a light mist to evenly spray the surface and wipe down. Make sure to do a final wipe-down to absorb any leftover product.

    Ignoring the Bridge 

    Edges can be a hassle to clean and very tempting to just overlook and move on. After all, they are the prime hotspots for dirt, grime, and dust to build up. Dust and water can build up at places that are not in one’s sight and accumulate over time to form stubborn buildups. Make sure to pay extra attention to the edges and clean up with a microfiber cloth.
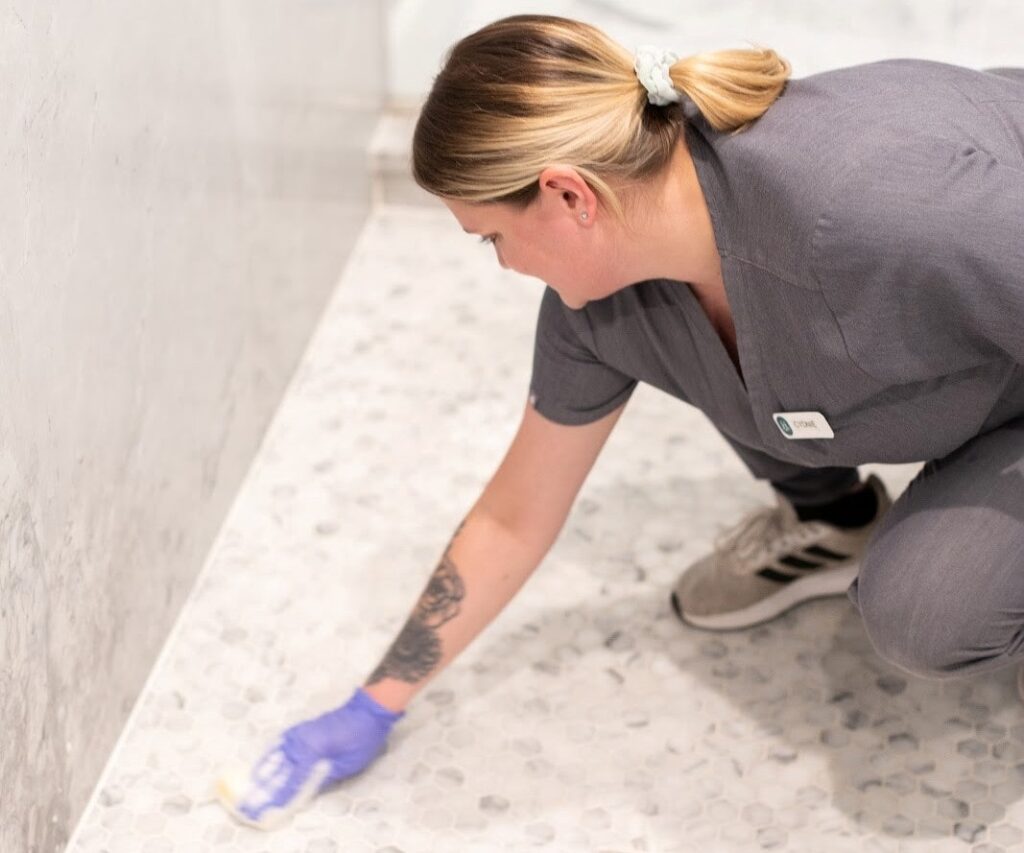
    A professional cleaner scrubbing bathroom floor tiles with a brush while wearing gloves.

    Why Choose Vella for Professional Bathroom Cleaning

    While you might do a great job keeping your bathrooms clean, every once in a while, a deep cleaning is required. If you are in need of a bathroom deep clean routine, book a session with us. We ensure that your bathroom is spotless — including the mirror, of course!

    Stainless steel utensils are an integral part of your kitchen. From deep, frying, pan-sears, to hearty casseroles— stainless steel utensils are used every day in a household. However, the same utensils become your arch nemesis when you have to scrub off those grease stains.

    Vella housekeepers going for cleaning the property with equipments

    We are talking about the greasy residue after cooking that seems to have a vendetta against your pristine pans that makes you follow an entire arm workout to scrub it off. Grease stains can dull that sparkling pan and also test your patience. Fear not, with this guide, we will give you the best tips to get all that stubborn grease out of your stainless steel utensils. 

    Why Does Grease Stick to Stainless Steel Utensils

    Stainless steel looks beautiful… until you throw in a sizzling batch of fries and suddenly the grease has taken over the pan like an apocalypse and it is quite impossible to wash it off. Wonder why grease seems to cling on to the pan like a child. Let’s get into the science of it all.

    Grease is primarily made up of fats and oils. Due to this unique composition, it clings onto surfaces. Stainless steel pans are smooth and non-porous. When stainless steel heats up, the fat molecules bind tightly to the pan leaving behind a sticky, stubborn, and greasy residue. This works as a double-edged sword as water-based cleaning solutions cannot seep beneath the grease layer. 

    Grease buildup can happen with any of your favorite recipes. Frying bacon? That sizzling fat is splattering all across the platform. Over time, grease can build up and eventually dull your sparkly utensils.

    Ignoring grease buildup and poorly cleaning the utensils can take away the shine and polish of your utensils. Besides, grease on your pans can also be a sign of poor hygiene and can affect the longevity of stainless steel. With the right methods, you can easily remove and tackle even the most persistent stains and restore your utensils to their showroom shine. Let’s discuss how.

    Use Hot Water and Dish Soap for a Simple Start

    When it comes to stubborn stain removals, starting simple is the key. Hot water and a mild dish soap like the Seventh Generation Dish Liquid Soap are the perfect start to breaking down the grease. 

    Step-by-Step Instructions

    1. Fill up a sink with an ample amount of hot water — enough to submerge the dishes.
    2. Add a generous amount of dish soap to the hot water and stir it in.
    3. Dip your utensils and let them soak in the soapy water for 5-10 minutes.
    4. Scrub off any stubborn grease lightly.
    5. Rinse with clean warm water to remove any soapy residue and grease.
    6. Dry thoroughly to avoid any water stains.

    This approach works wonders as the first line of defense in getting those grease stains out of those stainless steel pans and maintaining the shiny finish of your utensils. Think of it as using the reserves before deploying the heavy artilleries. 

    Baking Soda Paste For Gentle Scrubbing

    Hot water and dish soap sometimes just don’t cut through and you might have to get something more effective. Baking soda is a tried and tested method to gently scrub off grease. It acts like a natural abrasive that scrubs off the grease without leaving behind any scratches on the utensil. 

    Baking soda is gritty and dissolves slightly when combined with water. The fine particles get beneath the grease and lift it to clean the utensil. Unlike other cleaners, baking soda is eco-friendly and non-toxic and can be used to clean with no worries. 

    Step-by-Step Instructions

    1. Mix 2 tablespoons of baking soda with a tiny amount of water to form a thick paste.
    2. Use a soft sponge — like the soft side of Spone Daddy — to apply the paste evenly on the utensil. Apply extra on the particularly stubborn spots.
    3. Scrub gently with a soft-bristled brush or a non-abrasive scrubber in circular motions.
    4. Rinse with warm water and dry with a microfiber cloth. 

    This method is ideal for more persistent grease stains that simply do not budge with soap and hot water.

    Vella housekeepers standing at home entrance with equipments

    Using Vinegar for Tough, Oily Residue

    You know you have to get out the big guns when baking soda fails — vinegar. A kitchen staple that is used in salads, marination, and in many Asian cuisines; its natural grease-cutting properties tear through oily residue easily.

    Vinegar has an acidic nature that cuts through the grease molecules. It helps in detaching the grease from the surface of the utensil. Vinegar is non-toxic and food-safe and can be used to clean off grease easily. 

    Step-by-Step Instructions

    1. Prepare a solution of equal parts water and vinegar in a spray bottle.
    2. Spray it generously on the greasy pan. Let it sit for 5-10 minutes as it breaks down the stubborn particles.
    3. Wipe using a soft sponge or gently scrub it to get any stubborn parts out. 
    4. Rinse thoroughly and you will have a shiny steel utensil back in your kitchen.
    5. Dry the utensil immediately to avoid any water spots.

    Harness Lemon Juice for Easy Degreasing

    You know how the old saying goes: “When life gives you lemons, clear the kitchen grease!”, right? Lemon juice can be used for more than just squeezing it on a salad or making lemonade. Who knew it could be used to cut down the grease on your stainless steel pans? Well, we did and now you know!

    Why Lemons Work?

    Lemon is also acidic in nature and breaks down grease molecules, cutting through tough stains like a swordmaster. On a bonus note, it can leave your stainless steel pans smelling fresh and citrusy!

    Step-by-Step Instructions

    1. Prepare the lemon cleaner solution by squeezing lemon juice into a bowl and adding a pinch of salt. The salt adds a mild abrasive quality which can clean the surface efficiently.
    2. Apply the mixture on to the utensil with a clean sponge and gently rub on the surface to push the grease out.
    3. Allow it to sit for 5-10 minutes and let it penetrate through the grease — let the acid work its magic. Scrub firmly to remove any stubborn grease spots. 
    4. Rinse the utensil thoroughly and wipe it immediately to avoid any water stains. 

    Pro tip: Save the lemon halves from when you cook and after you are done cooking, scrub the lemon half gently on the greasy pan.

    Commercial Stainless Steel Cleaners for Persistent Grease

    If all DIY methods fail, it is simply a sign to get a commercial stainless steel cleaner to get the job done. These products are designed to through grease like a champion and restore the shine of your utensils. 

    Choosing the right cleaner is key when it comes to maintaining your stainless steelware and prolonging its life. Opting for a non-abrasive cleaner is a wise choice as it efficiently cleans the grease off of the utensil and, does not damage it by any means. Brownie points, if the product is eco-friendly and sustainable. 

    How to Use Commercial Cleaners

    1. Start by reading the instructions on the packaging for optimal usage.
    2. Apply a small amount of cleaner directly onto the greasy area and scrub gently to cut through the grease.
    3. Wipe away the product with a soft cloth. 
    4. Rinse thoroughly to remove any residue or product from the utensil.
    5. Dry immediately with a soft cloth to avoid water stains.

    If you want your stainless steel utensils to shine like new, we recommend Bon Ami. This cleanser made up of non-toxic cleaning chemicals has been scrubbing without harmful chemicals since 1886. It’s great to remove scuff marks, dried-on food, moldy spots on grout and anything else that requires a little extra abrasion.

    Vella’s Expertise in Kitchen Cleaning Solutions

    We at Vella believe that a healthy, hygienic kitchen is the heart of a home. Our professional cleaning services are designed to tackle the toughest of stains and messiest of messes in your home. From countertops to cookware, our professional helpers ensure that every corner of your kitchen is gleaming brightly. We also are committed to using eco-friendly solutions and sustainable products to ensure deep cleaning. 

    Keeping your stainless steel utensils clean does not have to feel like a hassle. If the DIY methods don’t work out for you, try bringing out the big guns with commercial stainless steel cleaners or book a kitchen deep cleaning session with Vella.