Air fryers have taken the entire internet by storm. With thousands of recipes for an easy dinner or convenient cooking, air fryers have emerged as essential kitchen appliances, especially for those who desire healthier cuisine and bachelors to cook without compromising flavor. 

A Vella employee cleaning the tough stains from a stainless steel rack in a kitchen sink.

Warming up that leftover pizza or achieving perfectly crispy sweet potato fries, this device truly performs wonders and has been a blessing to mankind. However, people often neglect the fact that air fryers require regular maintenance and cleaning. 

A well-maintained air fryer not only operates efficiently but also prevents unpleasant smoke during your next cooking session. Don’t worry we’re here to solve all your maintenance issues at once and have come up with this comprehensive guide that has it all. 

Why Cleaning Your Air Fryer is Essential

Cleaning an appliance, in general, is very necessary to a) avoid nasty food particles being stuck for ages, b) to maintain the efficiency of the device, and c) are reasons a and b, not enough? Let’s learn why cleaning your air fryer is important comprehensively.

Maintaining Optimal Performance

Are your fries not achieving the desired crispiness and are greasy and soggy? The culprit is lying right in the appliance after multiple uses: grease and food debris obstructing the airflow. Consistent cleaning allows your air fryer to function at its best, enhancing its performance significantly.

Eliminating Unpleasant Odors

It is seldom enjoyable when the scent of yesterday’s fish muddles today’s baked goods. Built-up grease and food remnants can cause your air fryer to emit unwelcome odors and even impart unwanted flavors to fresh food. Hence, cleaning it in between uses is important.

Promoting Food Safety

We certainly do not want unwanted bacteria joining our meals! A neglected air fryer can become a breeding ground for germs, which we don’t need added to our dishes.

Tools and Materials You’ll Need for Air Fryer Cleaning

Now, you might need to add some cleaning supplies to get your greasy air fryer into its most pristine condition. Here are some essential tools and materials to clean your air fryer and get it squeaky clean. 

Basic Cleaning Supplies

To clean efficiently, you might need some tools and materials that get the job done without your arm breaking a sweat. Following are some of the supplies that you might need to clean your air fryer. 

  • Soft sponge
  • Microfiber cloth
  • Dish soap 
  • Soft-bristled brush 

Additional Tools for Stubborn Stains (if necessary)

  • Baking soda paste 
  • Vinegar solution 
  • Non-abrasive scrubbing pad 

Items to Avoid

Do not use steel wool or abrasive cleaners—anything likely to damage the non-stick coating of your cherished appliance should be avoided. Treat your air fryer carefully instead of subjecting it to the abuse of scratches and abrasions.

Step-by-Step Guide to Cleaning Your Air Fryer

Cleaning your air fryer for the first time can be daunting. Hence, we have created a step-by-step guide so you can clean off every grease-filled cranny and make it as shiny as it was ever used. 

Preparation

The first and most basic step is to take the air fryer plug off the socket and let it completely cool down. Be patient with this one-– you wouldn’t want to flood hot grease with water. Once the appliance cools down, disassemble it by removing the basket and tray and follow the next steps!

Clean the Removables

Let the basket and tray soak in a mixture of warm water and soap for at least 10 minutes to loosen up the grease from the surface of the tray. Get a soft sponge or brush and scrub gently to remove grease and stubborn bits.

Cleaning Inside

Microfiber cloth has a lot of advantages, hence, use it to wipe the inside thoroughly. Pay close attention to greasy corners that are stubborn and hard to clean. However, be careful not to spray or submerge the machine as it can cause damage and potentially ruin the device.

Cleaning the Heating Element

Turn your air fryer on its head very carefully and wipe the heating element with a damp cloth. After that tackle with a soft brush to free thick pieces of grime and grease that can build up over time. The heating element is very delicate, hence, avoid any sort of aggressive brushing.

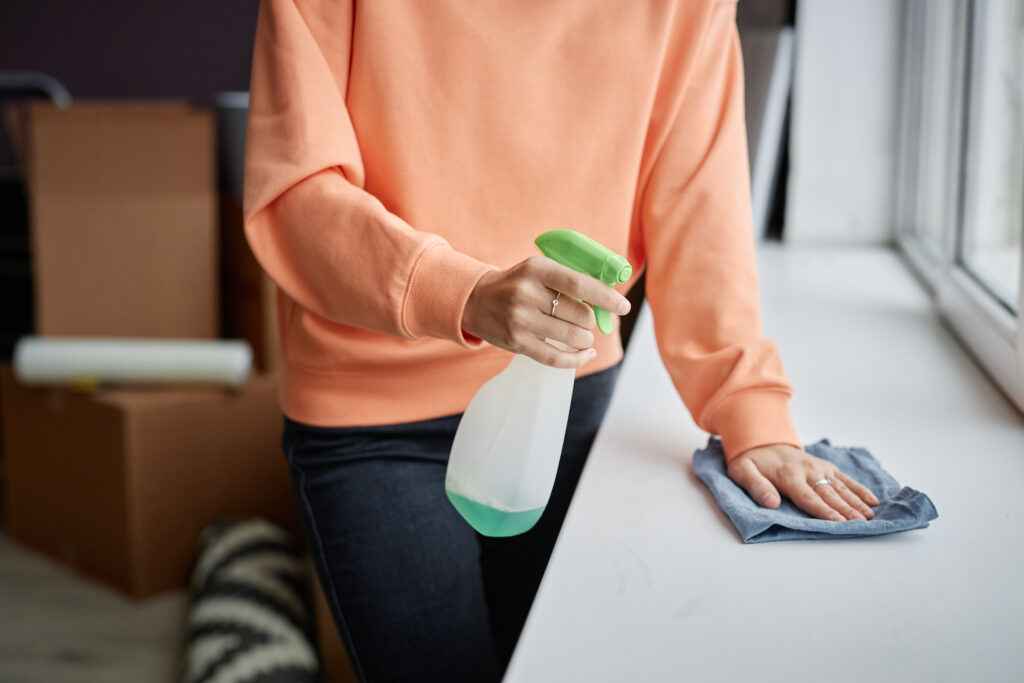
Cleaning the Exterior

There’s an old cliche that goes something like “beauty comes from within”. Well, that doesn’t mean you neglect the outside of your air fryer. Wipe down the exterior and scrub away any stubborn spot that ruins the device’s outlook. Make sure to dry thoroughly and make the outside of your air fryer look shiny and new.

A Vella employee cleaning the corners and under the stove in a kitchen using a vacuum for the air fryer cleanliness.

Dry and Reassemble

Let all the parts dry completely before assembling the air fryer back together. Moisture and electricity aren’t the best of friends – don’t go rushing this step or you might have a fire hazard ready.

How to Handle Stubborn Stains and Grease Buildup

Greasy stains and stubborn grime buildup ruin the look of the air fryer in an instant and also can make it super unhygienic. Well, we’ve solved the issue for you right here. Here are some tips and tricks that can help you clear off those stains easily and quickly.

Baking Soda Paste

Take an equal measure of baking soda and water to form a paste. Apply the paste on the stubborn spots, wait a few minutes, and scrub softly; the stains are gone!

Use Vinegar Solution for the Lasting Grease Stain

Mix equal parts of vinegar and water and spray it generously on the grease stains. The acidic element would cut through the grease and leave your surface clean and squeaky. Extra benefit: vinegar is also a natural deodorizing agent. 

Tips to Prevent Air Fryer Buildup

Prevention is always better than cure. To maintain your air fryer’s good health and condition and not hinder its performance; here are some tips to prevent air fryer buildup.

  • Lining the Air Fryer: A silicone liner or parchment paper will collect drips and crumbs from the bottom of the tray for an easier and quicker cleanup.
  • Clean Right After Use: A simple wipe with a damp cloth to keep grease from becoming a surface resident.
  • Don’t Overcrowd: Adequate air circulation will reduce splattering and prevent the heating element from getting dirty. Space out your food and you would have to clean less often.

Common Mistakes to Avoid When Cleaning an Air Fryer

Everyone is a beginner at one point and does not know exactly how to do things efficiently— there’s no shame in that. Here are some common mistakes that you should avoid while cleaning your air fryer to maintain its long life.

Scraping off the Non-Stick Surface

Do not scratch with a heavy scrubbing pad. Stick with softer tools like a sponge or a soft cloth so as not to ruin the non-stick surface of your fryer and keep your food from sticking to the tray.

Not Cleaning the Heating Element

Leaving this undone will affect the operation of your air fryer. The heating element can be obstructed by the grease and not provide consistent and uniform heat to your food. Be gentle when cleaning this part, so that your appliance can run smoothly.

Using Excessive Water

Water and electricity don’t go well together, hence, be very careful while cleaning your air fryer, and do not waterboard the entire thing to prevent excessive damage. 

Two Vella employees cleaning a floor and the table of a house.

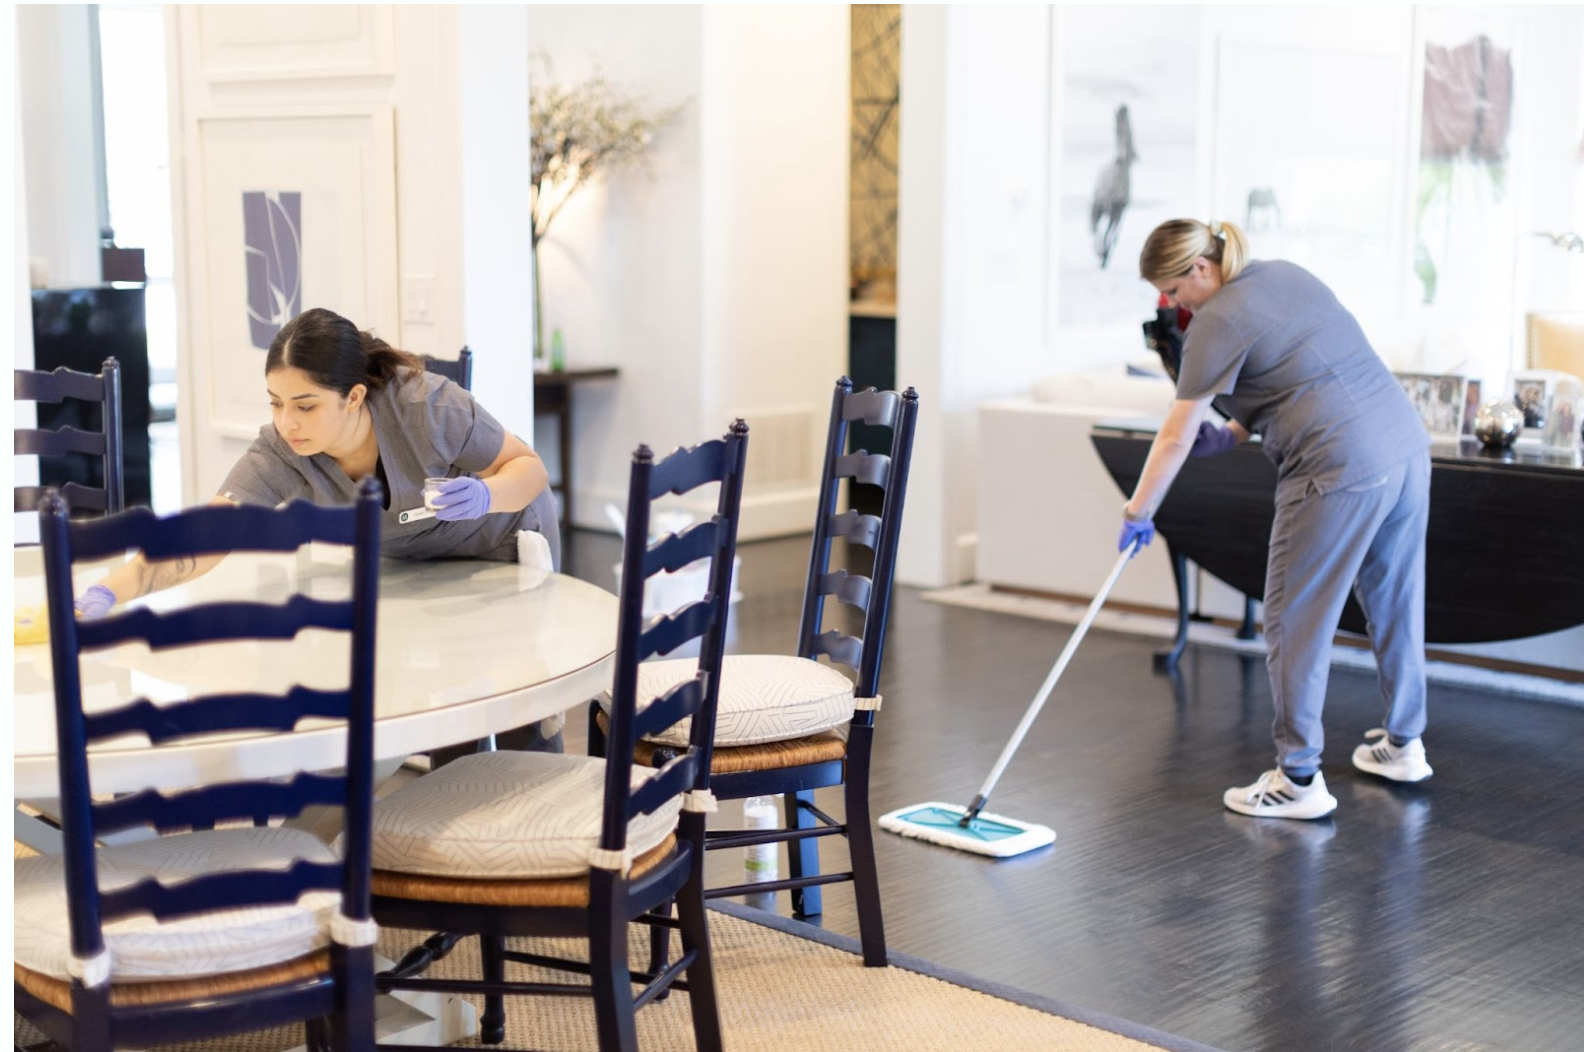
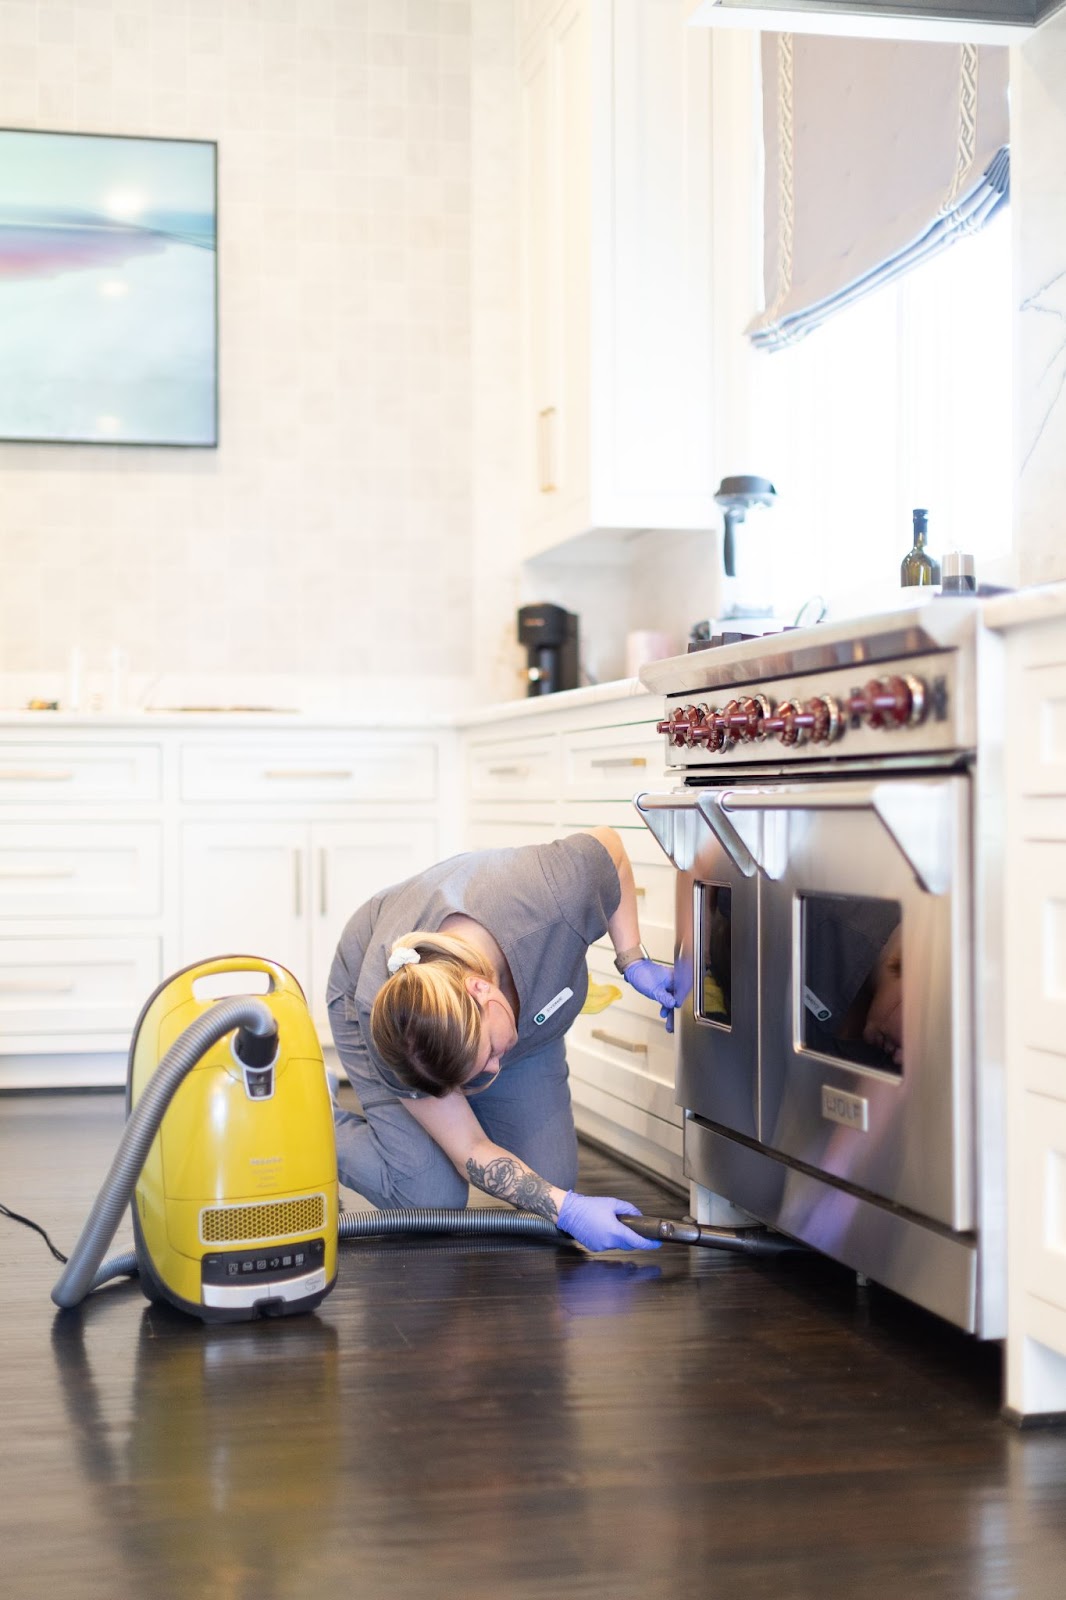
When to Seek Professional Help for Deep Cleaning

Every once in a while, life can get pretty hectic and fast and you might miss out on a few rounds of cleaning. Neglecting the cleaning is no good either, so what do you do? Well, fear not! We’re here. 

Professional cleaning services are the answer to your prayers. Cleaning services can get into the depths of your home, clean out every tiny detail, and leave it nice and sparkling. 

Vella’s Expertise in Kitchen Appliance Cleaning 

Professionals at Vella clean everything from your stainless steel utensils to air fryers. Using eco-friendly methods, we ensure that your appliance receives the royal treatment it deserves. We also ensure to keep your home spick and span, even offering post-construction cleaning services. Therefore, whenever you need an extra hand we are here to help. 

Conclusion

Cleaning yours does not have to feel like a chore. With this guide, your kitchen hero: the air fryer, will be in prime shape, bringing you crispy and delicious meals for a long time to come.

If life gets a little busy, or if you struggle with those stains that just won’t come off, consider using Vella’s professional cleaning services. We’ll do the dirty work for you, so you can focus on savoring the culinary wonders of your air fryer! 

It’s a weekend, and you sit on the floor and try to do a relaxing DIY you have been wanting to do for a long time. By the time your “relaxing” project ends, you notice the gum stains on the floor. The horror! 

There’s nothing more frustrating than discovering a glue stain on your laminate floor at the end of the day, right? Whether it’s from that DIY project or a spill from an overzealous crafting session, those sticky spots can get on your nerves. 

So, how do you clean up that glue without ruining your floors? This blog has got you covered.  We’ll walk you through the safest, most effective methods to restore your floors to their former glory. With a little patience and the right approach, those pesky glue stains will be gone in no time, leaving your floors looking as good as new. Keep reading to know the do’s and don’t of keeping your laminate floor clean

Understanding the Challenges of Glue Stains on Laminate Flooring

Glue stains on laminate flooring can be such a pain! Let’s look through the challenges:

Why Glue Stains Are Problematic

Glue stains can dull the shine of your laminate, making it look faded or streaky. If you try to scrub them away with harsh chemicals or rough cleaning tools, you risk causing permanent damage. 

Characteristics of Laminate Flooring

Laminate floors have a protective wear layer that gives them their glossy finish. This layer is vulnerable to damage if you’re too rough while cleaning. So, while laminate floors might seem tough, they need gentle care when cleaning. 

Tools and Materials You Need for Glue Stain Removal

Before you get started on removing those glue stains from the laminate floor, let’s make sure you’ve got everything you need to do the job right.

Basic Cleaning Supplies

First, you’ll need some basic cleaning supplies including soft microfiber cloths, non-abrasive sponges, and plastic scrapers. These will help you clean the stain without causing any damage to your laminate. Stay away from rough materials like steel wool, as they can scratch the surface. 

Safe Cleaning Solutions

For the cleaning solution, you have a few options. You can use isopropyl alcohol, which works wonders on most glue types, or a simple vinegar-water mixture if you’re looking for eco-friendly ingredients. There are also commercial adhesive removers specifically designed for laminate floors if you want to go that route.

Additional Equipment

If the glue stain is a bit stubborn, a hairdryer can be super helpful! It softens the glue, making it easier to scrape off without causing any damage. Finally, don’t forget to vacuum the area first to get rid of any dirt or debris, so you’re not rubbing anything that could scratch your floor during cleaning.

<insert media>

Step-by-Step Guide to Removing Glue Stains from Laminate Flooring

If you discovered a glue stain on your laminate flooring, there’s nothing to stress about. Follow our step-by-step guide and your laminate flooring will go back to looking pristine again! 

Preparation Before Cleaning

Clear the area by moving any furniture out of the way, and make sure there’s no loose dirt or debris on the floor. You can vacuum or sweep the area before you start so that nothing gets in the way of the cleaning process. 

Softening the Glue

Grab a hairdryer and set it to low heat. Hold it a few inches above the glue stain and let the warm air gently soften the adhesive. This makes it way easier to lift without damaging your floor.

Removing the Stain

Once the glue is softened, you can take a plastic scraper and gently lift the glue off the floor. Go slow here, so you don’t scratch the laminate. After you’ve removed most of the glue, grab a soft cloth and apply a small amount of isopropyl alcohol. Gently rub the remaining residue to break it down.

Final Clean-Up

You can use a damp microfiber cloth to wipe the area clean and remove any leftover alcohol or sticky bits. This will help restore the shine and leave your laminate floor looking as good as new.

Natural Solutions for Removing Sticky Residue from Laminate Floors

If you don’t have isopropyl alcohol or looking for more natural ways to tackle glue stains, a few simple solutions work wonders without any harsh chemicals. 

Vinegar and Water Solution

First up is the classic vinegar and water solution. Just mix equal parts vinegar and water in a spray bottle, then lightly mist the sticky spot. Vinegar is great at breaking down the glue and residue, making it easy to wipe away without damaging your laminate floor. 

Baking Soda Paste

Another natural option is a baking soda paste. Mix a bit of baking soda with water to create a paste, then apply it to the sticky area. The baking soda acts as a gentle abrasive, helping to lift the glue without scratching your laminate.

Lemon Oil

If you’re after something with a fresh scent, lemon oil is a fantastic choice. It helps break down the adhesive and also leaves a lovely, natural fragrance behind. Rub a small amount on the residue and let it work its magic before wiping it away. 

A Vella worker with a cleaning liquid and microfibre cloth to clean the countertop. 

Common Mistakes to Avoid When Cleaning Glue Stains

Scrubbed a little too hard on your laminate flooring? Oops. It’s now ruined. Well, here’s a guide to avoid common mistakes when cleaning glue stains. 

Using Abrasive Tools

Using abrasive tools like steel wool, metal scrapers, or harsh brushes is a big no. They might seem tempting to scrub that glue off, but they can cause serious scratches on your laminate floor.

Overusing Water

While it might seem like the more, the better, too much moisture can seep into the seams of your laminate flooring and cause swelling or warping over time. It’s wise to use damp clothes, not soaking wet ones.

Skipping the Test Patch

The first rule of stain removal in any case is a patch test. Never skip a patch test. Before applying any cleaning solution, whether it’s a commercial product or a homemade mix, always test it in a small, inconspicuous area first. This ensures that the solution won’t cause any discoloration or damage to your floor.

Tips for Maintaining Clean Laminate Floors

Keeping laminate floors looking fresh and clean is easier than you think if you stick to a few simple tips! It’s all about building good habits and a little prevention.

Regular Cleaning Habits

Regular cleaning goes a long way. Vacuum or sweep often to prevent dirt and debris from piling up and scratching the surface. Dirt might seem harmless, but it can act like sandpaper and scratch your floors over time. When it’s time to mop, stick to a damp and not a soaking wet mop. Dry the floor immediately to avoid any moisture sneaking into the seams. Trust us when we say this, laminate and water are not best friends!

Preventive Measures

Prevention is also key to avoiding unnecessary messes. Furniture pads are your best friend. Stick them under chairs, tables, and any movable furniture to protect your floor. A pro tip? Avoid using sticky tape or glue-based decorations directly on the floor. There are plenty of non-adhesive options out there that are floor-friendly. 

Little adjustments like these can save you a ton of trouble in the long run. With just a bit of care and effort, you’ll keep your laminate floors looking as good as new, no matter what life throws at them!

Two Vella cleaning staff with all cleaning products and devices at service. 

When to Call in the Professionals for Glue Stain Removal

Sometimes, no matter how hard you try, glue stains just won’t budge. When is the right time to call the professionals?

Identifying When DIY Fails

Sometimes those DIY attempts to clean glue stains might make it worse. That’s when it’s time to call in the professionals. If you’re dealing with extensive glue stains, or if earlier cleaning attempts have caused scratches or dulled the finish, don’t panic! Professional cleaning services can step in and save the day.

Benefits of Professional Cleaning Services

Professional cleaners know exactly how to handle tough glue stains without damaging your laminate floor. Specialized tools and techniques are used to safely and effectively remove the residue, restoring your floor’s shine and beauty. 

Vella’s Expertise in Laminate Floor Maintenance

Vella has excellence in housekeeping. Our professional cleaners leave a lasting impression by leaving your laminate floors spotless and shiny. We offer eco-friendly, floor-safe cleaning methods that get the job done without harming the environment or your floors. If you’re tired of battling stubborn stains or just want peace of mind knowing your flooring is in good hands, check out Vella’s services. 

Remember, removing glue stains from laminate flooring doesn’t have to be a stressful experience when you use the proper methods and tools. Patience is the key. With proper care, you can safely lift even stubborn stains without risking damage. Don’t forget that regular maintenance and simple preventive measures like using furniture pads and avoiding sticky adhesives go a long way in keeping your laminate floors looking as good as new. 

If the stains are too stubborn or you just want a stress-free solution, consider bringing in professionals like us at Vella. Our eco-friendly, floor-safe techniques are designed to remove tough stains while preserving your laminate’s beauty. 

If you are looking to give your laminate floors the ultimate care they deserve, book our floor cleaning services. Our team is a click away from restoring your floors to perfection. 

Why wait? Schedule your appointment today!